TV Mounting Timelapse and How To: It's More Than Just Hanging a TV
TV Mounting Timelapse and How To:
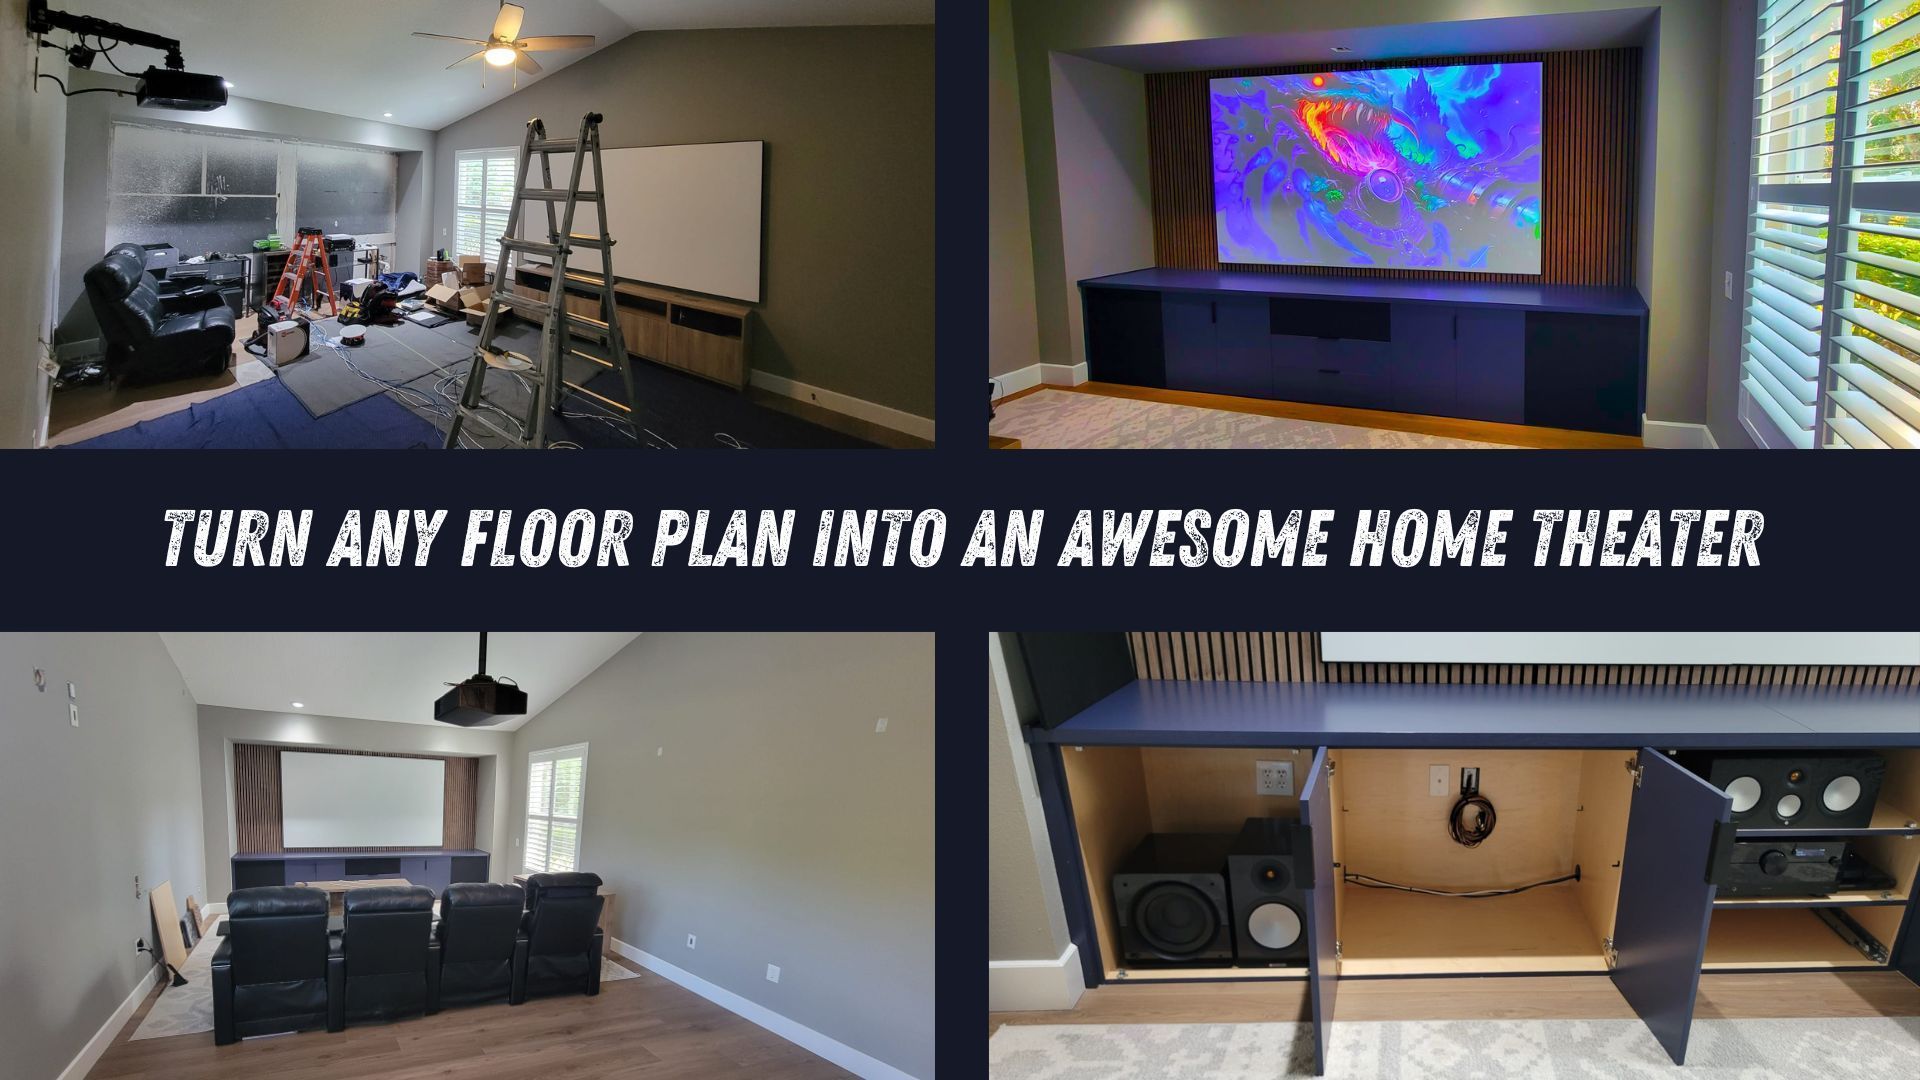
At Entertainment Pros, we've always emphasized the precision behind a perfect TV setup. Today, we're giving you a unique, behind-the-scenes look at how it all comes together, but with a twist!
We've captured the entire process, from unboxing to the final adjustments, in a timelapse video. Witness hours of work condensed into a little over 1 minute, showcasing the transformation of a space into an entertainment haven.
Let's make your install a smooth experience with this detailed breakdown of what we did in the video.
Planning
Every project starts with a plan. Proper planning makes the mounting of your TV easier and ensures you won't get stuck halfway through a job. Here's what to do:
- Layout your workspace: This is about creating an environment where you can move freely and access everything you need. Moving furniture and laying down protective pads will shield your floor and furniture from potential scuffs or damages.
- Organize your tools: A well-organized toolset means a more efficient workflow. By having everything ready and on hand, you'll sidestep any unnecessary pauses which might break your momentum.
- Organize your installation materials: This is about taking inventory and making sure you have all the necessary materials for a successful TV installation. In your mind, walk through how you are going to use the materials and tools in front of you for a successful install. If you notice something is missing. Now's the time to get it. You don't want to realize you are missing an anchor while holding an 98" TV.
Removal of Old TV
Removing your old TV is not just about taking it off the wall; it's about ensuring it's done safely, without causing damage to the device or your home.
- Safety first: Disconnecting all cables minimizes the risk of electrical mishaps. Designating a safe spot for your old TV ensures it remains undamaged, ready for repurposing or disposal.
- Handle with care: Remember, old doesn't mean obsolete. Many older models are much heavier and bulkier than their modern counterparts. Always approach with caution, ideally with a helping hand.
Prepping New TV & Location
When you're eager to enjoy your new TV, it's tempting to rush the mounting process. However, proper preparation is crucial to ensure the TV is securely fastened and at the ideal height for viewing. Let's dive deeper into these essential preparatory steps:
Prepping the TV Mounts:
Before even touching the wall, it's imperative to understand the mounting mechanism which will hold your TV.
- Understand Your Mount: Different TVs will have unique mounting points, typically located at the back. Familiarize yourself with your TV's manual to identify these points.
- Attach the Mount: Once identified, attach the TV bracket or mount adapters to these points. Ensure you use the screws provided, as they're specifically designed for your TV's weight and size. Tighten them securely, but be careful not to over-tighten, which might damage the TV.
Measuring the Wall for the Desired TV Location:
Your TV's position will impact your viewing experience, so it's essential to get it right.
- Determine the Ideal Height: Consider the height at which you'll be watching the TV. Ideally, when seated, your eyes should be level with the middle or bottom third of the screen. Use a measuring tape and perhaps some painter's tape to mark this height on your wall.
- Factor in Other Elements: Consider other factors like avoiding direct sunlight on the screen, positioning relative to seating areas, and proximity to power outlets.
Locating the Studs and Lag Screw Locations:
Your TV, while sleek and modern, is also heavy. A secure mounting ensures it won't take a dangerous tumble.
- Use a Stud Finder: Walls are supported by studs, typically wooden beams behind the drywall. These are the most secure points to attach your TV. Using a stud finder, locate and mark the studs in your desired mounting area.
- Determine Lag Screw Locations: Once you've identified where the studs are, align your wall-mount bracket with these points. Mark the exact locations where your lag screws (heavy-duty screws) will go. These screws will penetrate deep into the studs, providing a sturdy hold for your TV's weight.
- Ensure Leveling: Before drilling or screwing anything into the wall, use a level to ensure the mount bracket is straight. A crooked mount will not only look unappealing but might also compromise the safety of your TV installation.
Installing the Mount
The mount serves as the foundation for your TV. Ensuring its stability is crucial for the longevity and safety of your entertainment setup. Use a level for proper results! Reverify all dimensions for exact locations. Don't just trust what you did during the prep step.
- Position: Like hanging a picture frame but on a larger scale, ensuring your mount is level is paramount. This prevents undue stress on one side of the TV and ensures a straight viewing angle.
- Use the correct hardware: Always attach to wood studs, metal studs, plywood backer, or cement. Never attach to drywall, furring strips, or non-substantial structure. Wood requires lag bolts. Cement requires cement anchors- lag shields, Redhead anchors, or other suitable structural mounting (NOT TAPCONS!). Metal studs require metal stud anchors, not drywall screws or any other perforating screws. Think of how dangerous and expensive it will be if your TV falls, destroying your TV, floor, furniture, or worst of all, injures anyone.
- Safety checkpoints: A mount's rigidity is its strength. This step isn't just about ensuring the TV stays on the wall, but about guaranteeing the safety of everyone who sits in front of it. Hang on the mount to verify rigidity. If it isn't solid and secure, redo it! If it moves or flexes, redo it!
Hanging the TV
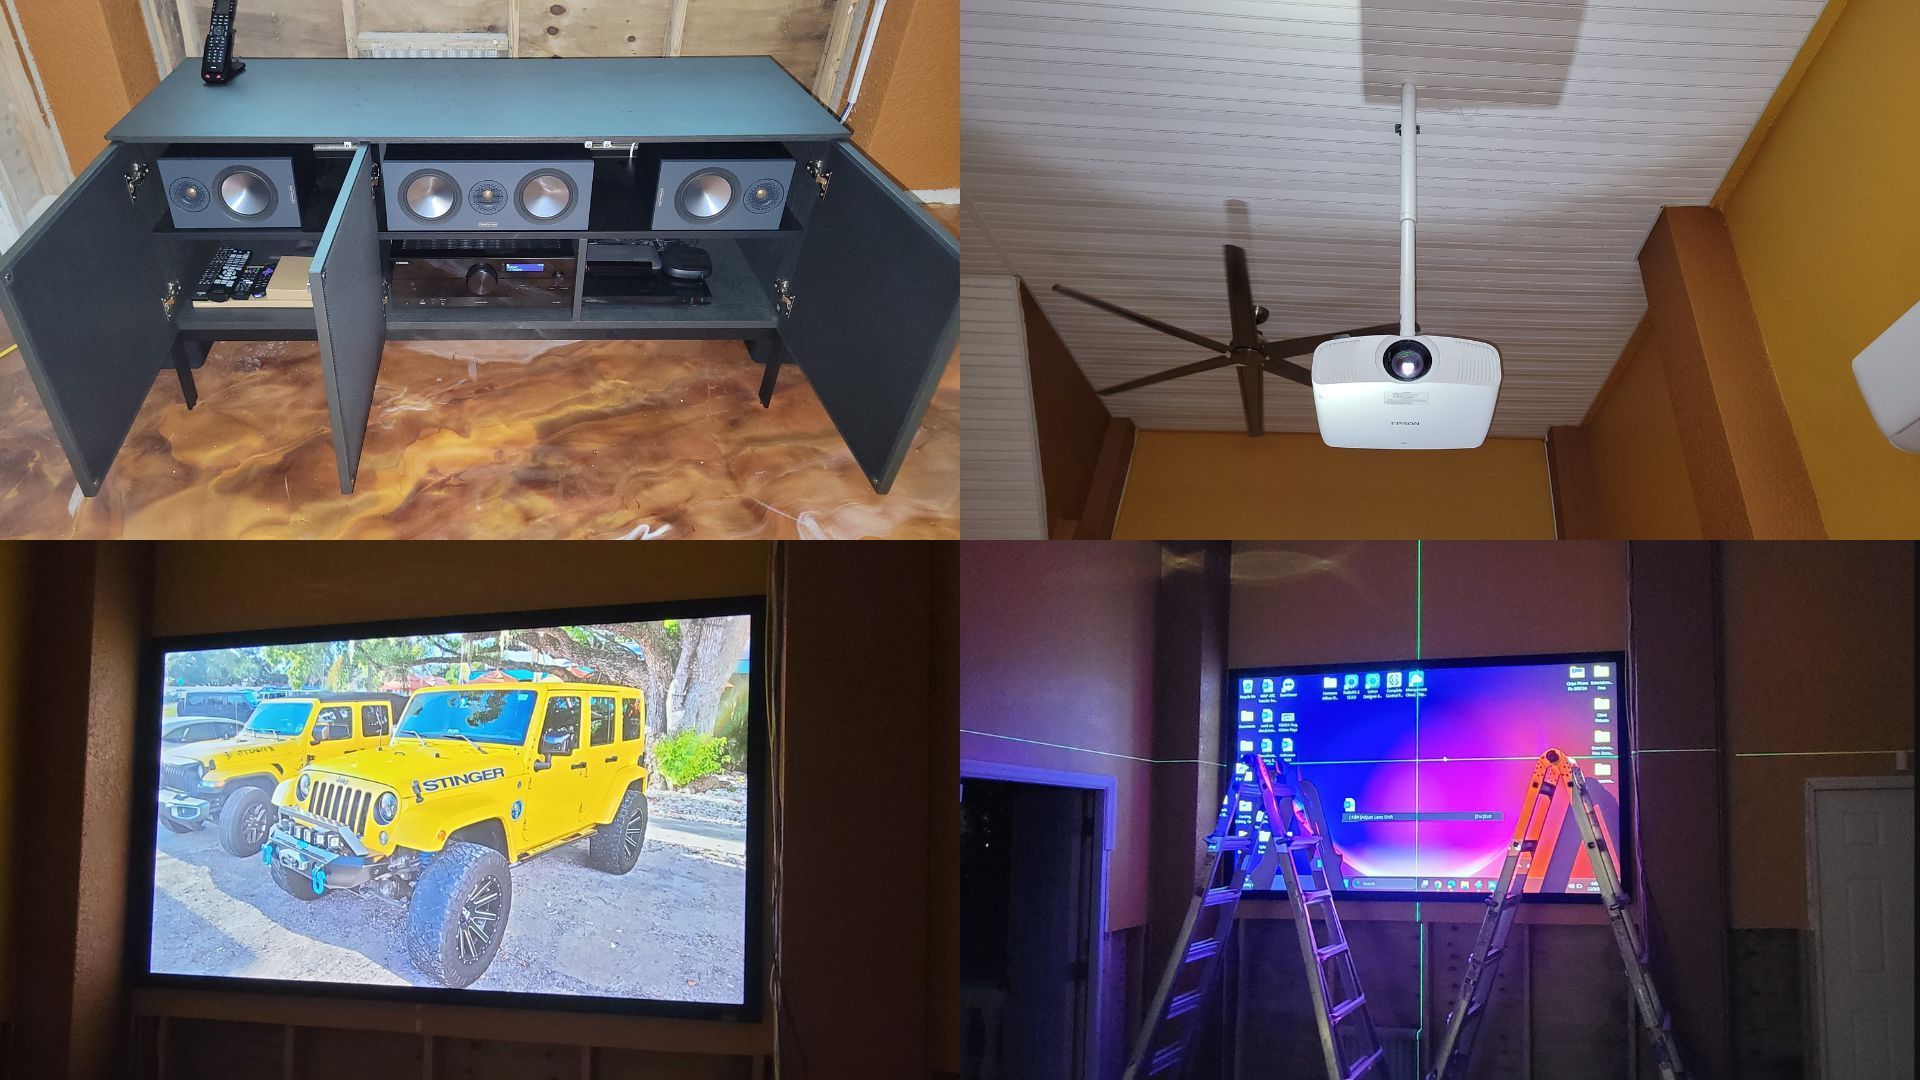
Though newer TVs tend to be lighter, their large screens and slim builds make them delicate, especially thinner and larger models like this 98" Samsung.
- Handle delicately: A simple thumbprint might be easy to clean, but excessive pressure can cause irreparable damage. Always hold from the sides or frame, never the screen.
- Secure placement: Ensuring the TV is securely hooked means peace of mind. Double-checking can make the difference between a secure installation and a costly accident.
Verifying Connections and Hardware
The aesthetics of a mounted TV can be captivating, but what truly brings your TV to life is the number of connections running behind the scenes. Ensuring these connections are "connected" is paramount for the best experience.
- Surge Suppressors: Power surges can be the silent killers of electronics. By including a surge suppressor in your setup, you're adding a layer of protection against unexpected power spikes which can harm your TV or connected devices. Think of this as an insurance policy for your entertainment system.
- Cable Management: As you connect various cables – HDMI, optical, power, and others – ensure they are neatly organized. Not only does this make the setup look tidy, but it also reduces the risk of cables getting tangled, pinched, or accidentally unplugged.
- Secure and Test: Each connection should be snug but not forced. Once everything is connected, test each component. Play a video to check the visuals and audio. Cycle through different inputs to ensure all connected devices are recognized and functioning.
Programming
Now the TV is up and physically set. It's time to make it come alive with your favorite channels, streaming services, and settings.
Configuring the TV Network: Decide whether you're connecting your TV to the internet wirelessly or via an ethernet cable. A wired connection often offers more stability, while Wi-Fi provides flexibility in placement. If using Wi-Fi, navigate to the network settings, find your home network from the list, and enter the password to connect.
Video Settings Calibration: In the picture settings menu, adjust the brightness, contrast, color, and sharpness to get the best visual output for your room's lighting and viewing distance.
Audio Settings Calibration: In the audio settings, tweak the bass, treble, and balance. If your TV has preset sound modes (like "Movie" or "Sports"), experiment to find what sounds best for your space.
Software Updates: Ensure your TV has the latest firmware or software. Updates can bring new features, security patches, or performance improvements.
Program Universal Remote or Control System: If you're using a universal remote, follow its manual to program it with your TV and other devices. This consolidation allows you to control multiple devices from one remote, streamlining the experience.
Testing All Sources: Cycle through all input sources (e.g., HDMI1, HDMI2, AV) to ensure each connected device (like gaming consoles or Blu-ray players) is recognized and displays correctly.
Verifying Streaming Audio and Video: If you use built-in streaming apps on your TV or external streaming devices, play a few minutes of content to ensure both audio and video are clear, synced, and buffer-free.
Ensuring Reliable Control: Test the responsiveness of your remote or control system. Ensure volume adjustments, channel changes, and menu navigations occur without lag or glitches.
Clean up
A clean workspace is a reflection of a job well done. It also sets the stage for you to truly enjoy your new entertainment setup.
- Tidiness: Disposing of packaging and rechecking the TV's positioning means there are no distractions when you sit down to watch.
- Care for your screen: Your TV screen is both the most important and the most delicate part of the device. Proper cleaning ensures clarity without risking damage. Clean screen with appropriate screen cleaning fluid and clean microfiber cloth. Never use non-approved liquids or solvents on a TV screen, you may destroy it. A dirty or coarse cloth or rag can also permanently scratch your screen.
Happiness
After meticulously setting everything up, the moment of true delight has arrived. It's time to bask in the satisfaction of a job well done. Now, all that's left is to sit back, relax, and immerse yourself in the world of entertainment.
Other Options for Hanging a TV
If hanging and setting up a TV seems questionable or daunting, call us. We have been hanging TV's since before the first plasmas existed. We have installed thousands of TVs including $20,000 Pioneer Elite Plasmas, 36" Sony Grand Vega XBR when they were over 2' deep and weighed 237 pounds. A 98" QLED TV, TVs on lifts which rise from cabinets or drop down from attics. You name it, we have probably done it.! It's your choice whether you do it yourself, or trust the handyman with the minivan.
Read our reviews, we can be trusted to install yours safely.
Want to see more AV projects? Go to our portfolio page and see what we've been up to.