TV Installation and Mounting: Entertainment Pros Proven Process
Say Goodbye to Crooked TV Mounts:
The Foolproof Guide to TV Installation
Chip Tollefson here - the owner of Entertainment Pros, and I'm going to walk you through our tried-and-true process for installing and mounting a TV. Follow these steps, and you'll have your TV up and running in no time.
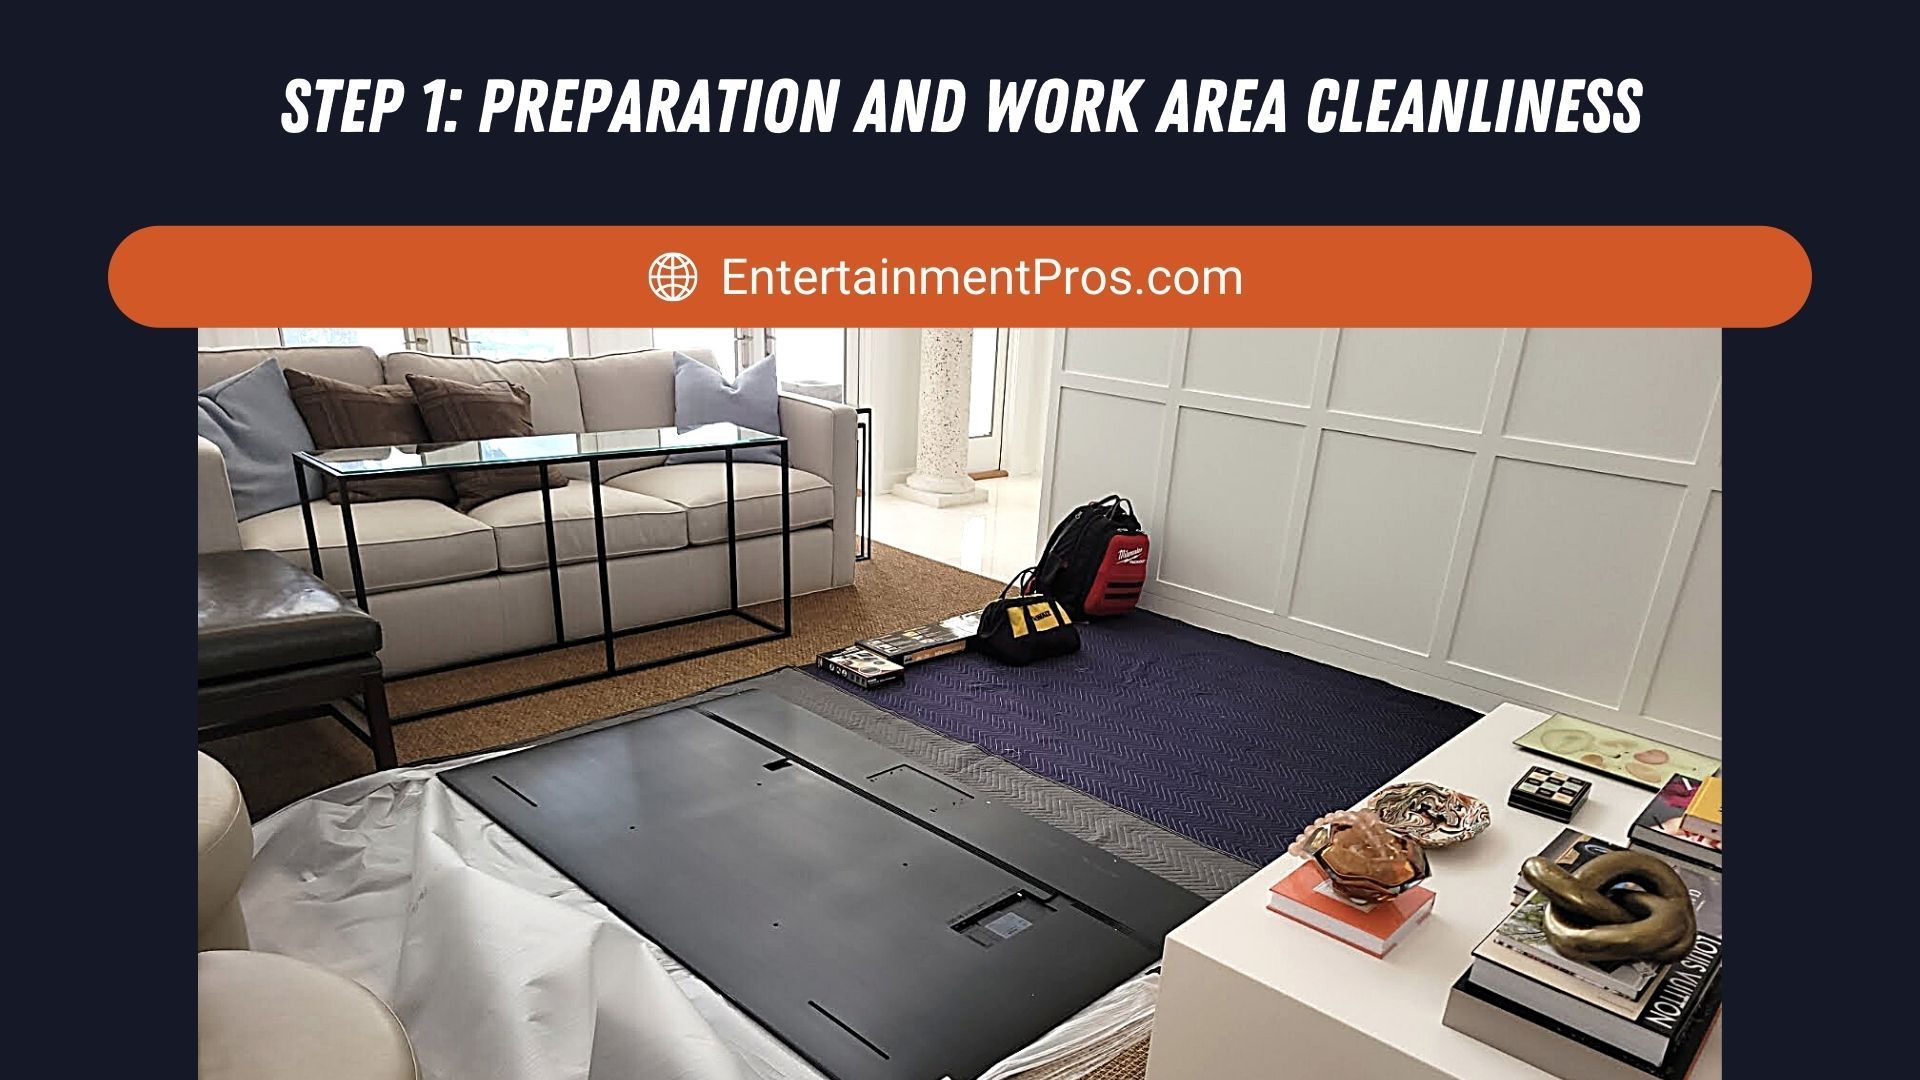
Step 1: Preparation and Work Area Cleanliness
Before we start any installation, we prep the area where the TV will be mounted, ensuring the workspace is clean, organized and free from any obstacles. This not only keeps things safe but also makes the whole process more efficient.
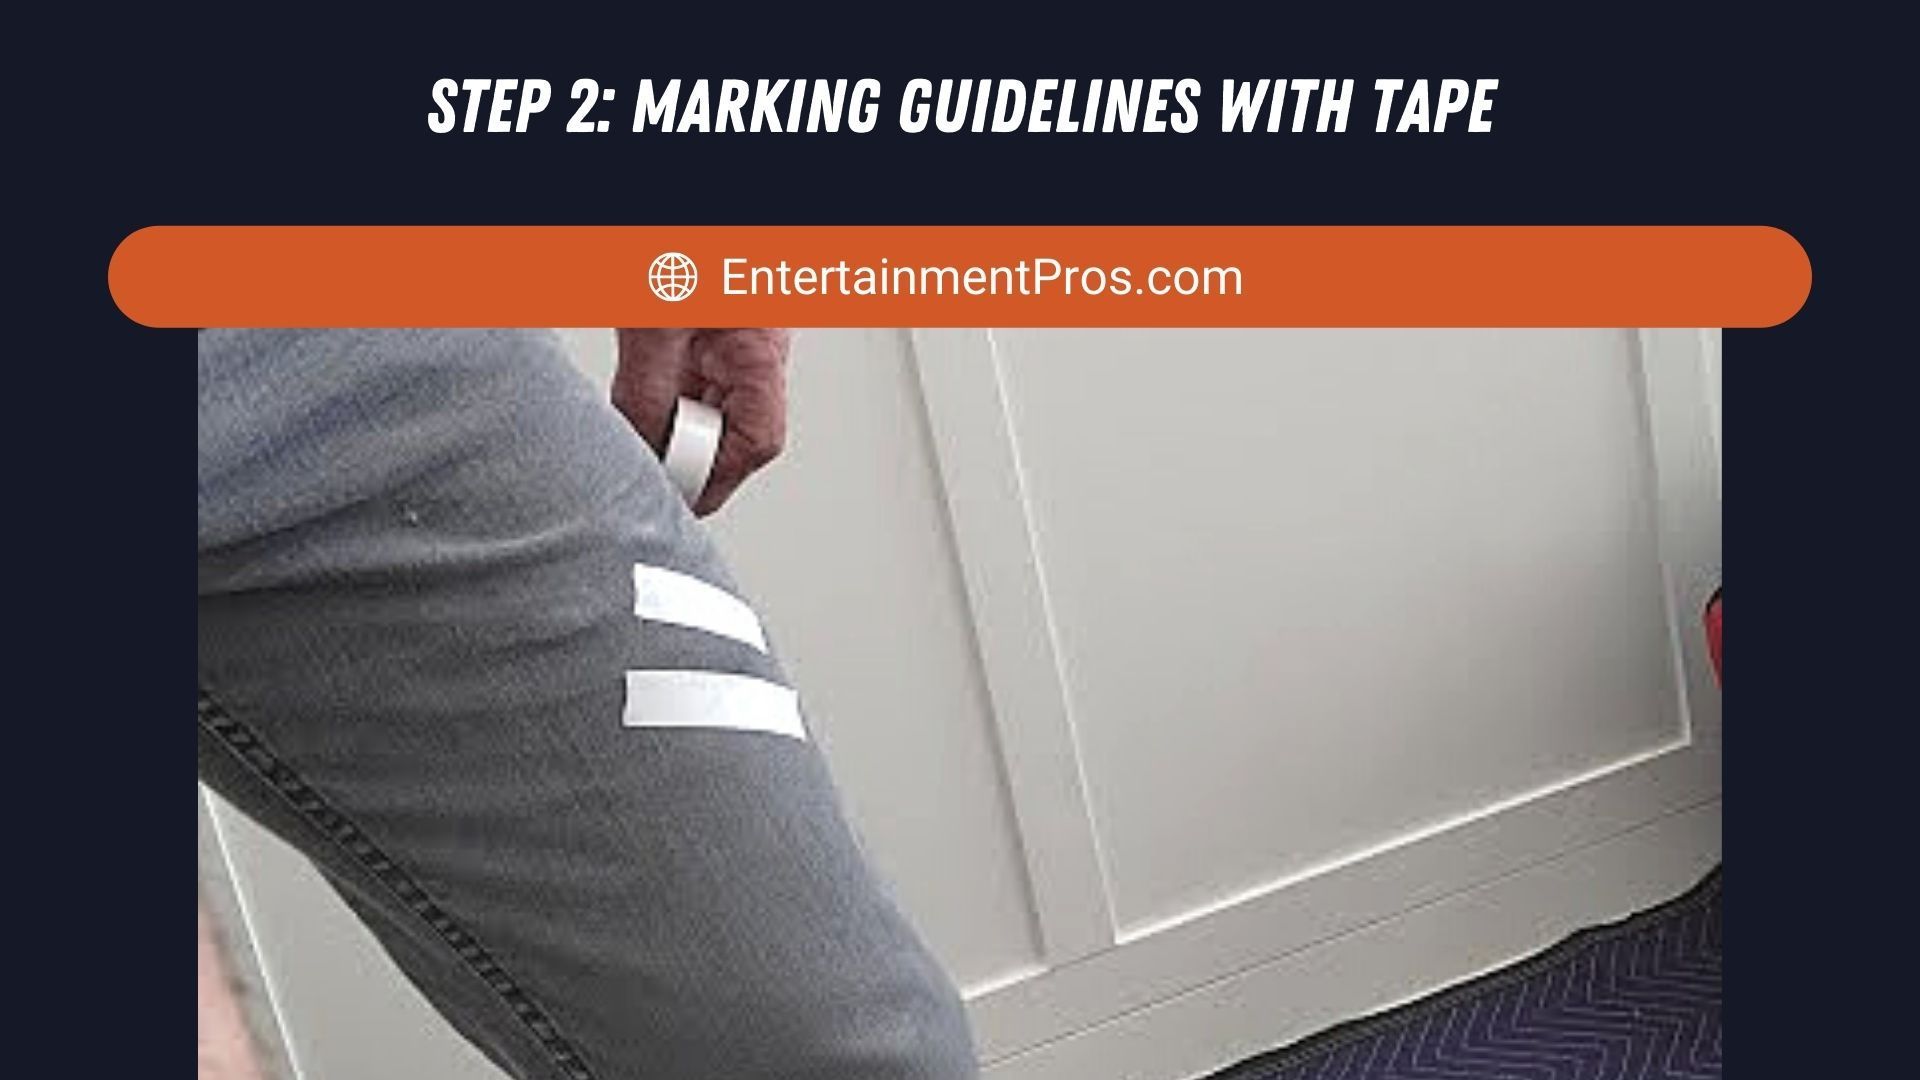
Step 2: Marking Guidelines with Tape
Use white electrical tape (or painter's tape) to mark the top, bottom, left, right, and center guidelines on the wall. This helps achieve the perfect layout for the TV installation. PRO TIP: Place the tape on your leg first to reduce its tackiness and prevent paint from being pulled off the wall when it's removed later.
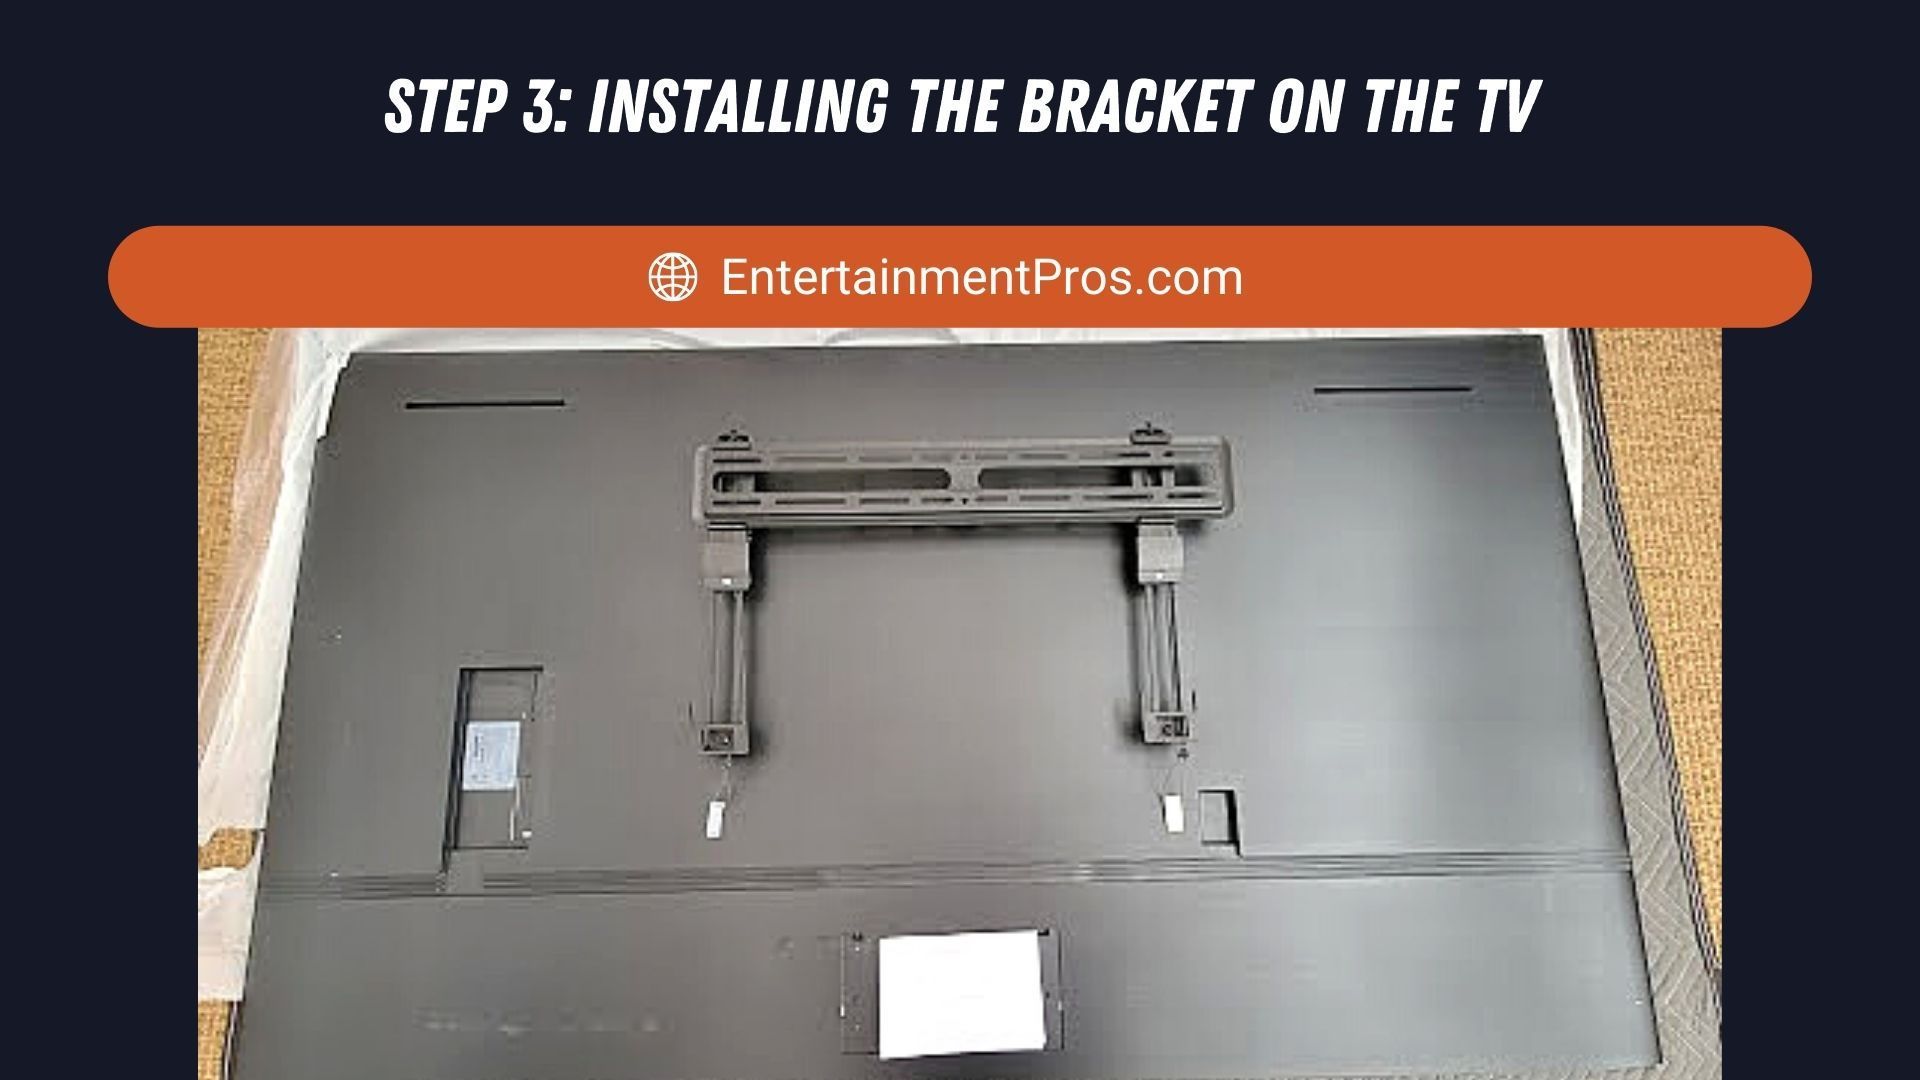
Step 3: Installing the Bracket on the TV
Next, attach the bracket to the rear of the TV, making sure it's level and secure. A stable foundation is key for a safe and sturdy TV mount.
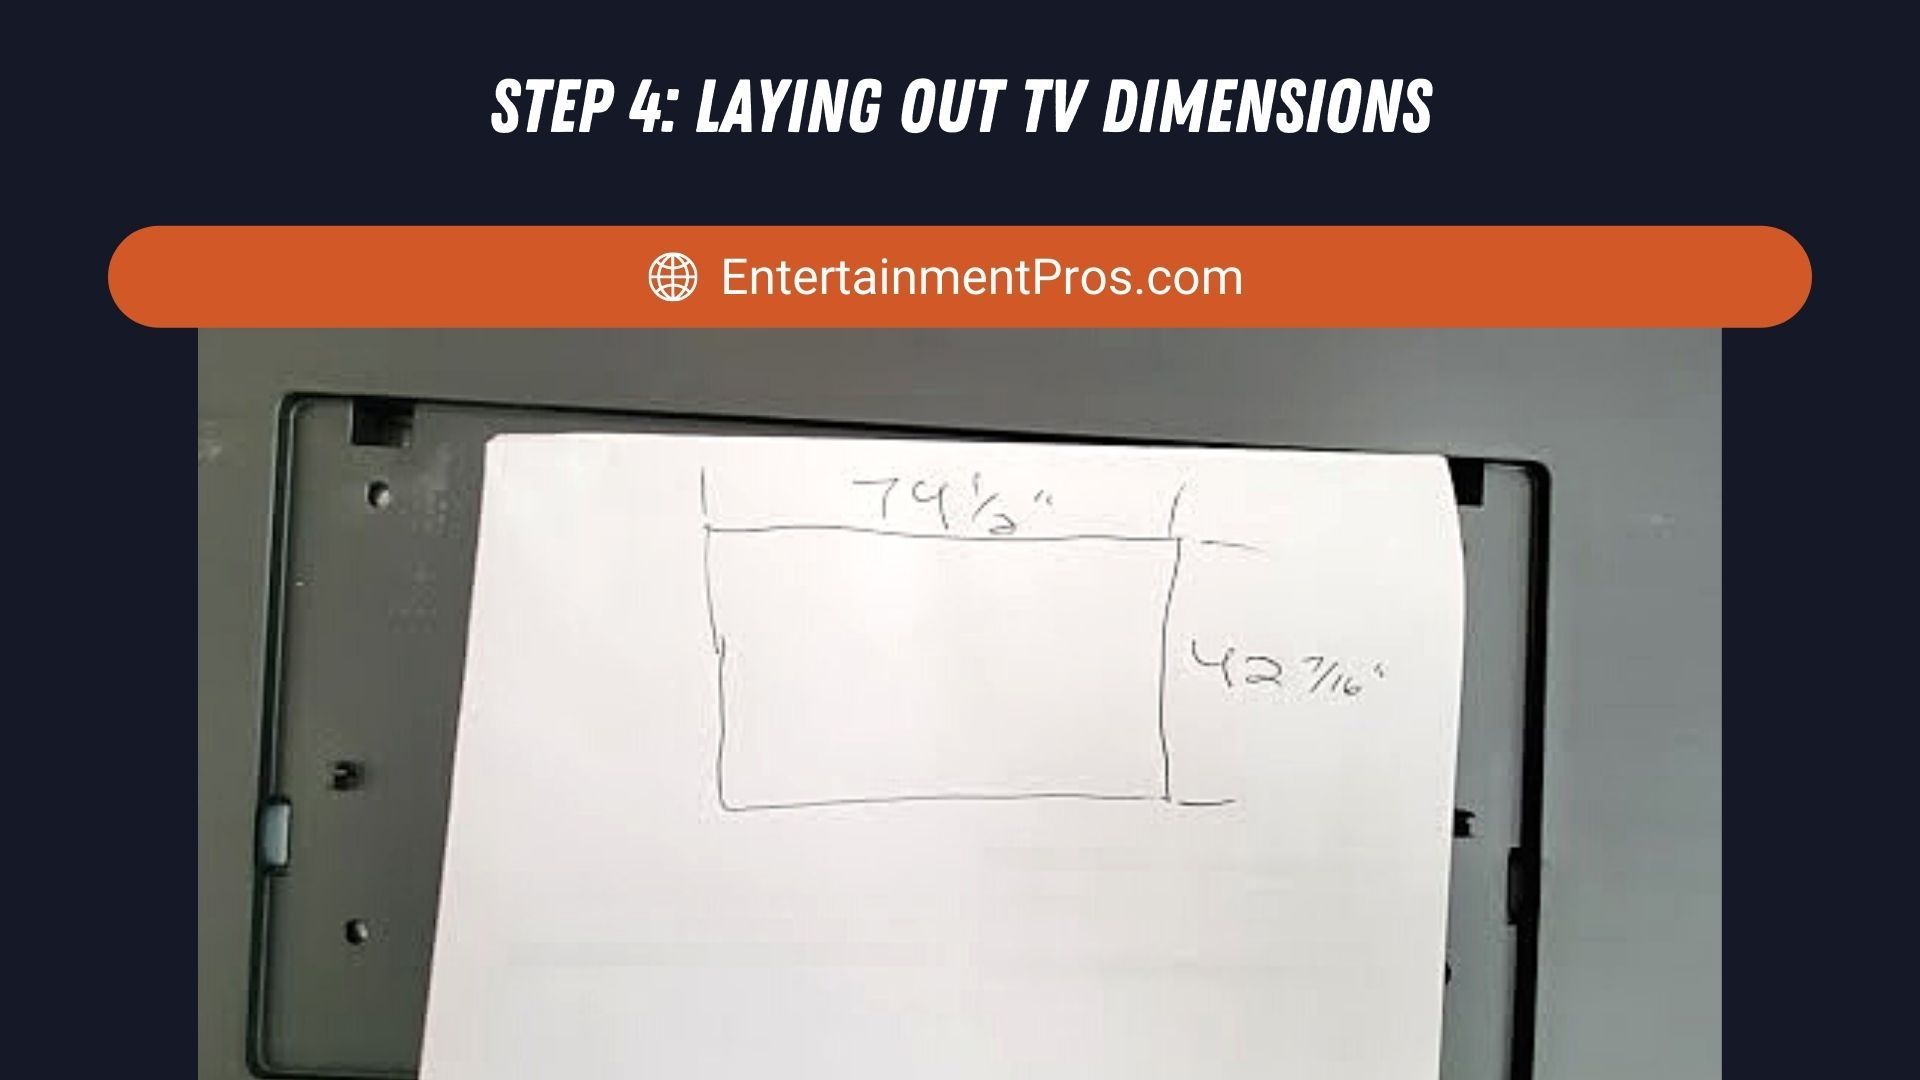
Step 4: Laying Out TV Dimensions
To start the installation process, lay out the dimensions of the TV on the wall. This helps visualize the final placement and ensures the measurements are accurate.
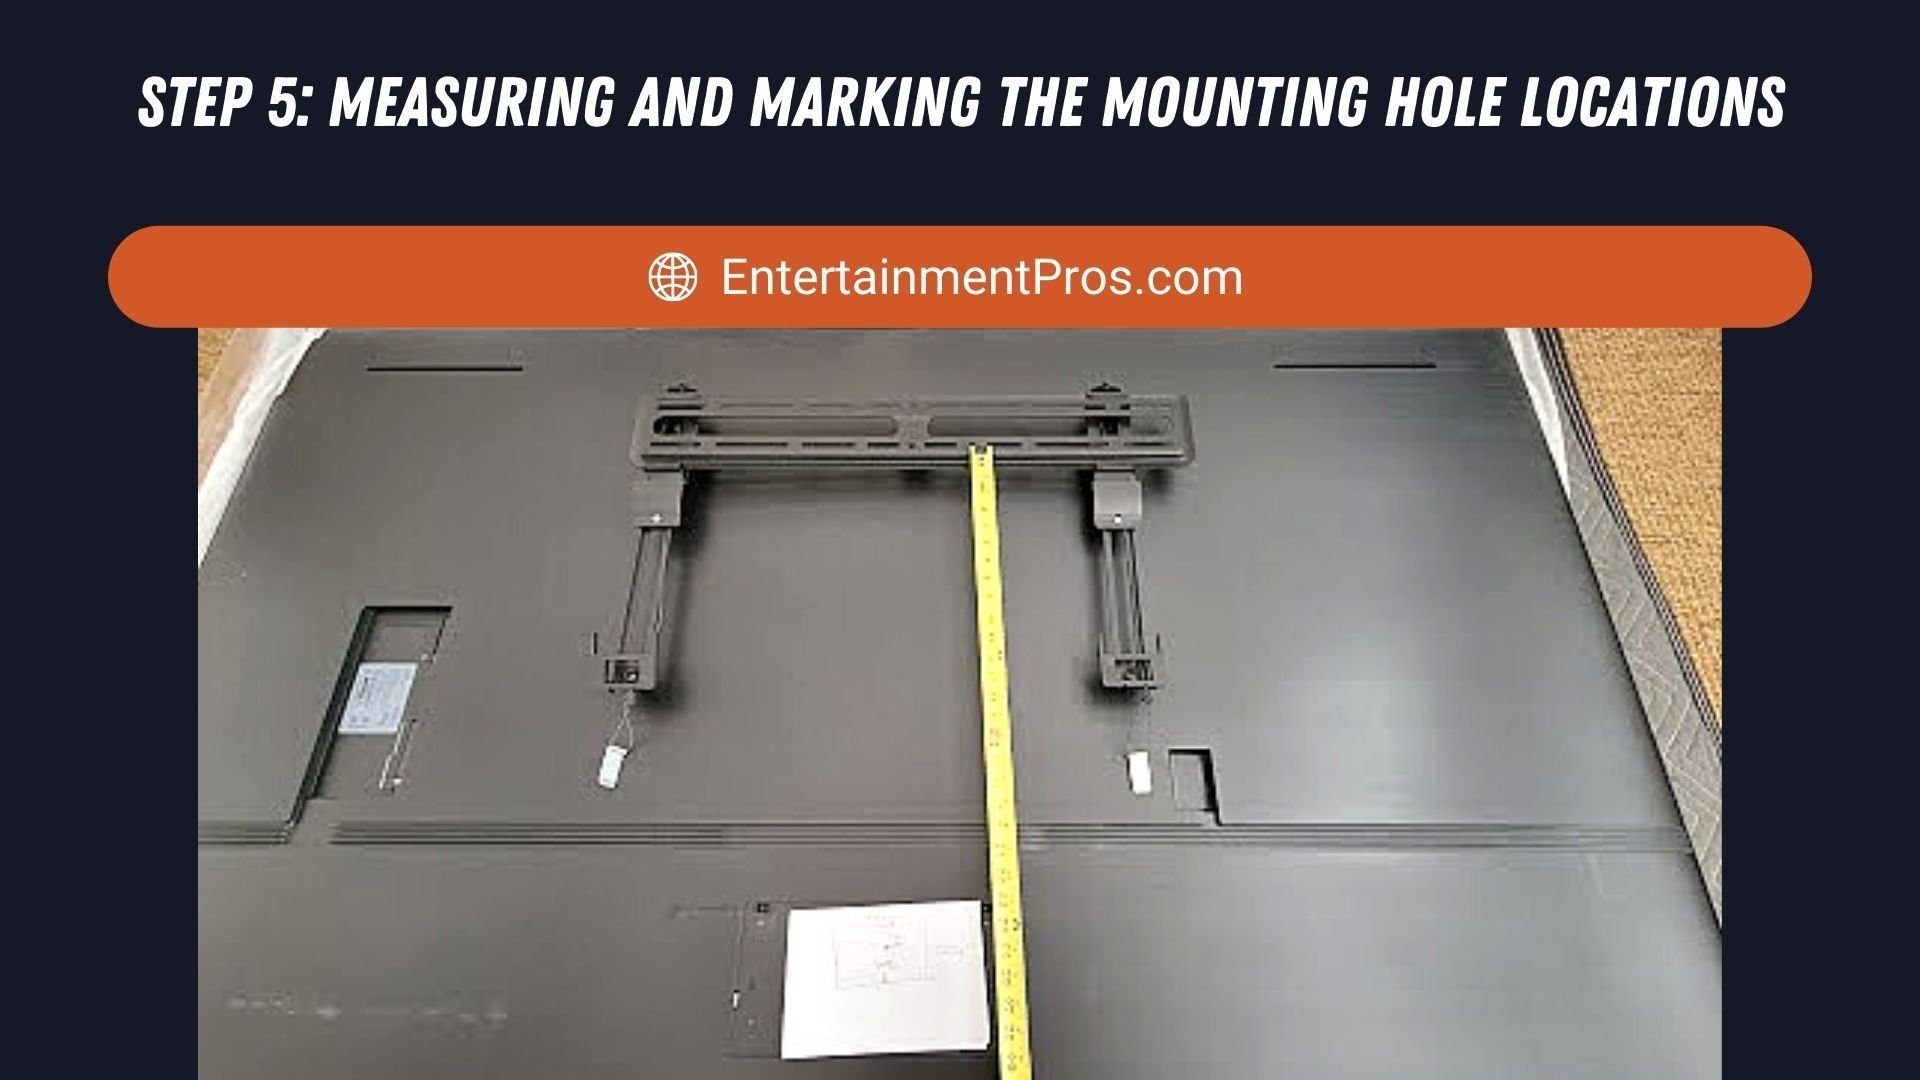
Step 5: Measuring and Marking the Mounting Hole Locations
Measure the distance from the bottom mounting hole of the mount to the bottom edge of the TV. Then measure the desired height for the bottom edge of the TV once it's mounted and add the previous measurement to this. This determines the location for the bottom mounting hole. Always double-check all measurements and write them down on the white tape to avoid marking up the wall paint.
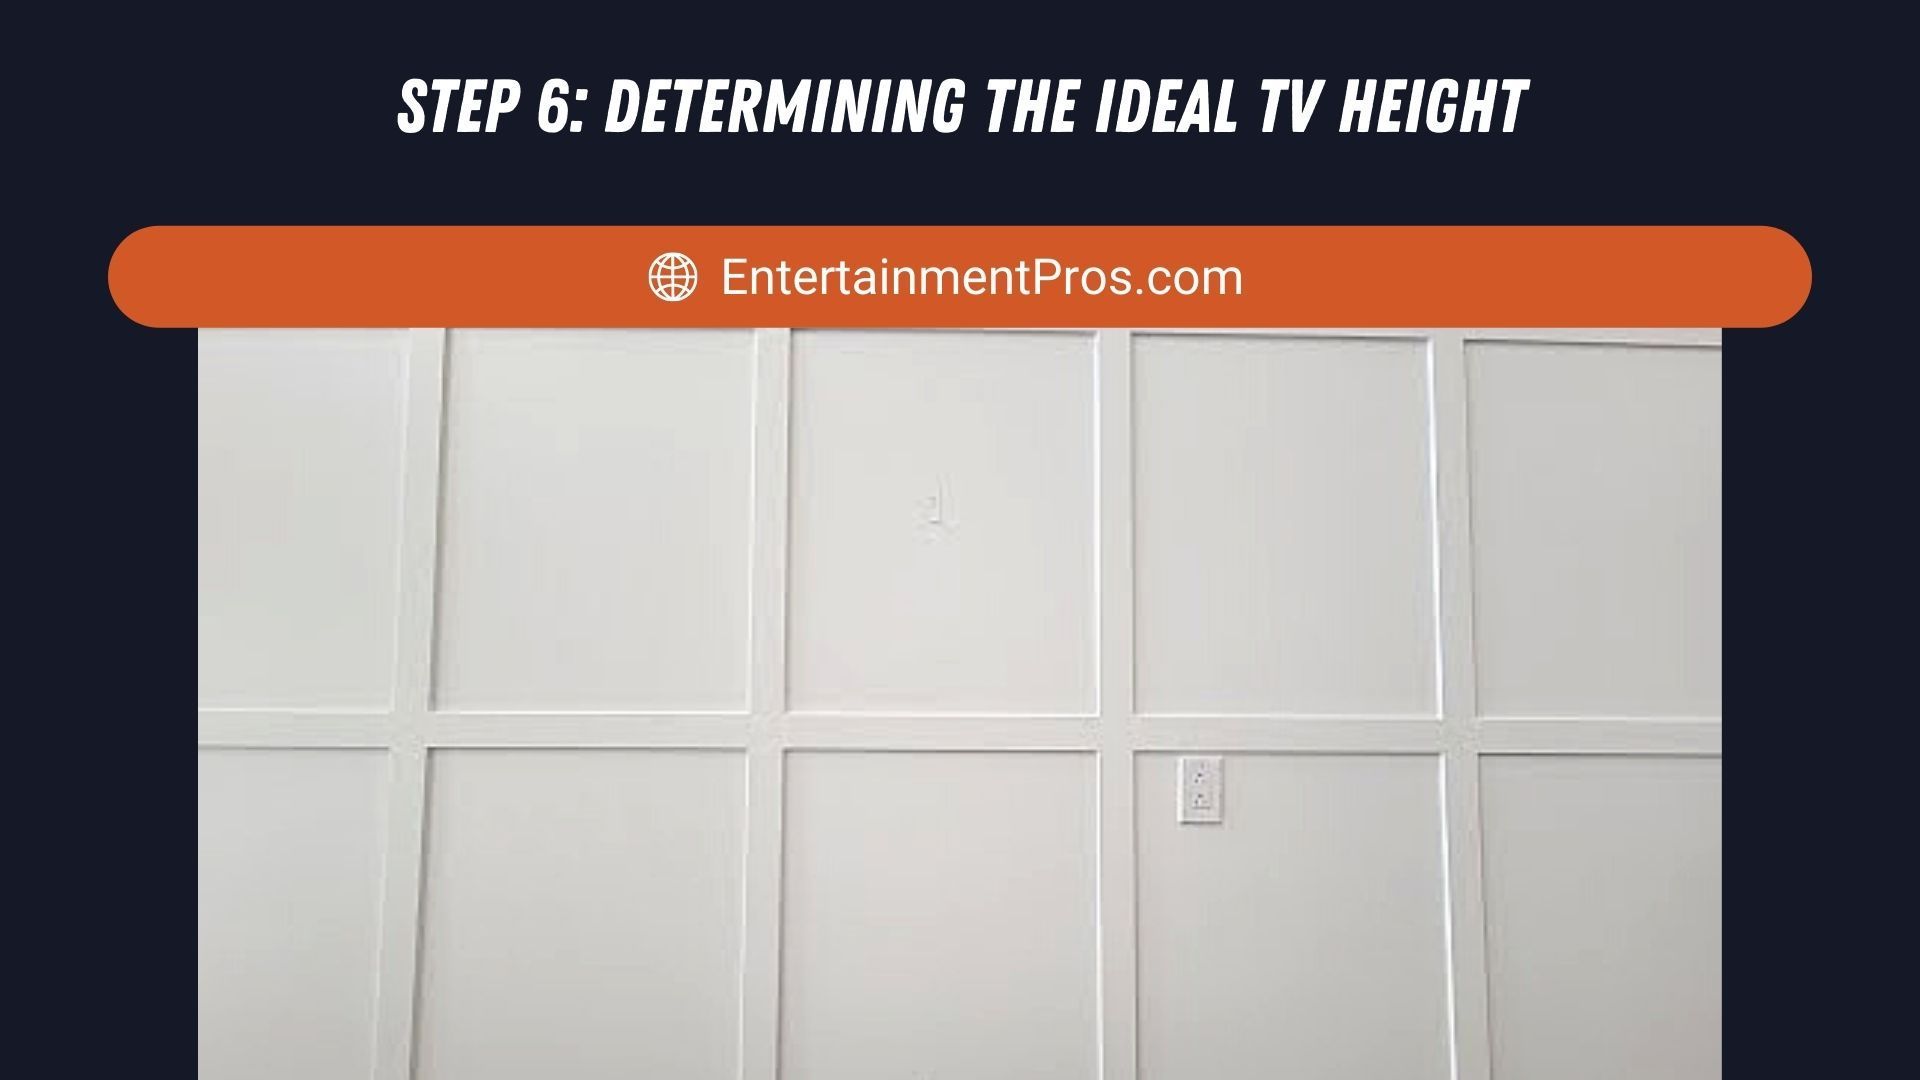
Step 6: Determining the Ideal TV Height
These days, most TVs are installed at "Art Height," meaning your eyes should be about 2/3rds of the way up the TV screen. Place white tape on the wall to mark the top and bottom edges of the TV, providing a visual reference for the installation.

Step 7: Positioning the Wall Mount
Align the wall portion of the mount with the bottom mounting holes, using the previously marked locations as a guide. It's essential to make sure the mount is level before moving on to the next step.
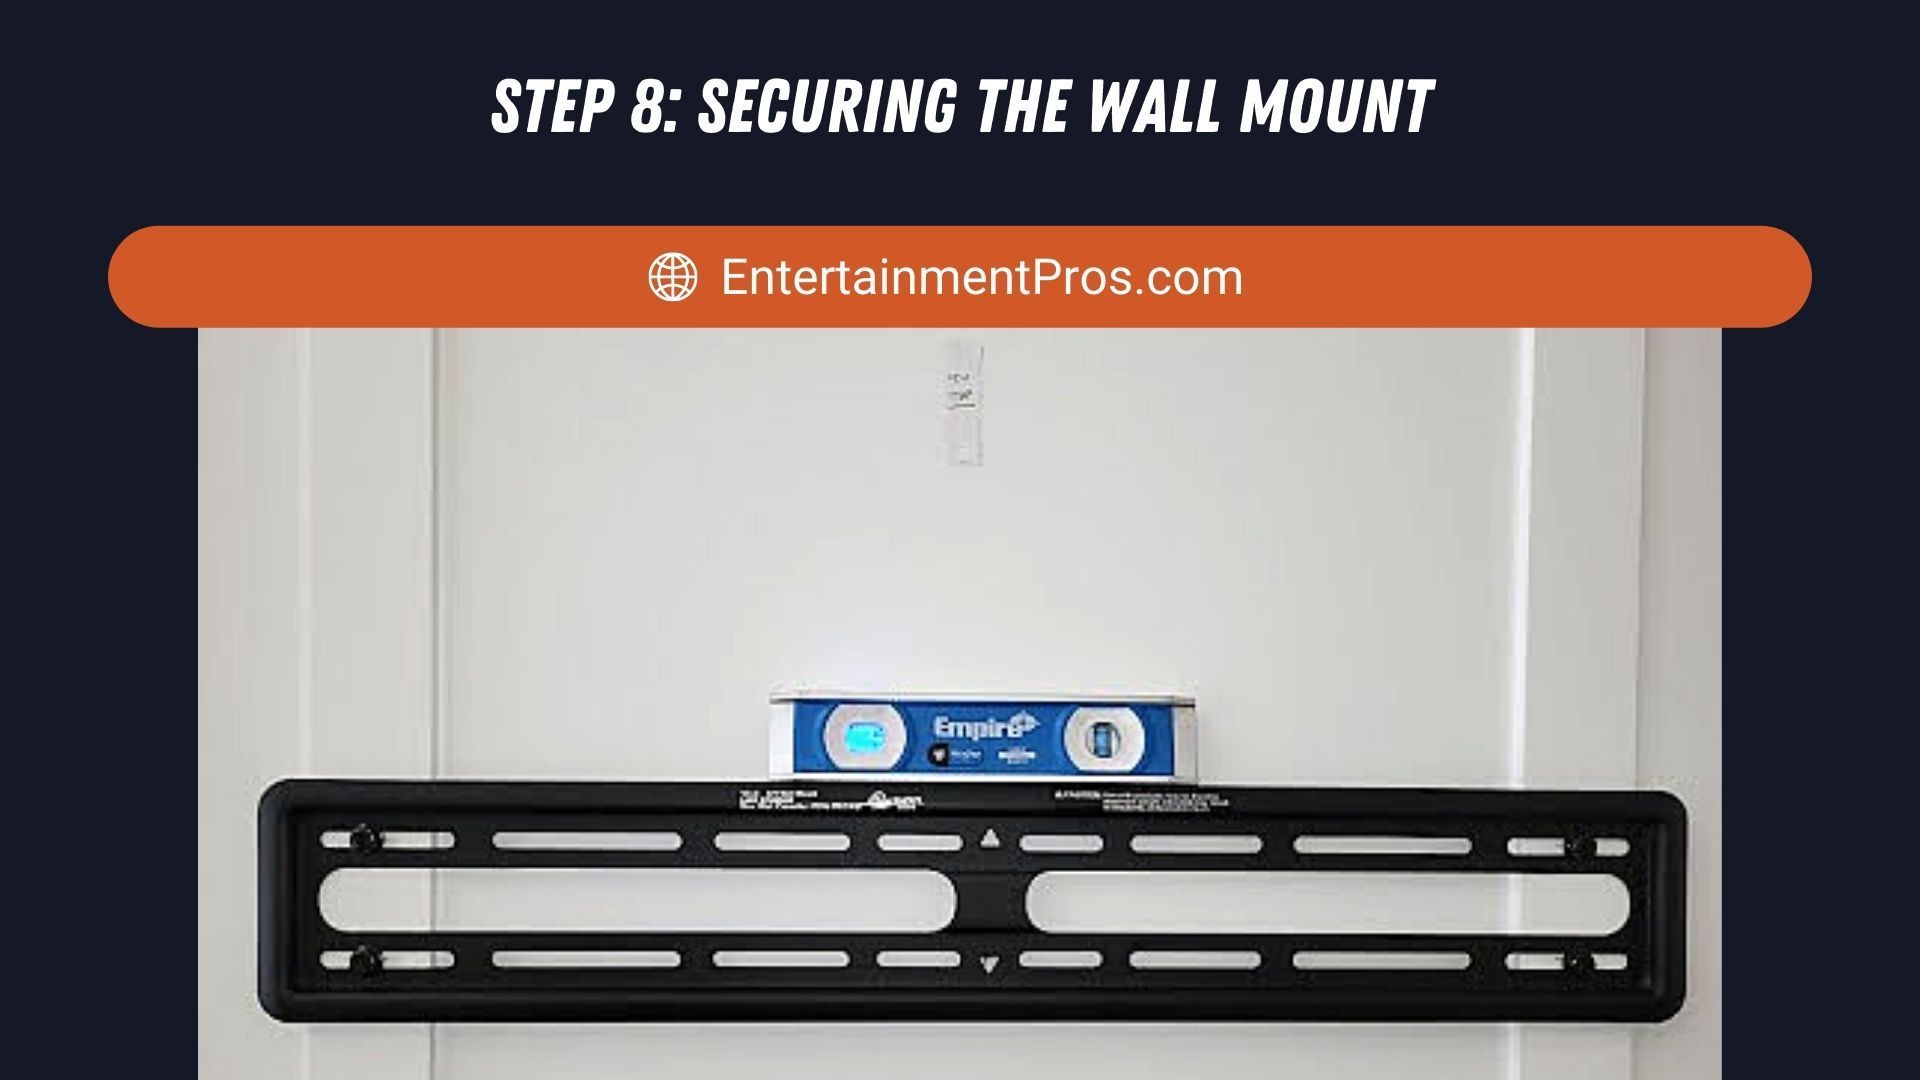
Step 8: Securing the Wall Mount
Next, drill pilot holes and install the mounting lag bolts or cement anchors, depending on the wall's substrate. If you're unsure about this process, don't hesitate to consult a professional for assistance. Remember, some anchors, like Tapcons, may not be suitable for installing TVs or other heavy items.
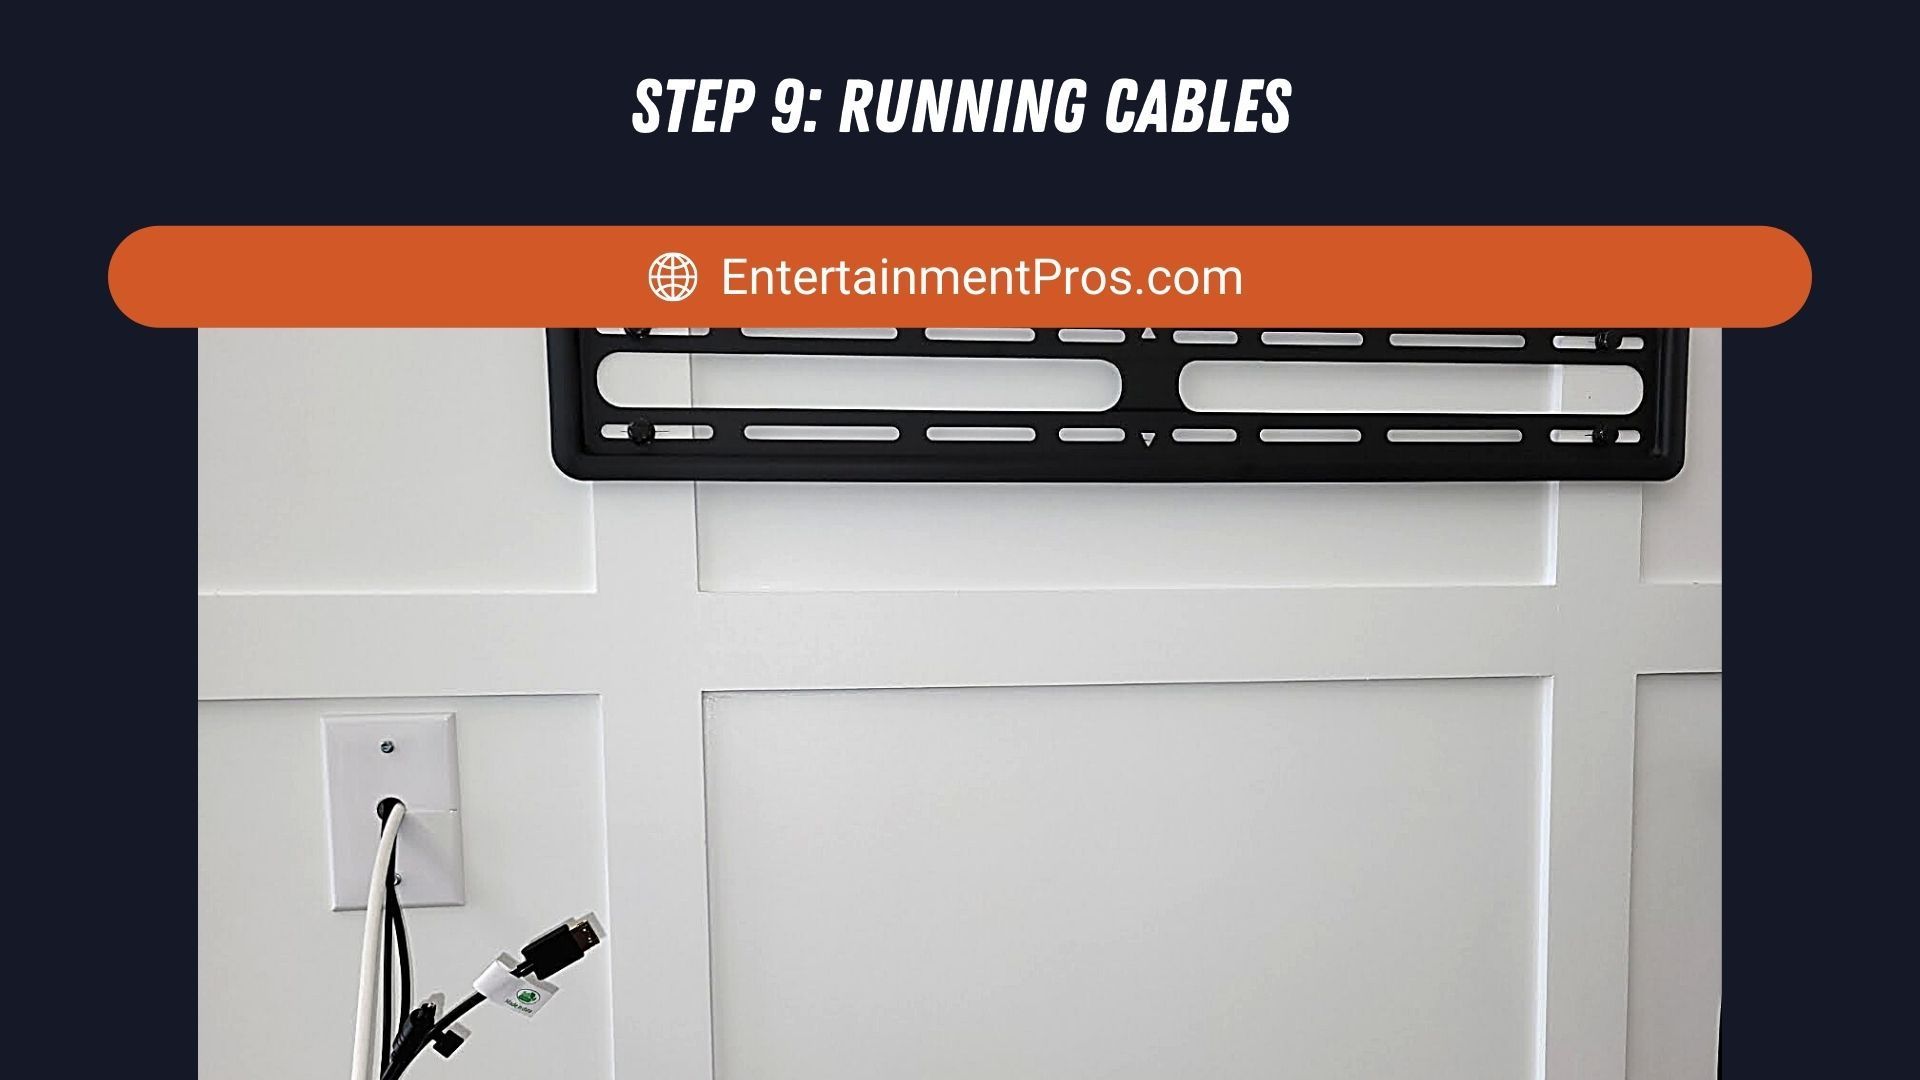
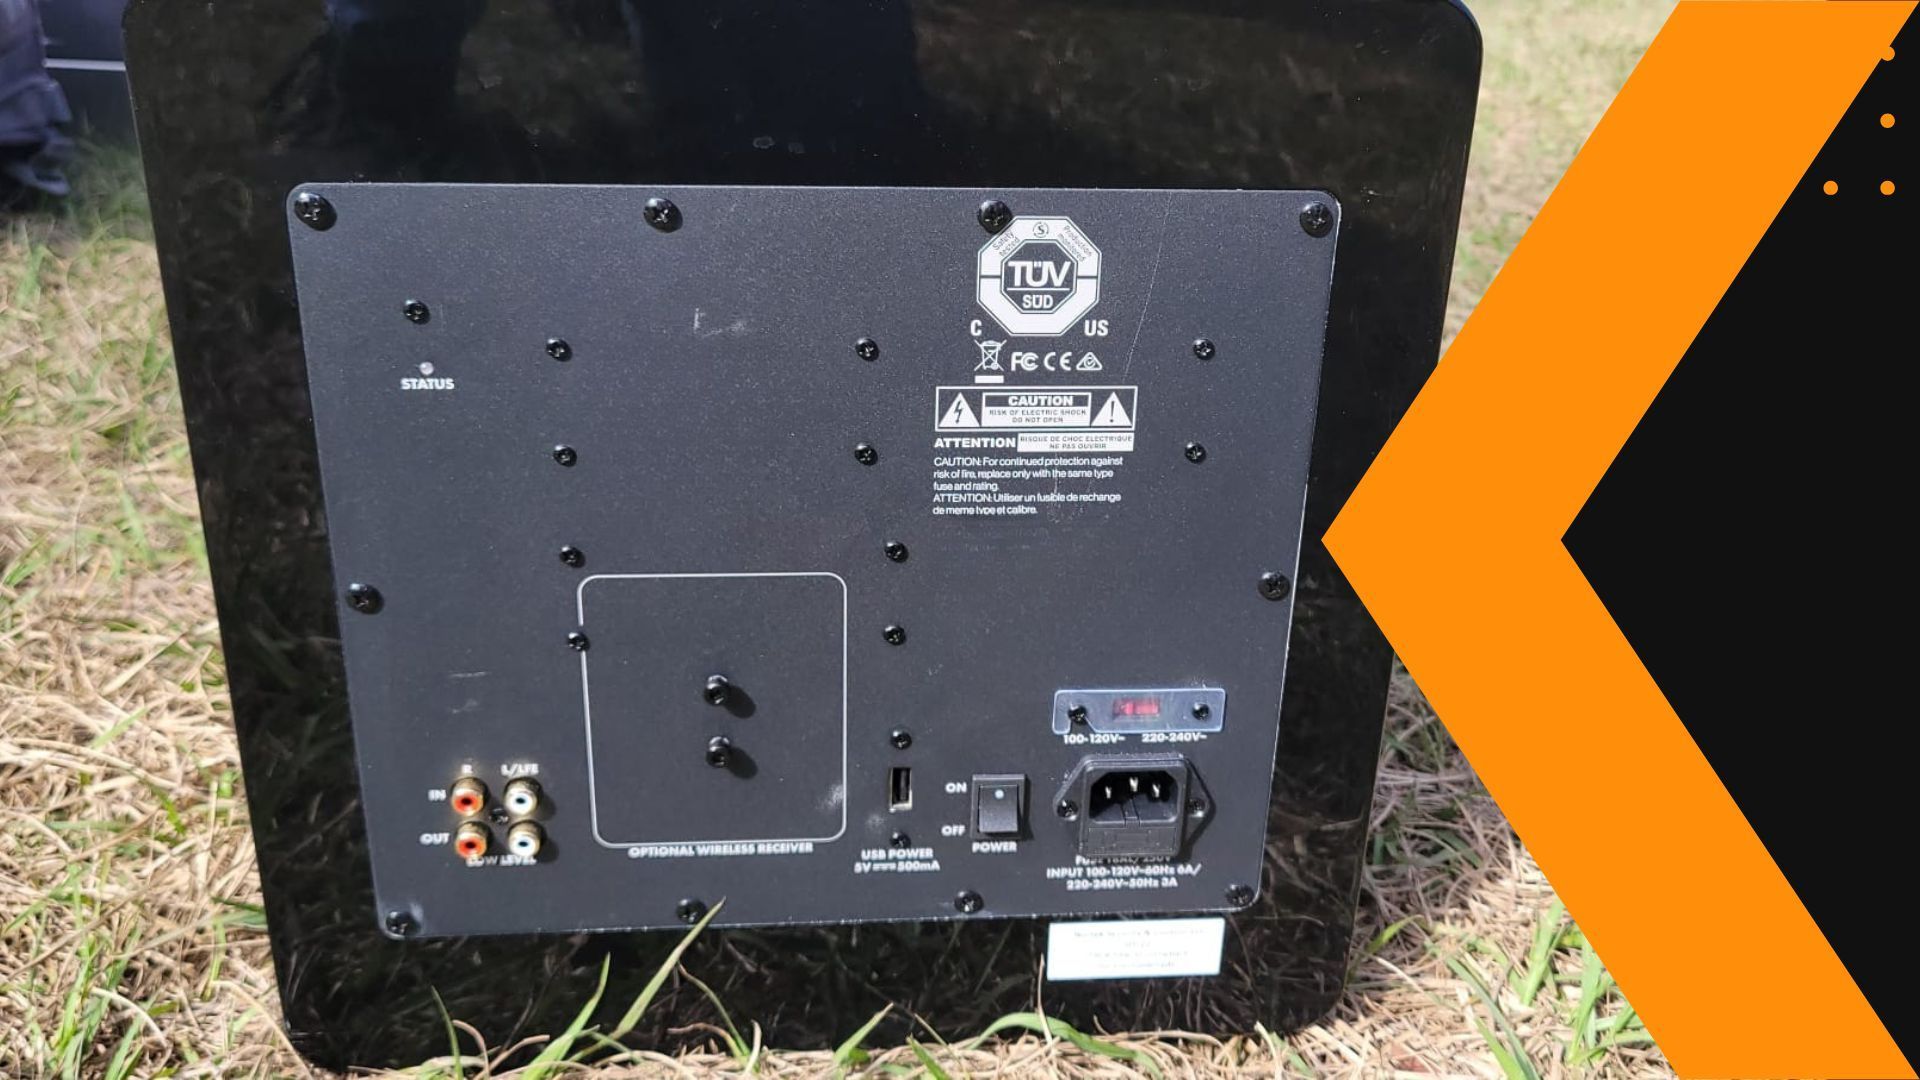
Step 9: Running Cables
Running cables down the wall is too lengthy to cover here but typically we use HDMI cables for video and optical cables for audio. Most newer TVs also support ARC (Audio Return Channel) via HDMI and we always check to confirm the ARC control does not clash with the client's existing control system. Also, TV power cords should NEVER be run down the wall. Call an electrician to install an outlet behind the TV if one is needed.
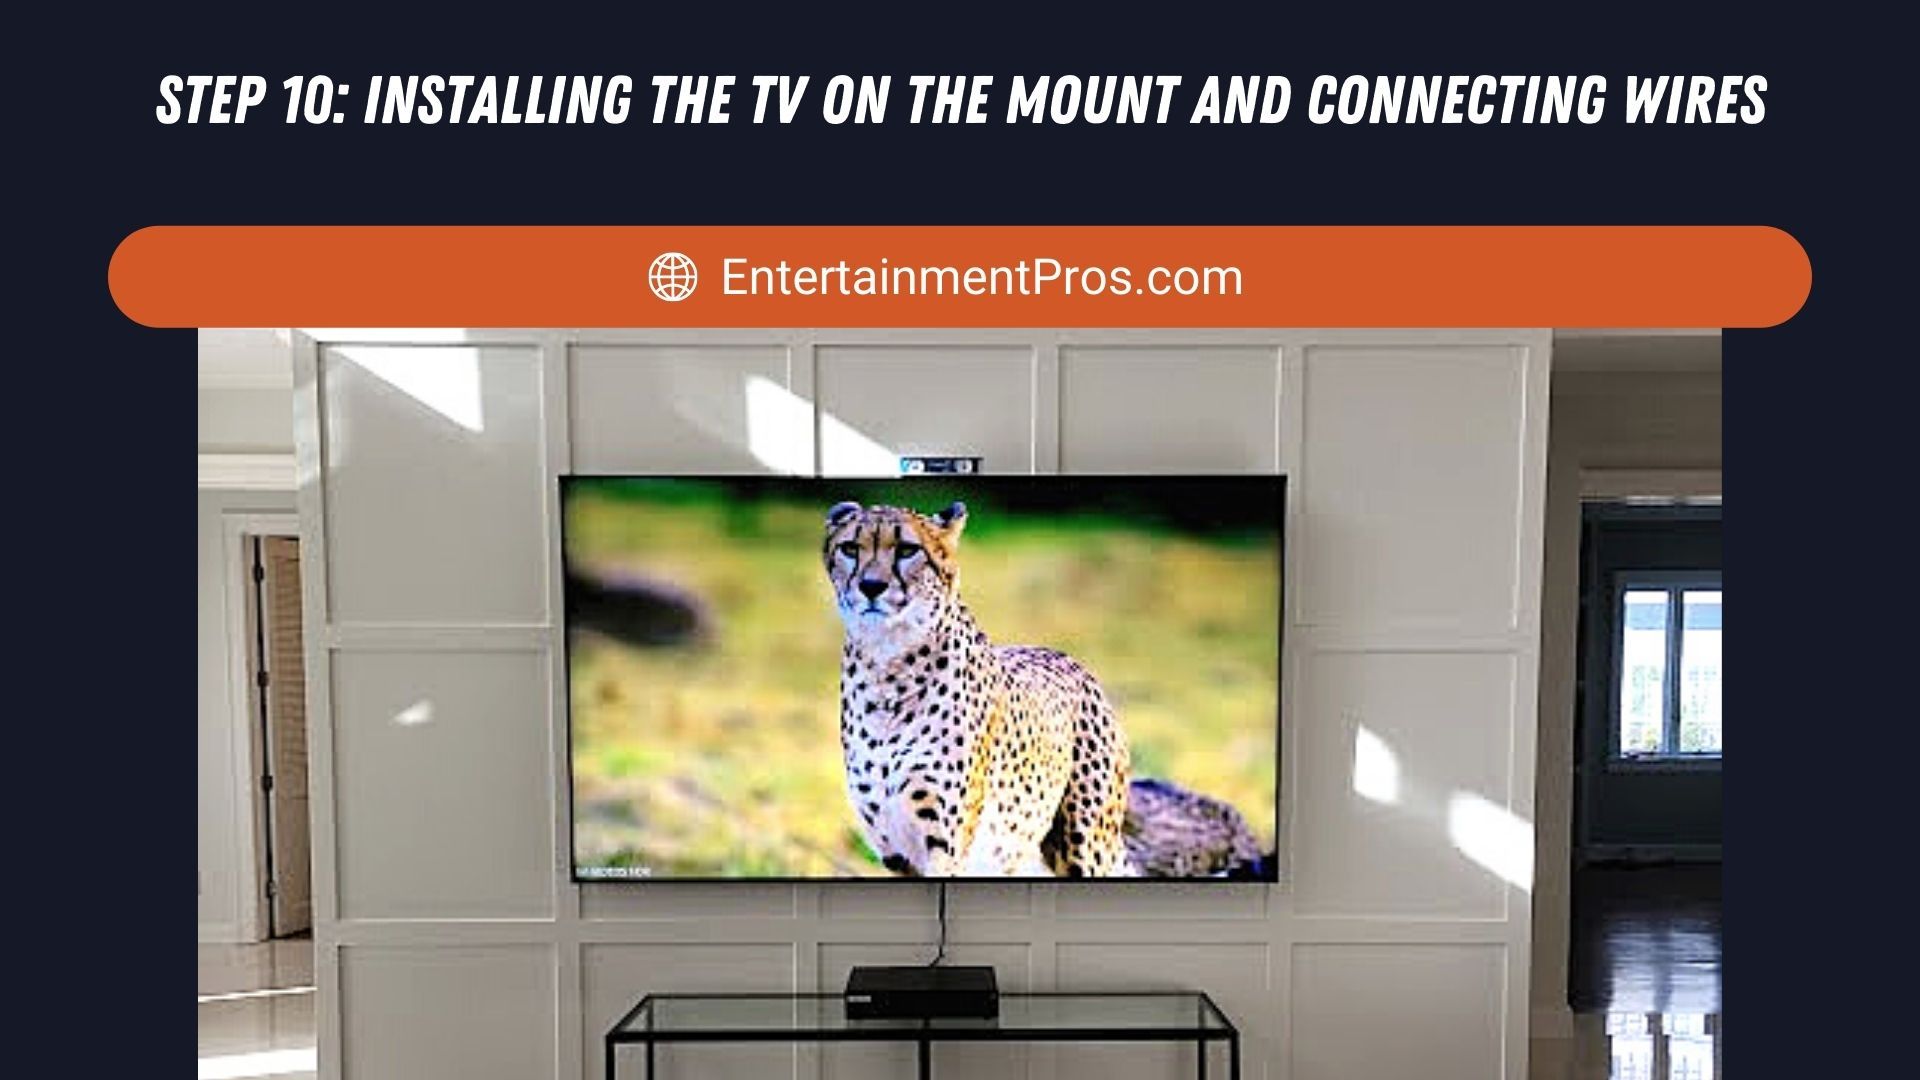
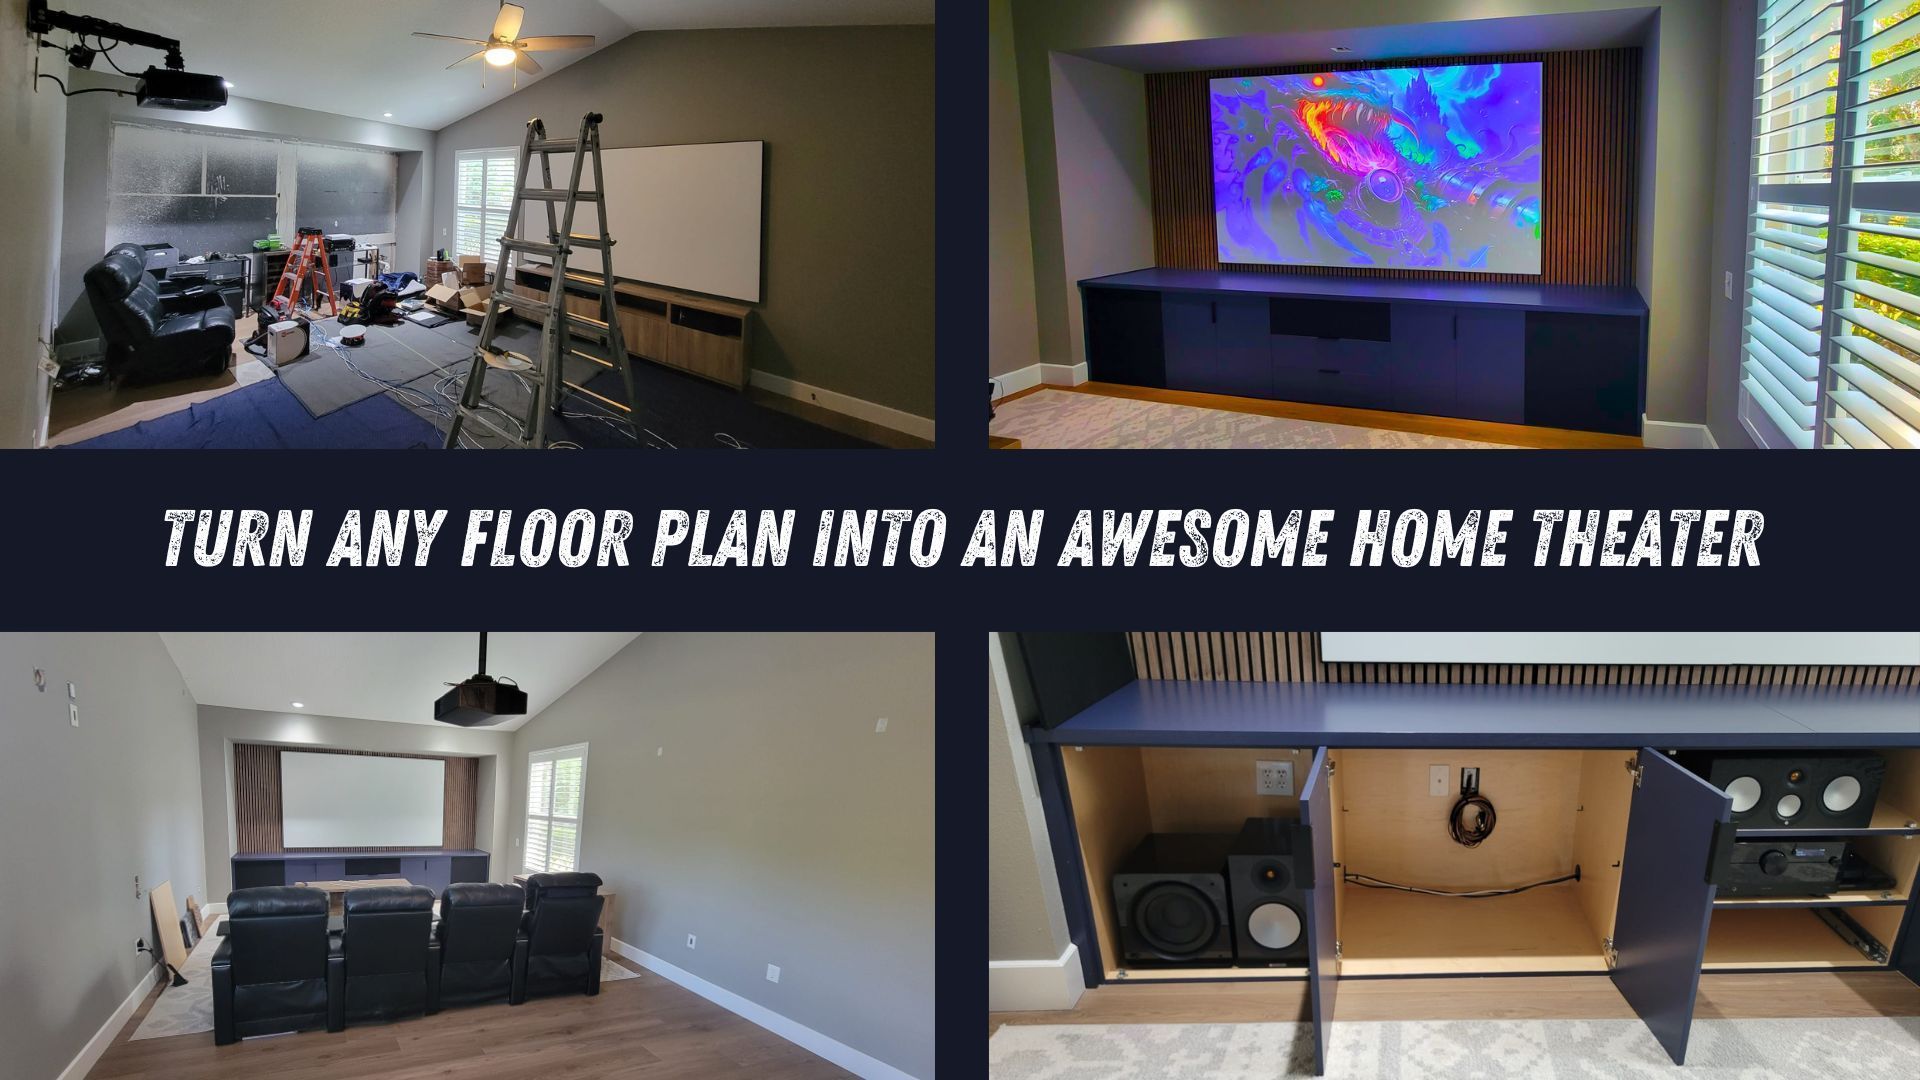
Step 10: Installing the TV on the Mount and Connecting Wires
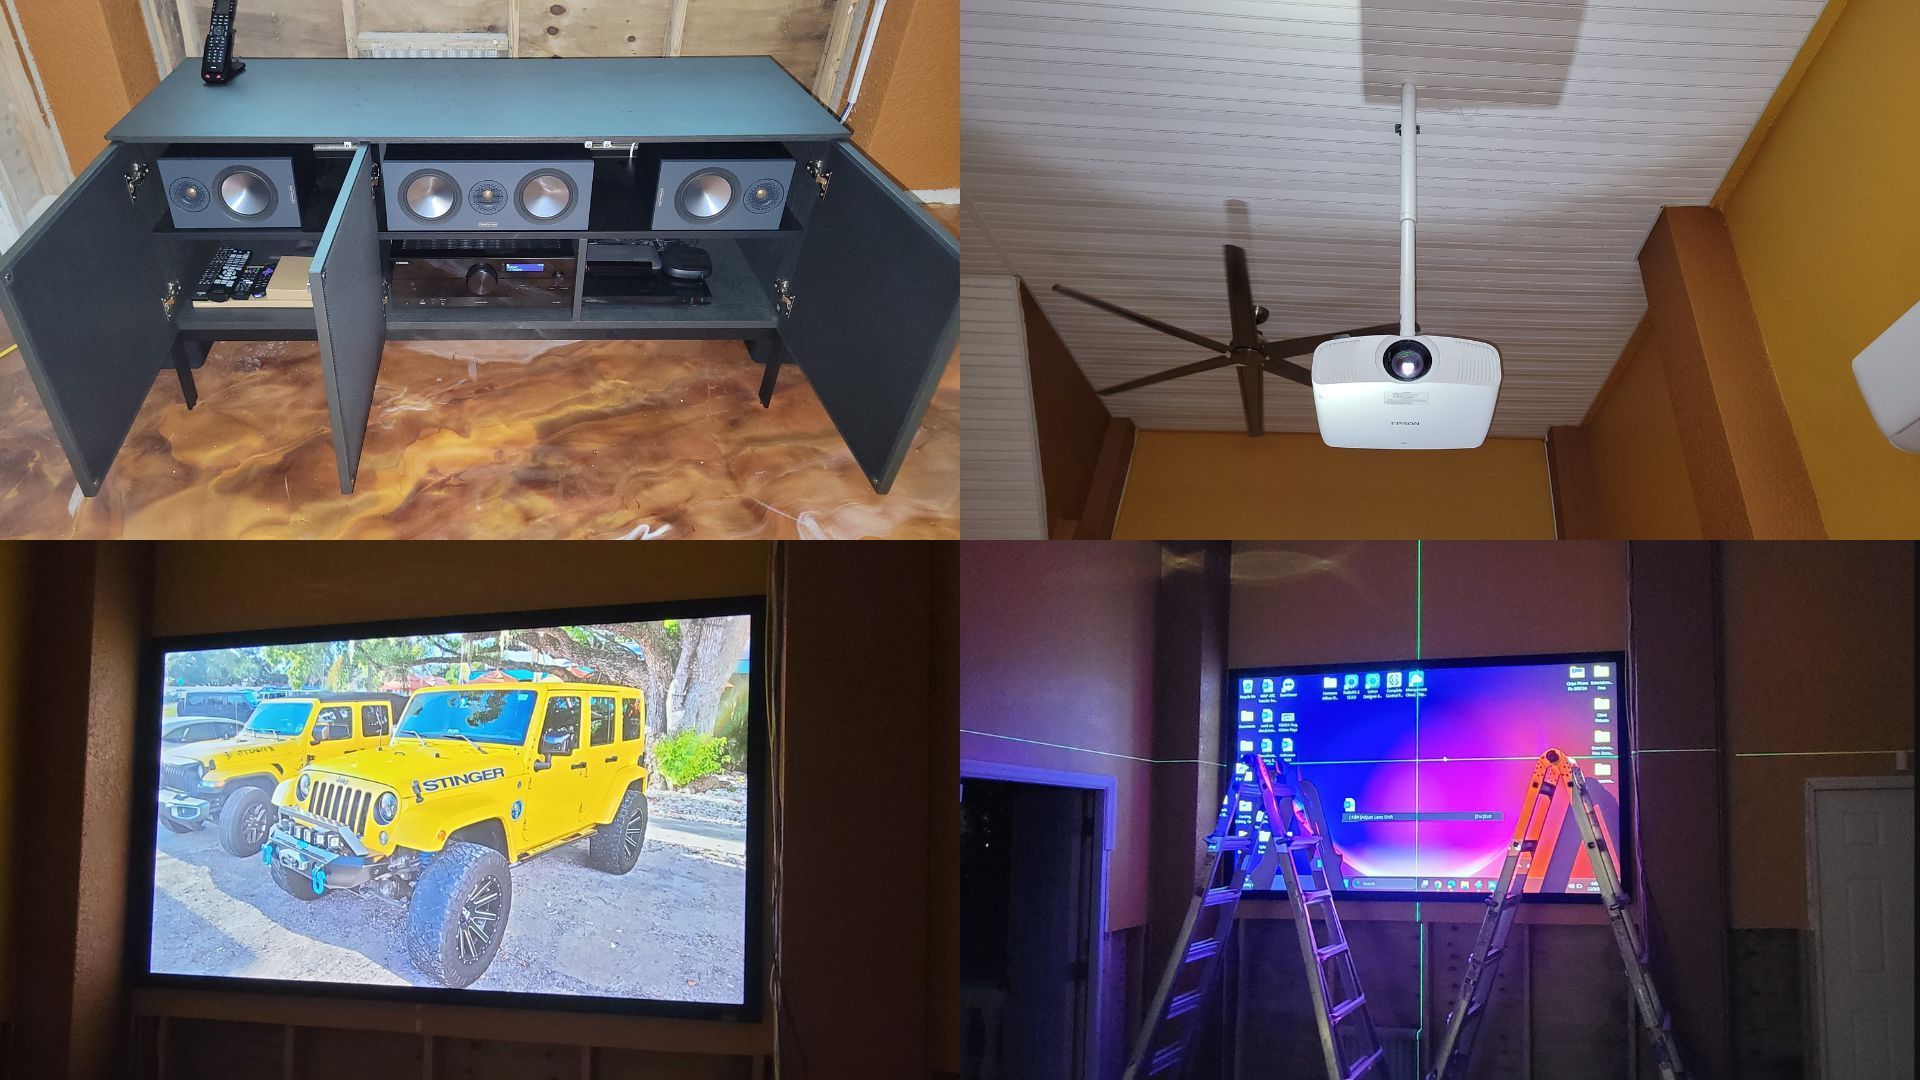
Attach the TV to the mount and make the necessary wire connections. The TV in the pictures will have a surround sound system installed later, so we set up a temporary cable box so the client could start watching TV right away. Any visible wires can be run into a cabinet behind the TV, so they're hidden from view.

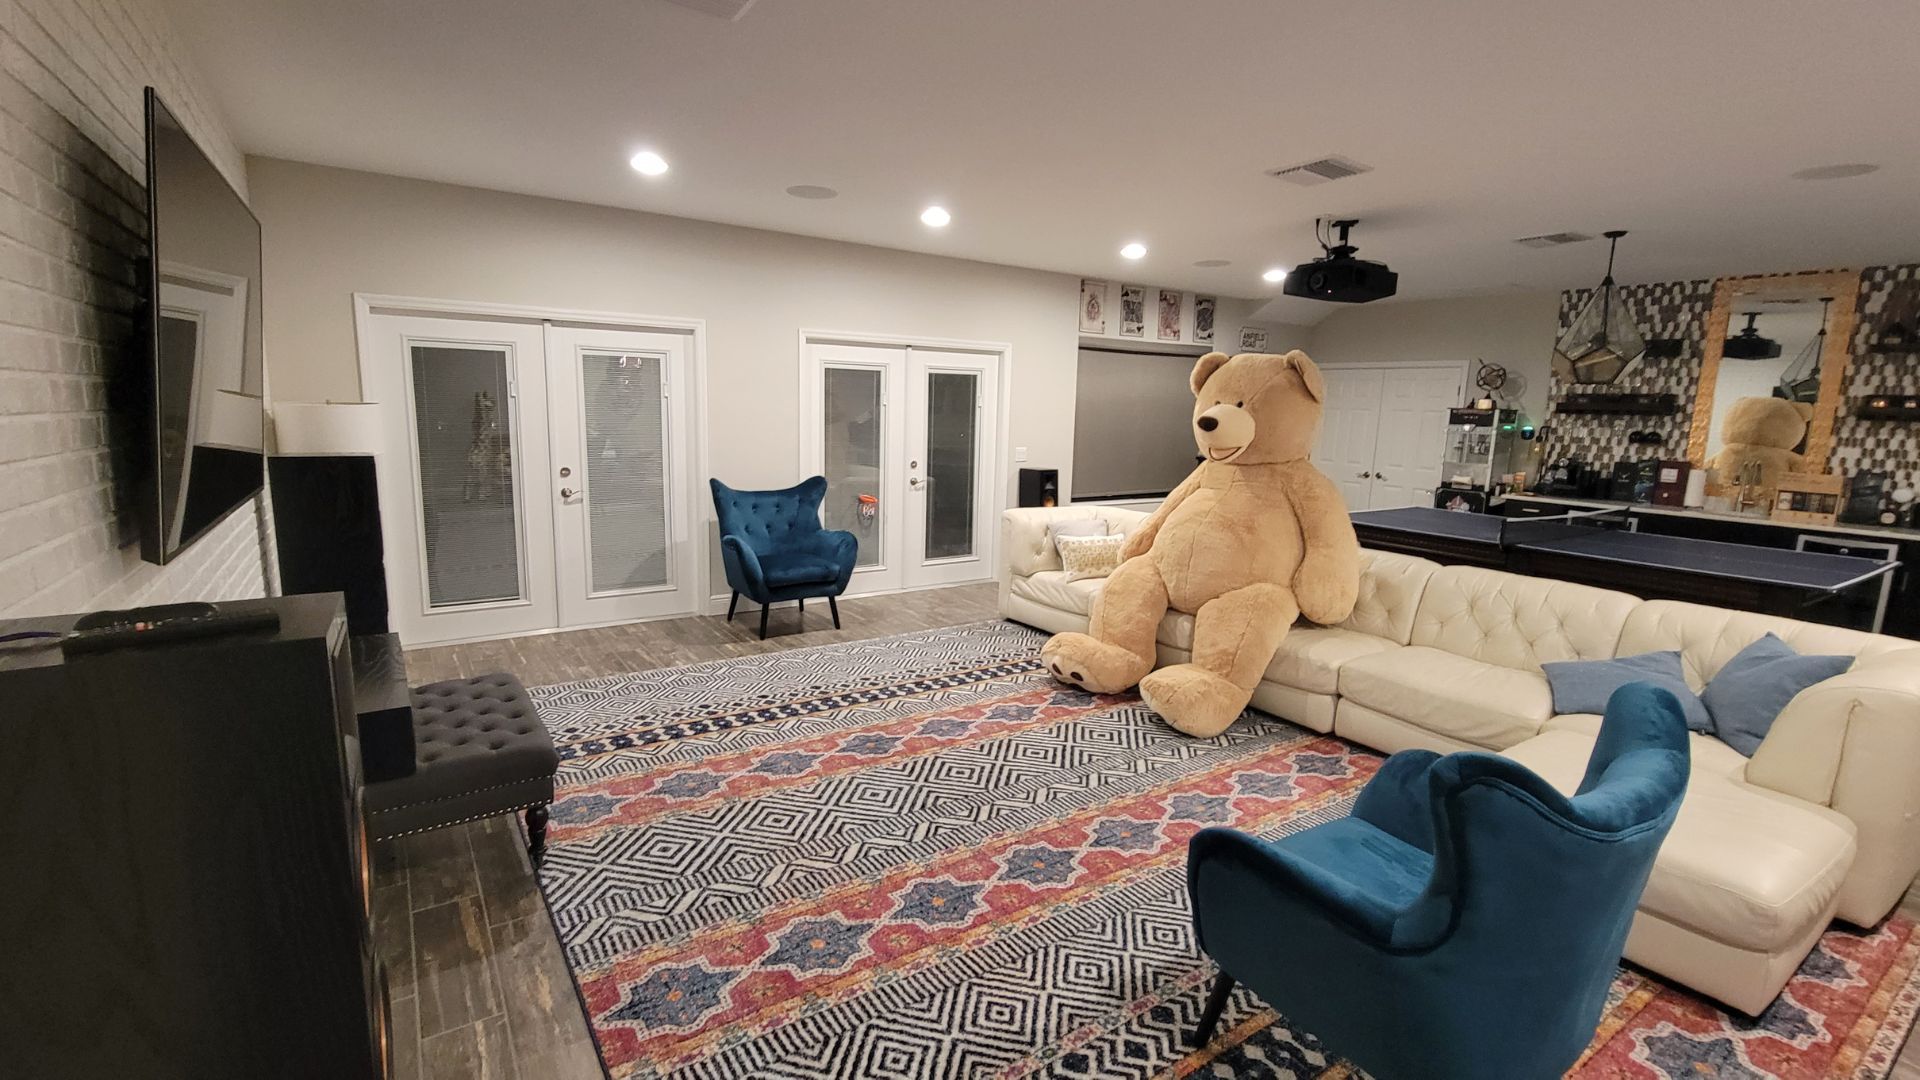
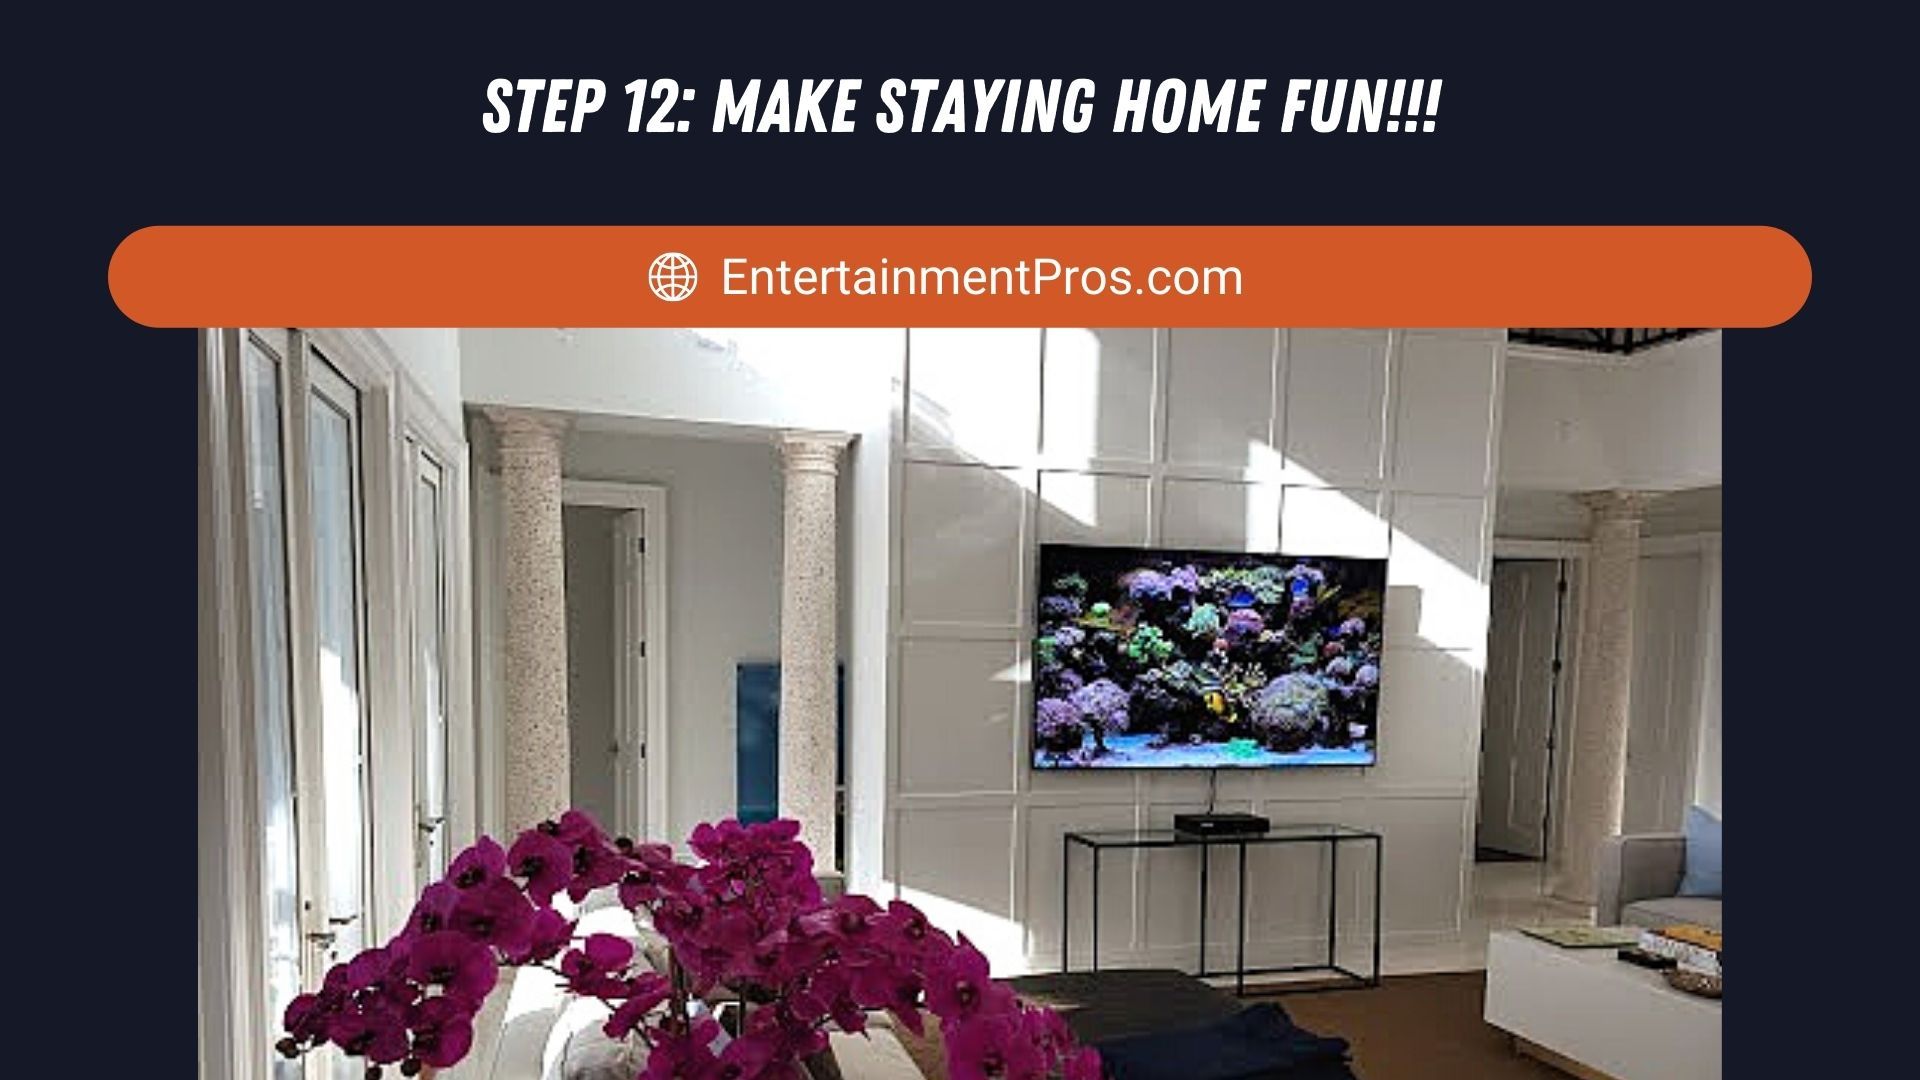
Step 11: Checking Your Work
Finally, double-check all work to ensure a successful installation. Confirm the TV is level, securely mounted, and all cables are properly connected. With these steps completed, the only item left is to sit back and enjoy your newly mounted TV.
Now you know our TV installation process.
Don't hesitate to contact Entertainment Pros at
727.804.2277 for all your AV installation needs. We're here to help you create the perfect entertainment space in your home or business. For more information about our services, visit our services page. Let us handle the heavy lifting so you can enjoy the best TV and audio experience possible!
Tell Us About Your Next Poject