TV Mounting Tips | Professional Install | Steps With Pictures
Don't let a crooked TV installation & exposed wires distract from your experience. Checkout our mounting how-to and professional tips.
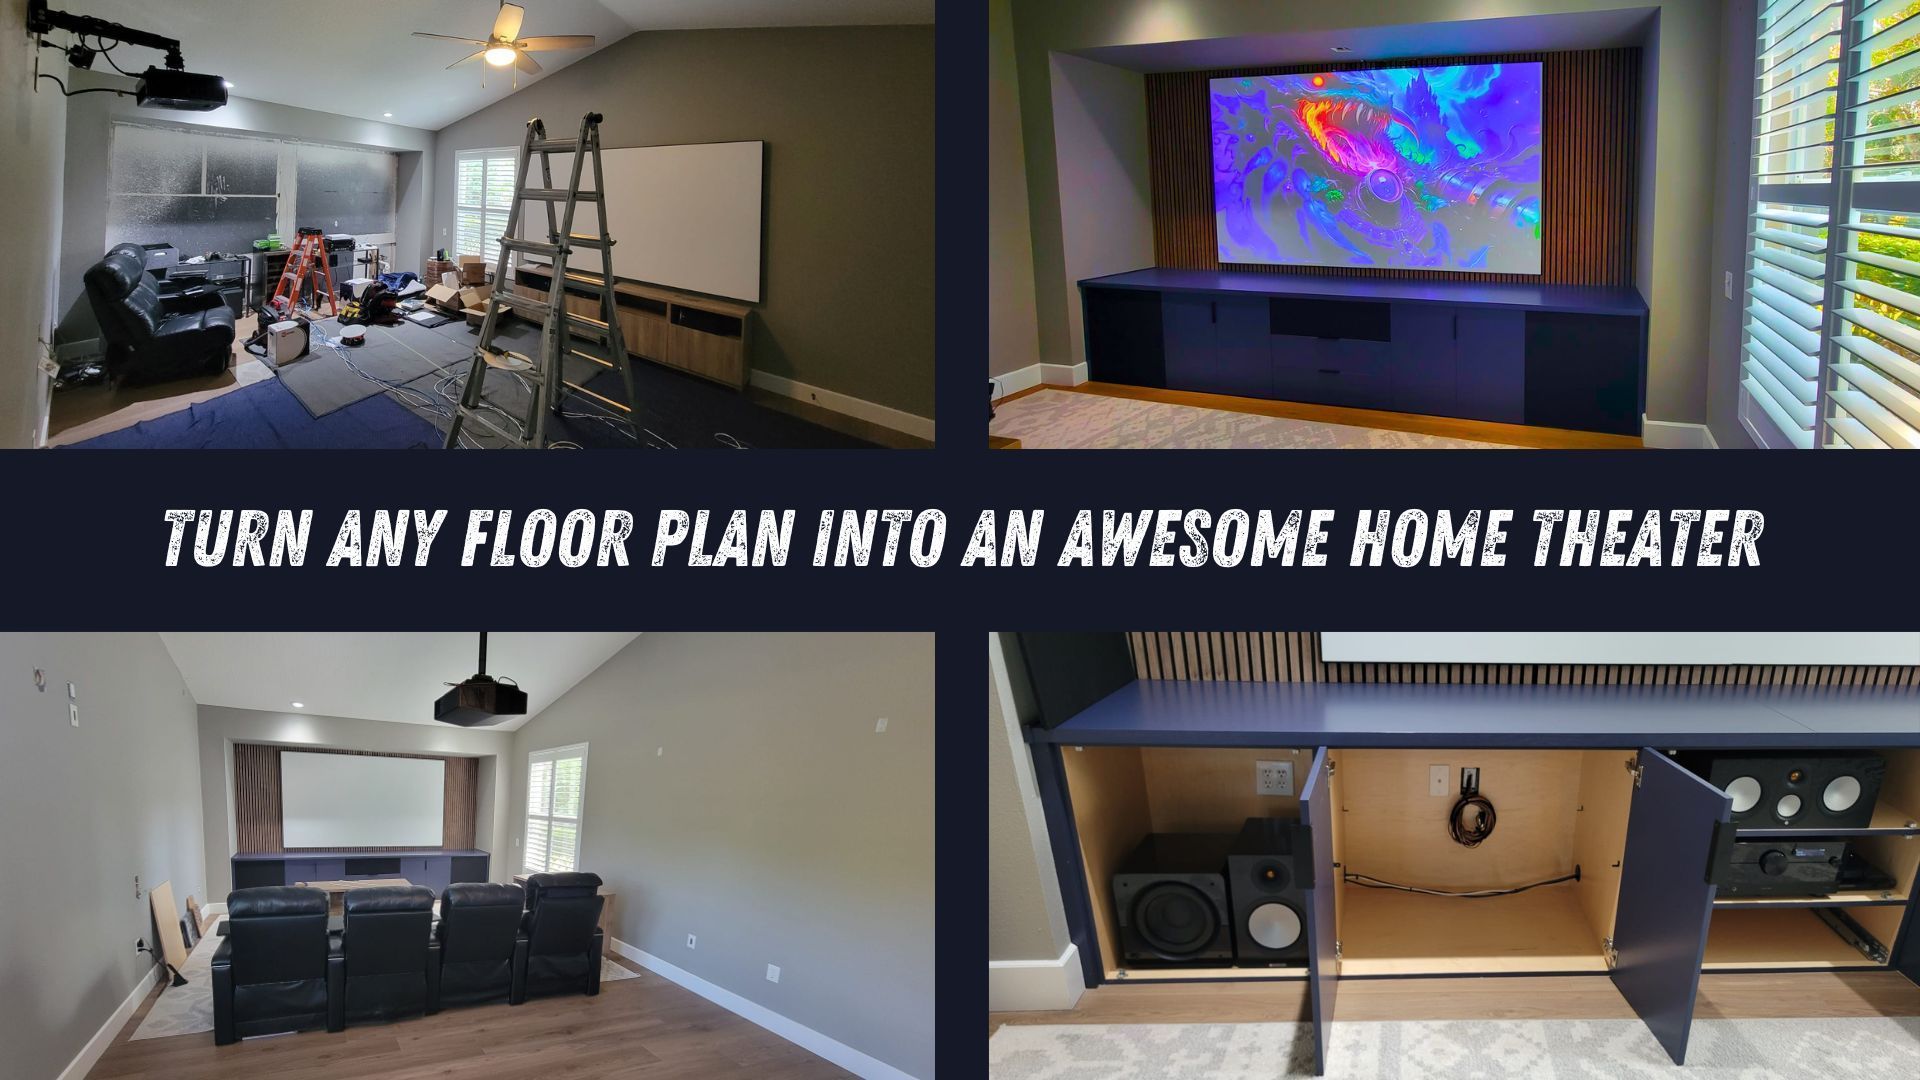
DIY TV Mounting can be really easy and/or really sloppy. Exposed wires, crooked TVs, and unsafe installs can take away from your experience and can possibly be really dangerous. Of course, we would love it if you called us to install your TV, but if you decide to go it alone, here is our how-to guide to keep you safe and your TV looking great!
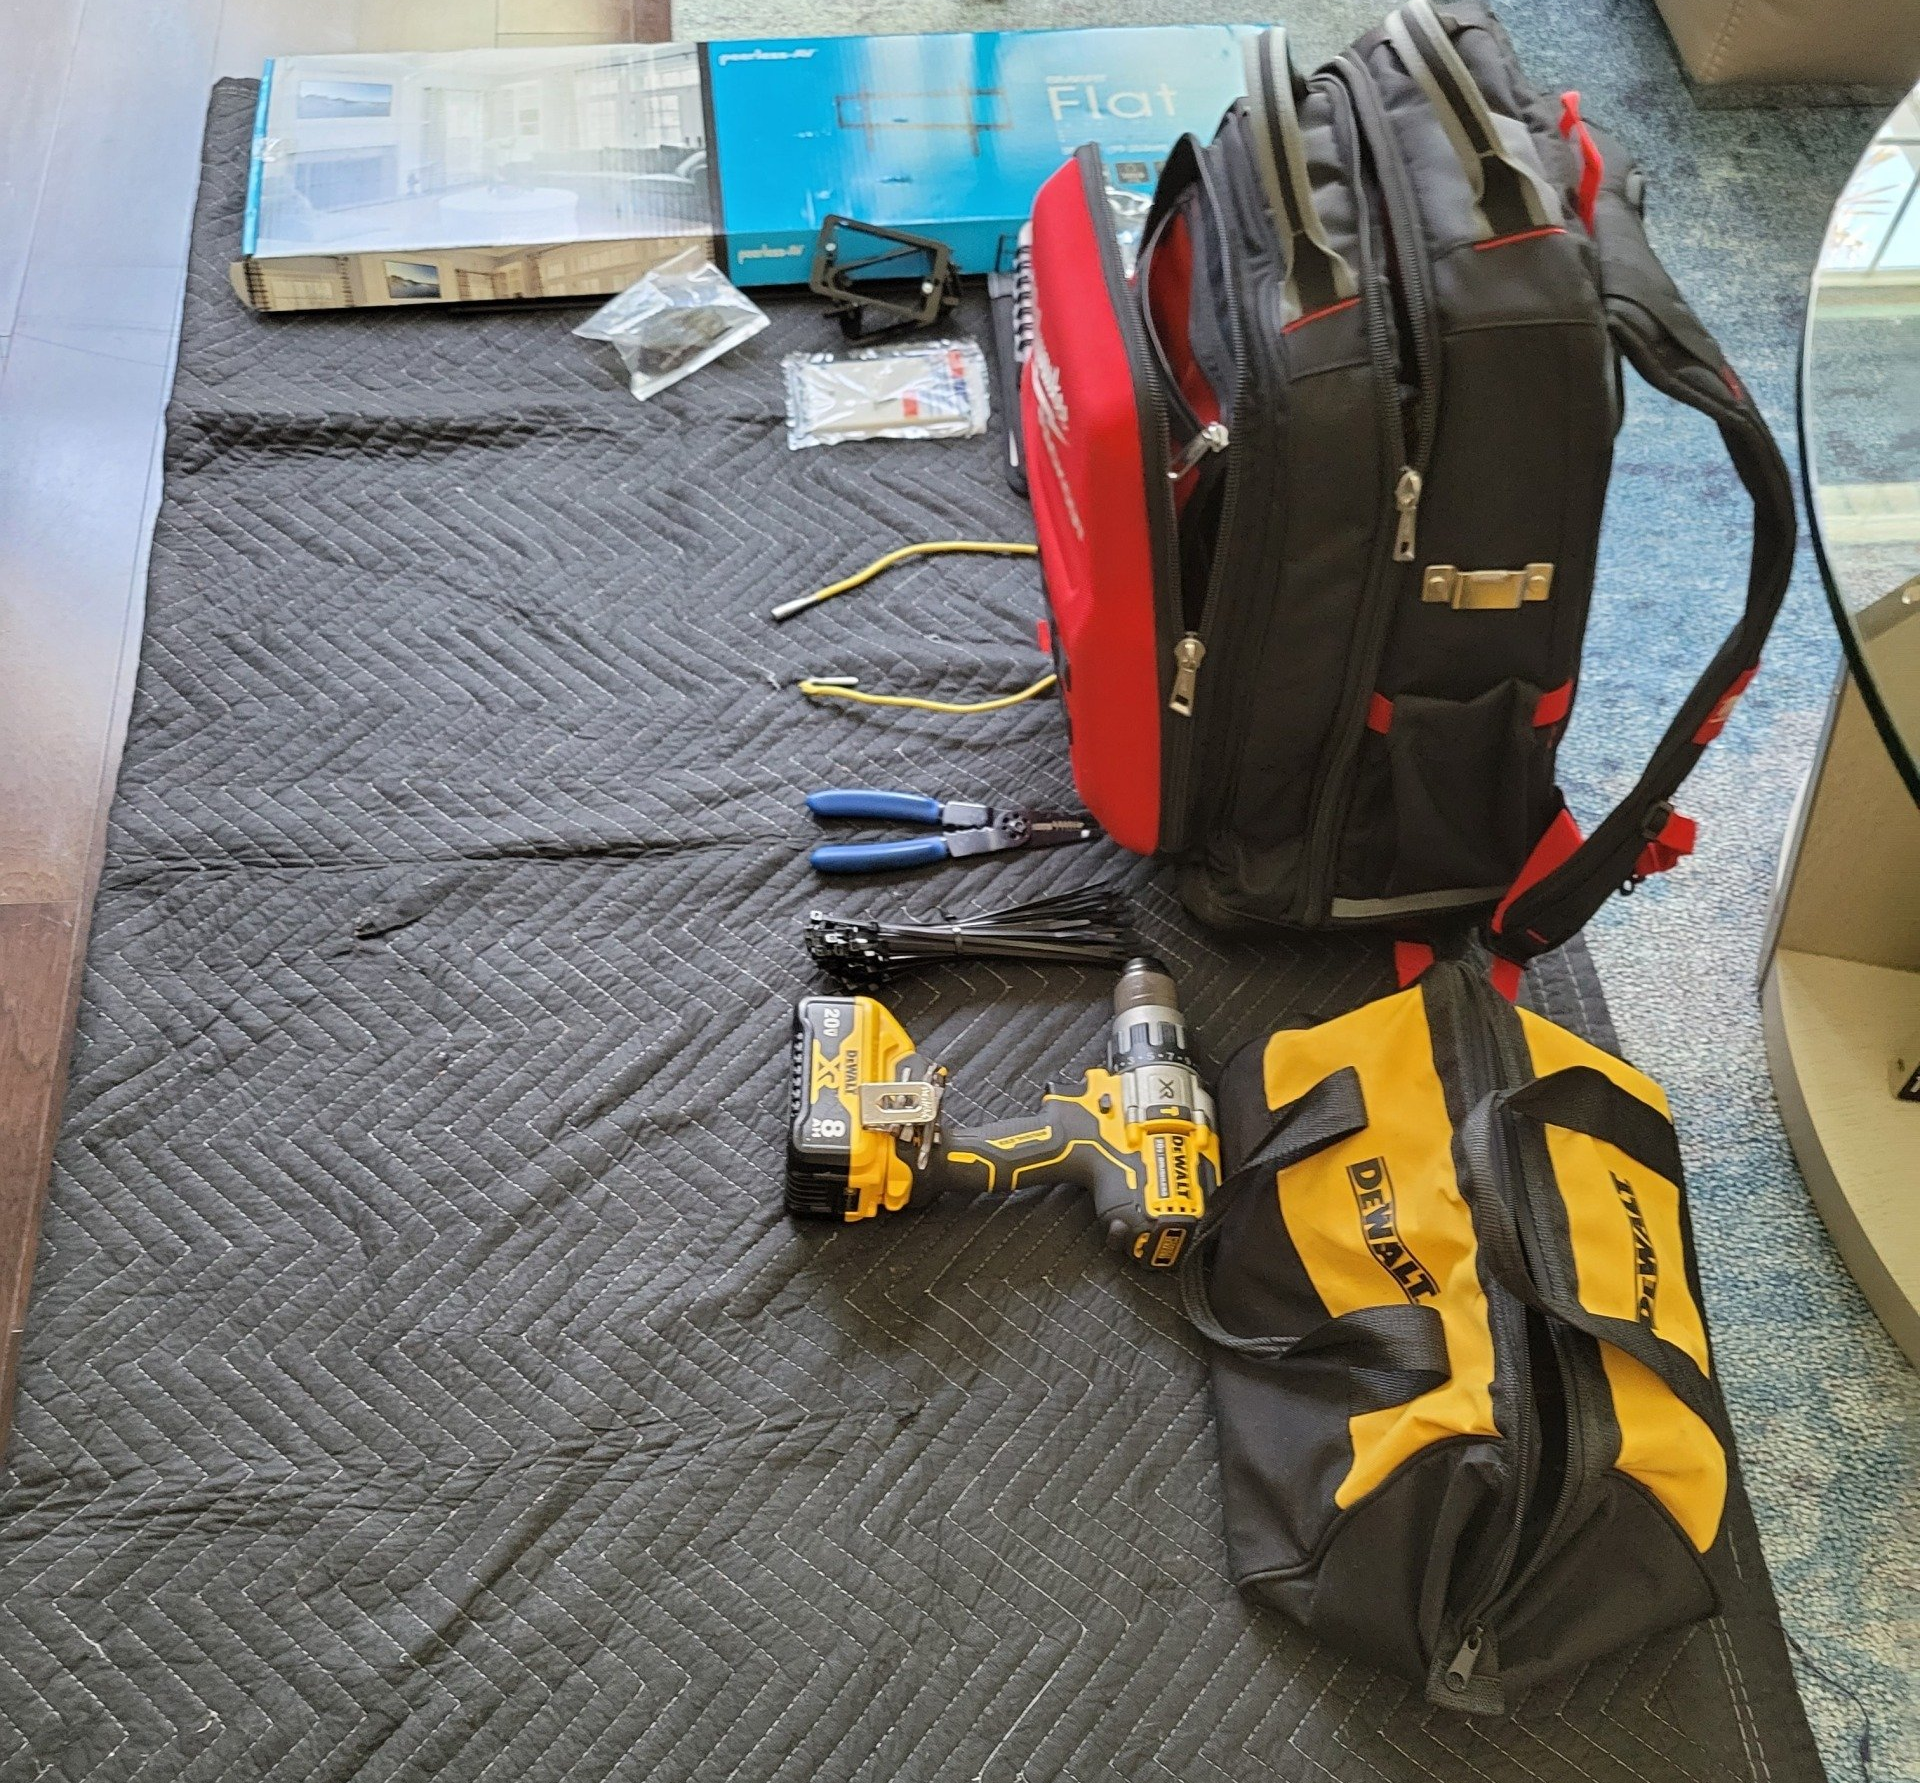
Step 1: Organize your work area.
The first step we always start with is protecting our work area. Layout a moving pad or protective cloth to prevent a mess or worse damage to your floors. Lay out your tools, hardware, and other materials for easy access.
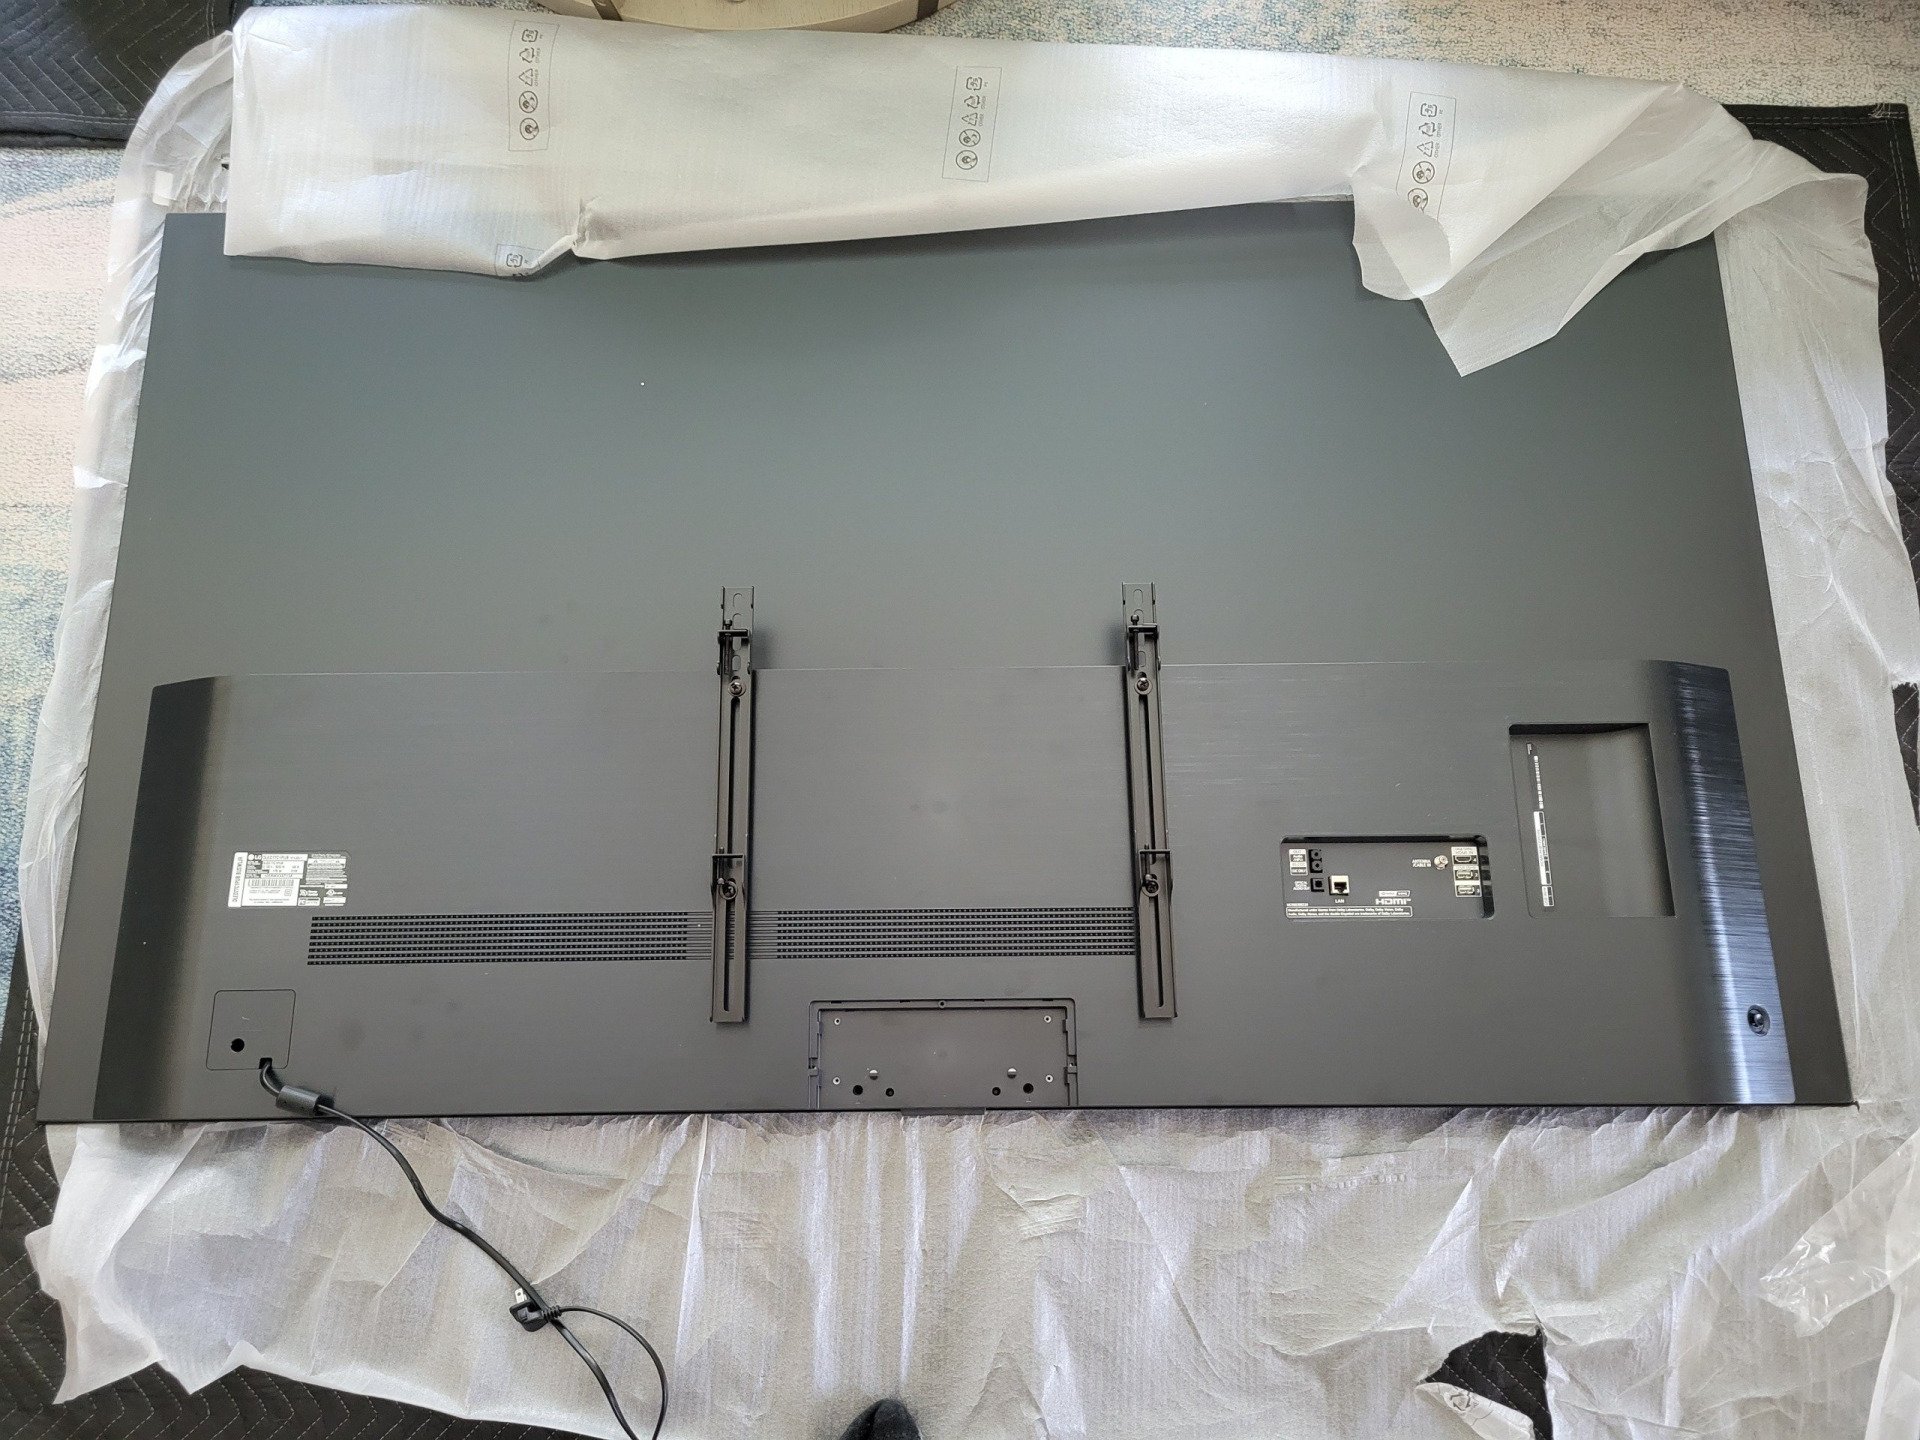
Step 2: Lay your TV facedown on a clean, flat surface.
This step is actually where a lot of TVs can get damaged. Uneven surfaces can crack or scratch a TV. Dirty surfaces can smudge your new TV, and rough surfaces can scratch the screen or frame. We use clean moving pads to protect the TV.
Using the correct hardware, install the uprights on the TV using the correct spacers, washers, and the proper length screws. Mismatching hardware to your tv can create an unsafe and unstable mount. After the uprights are securely installed, attache the wall plate to the uprights to find out how far the bottom wall mount hole are from the bottom of the TV.
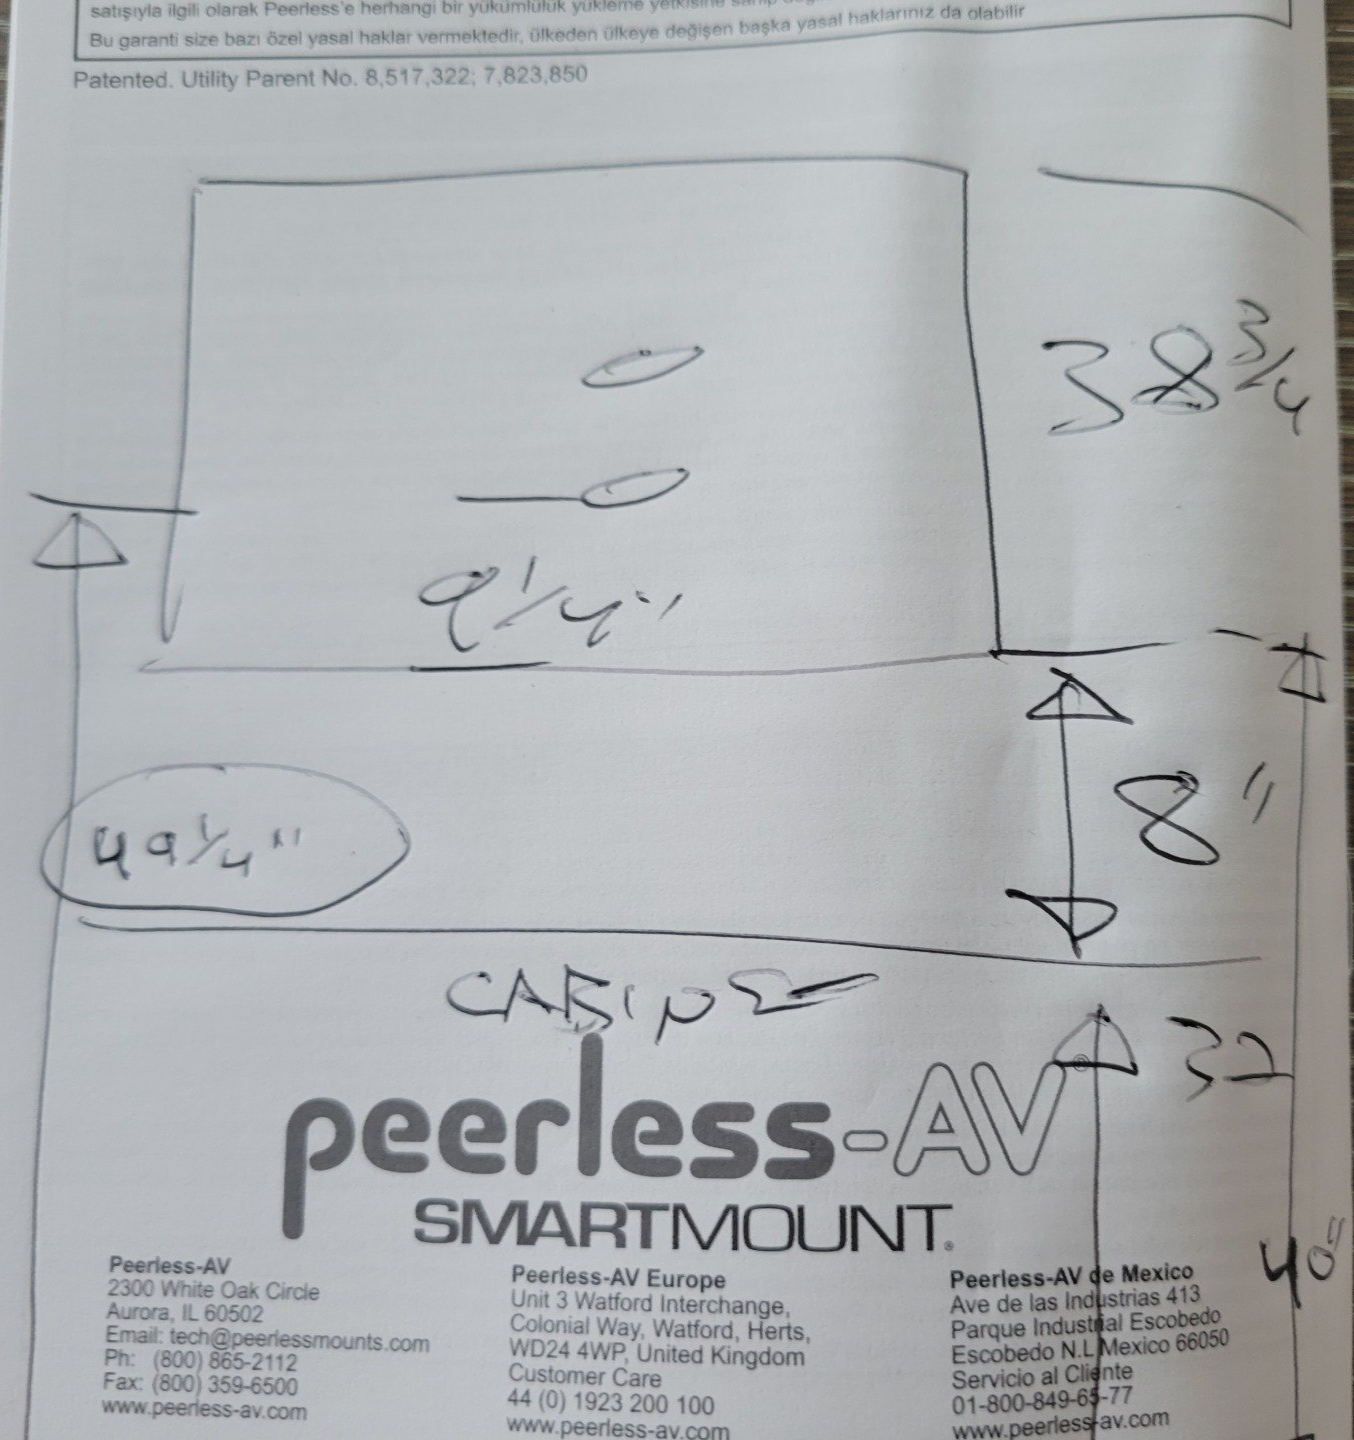
Step 3: Write down your measurements, create a rough drawing.
Draw the entire project. Furniture hight, TV height and width, space between furniture and TV, and relative bracket location. You don't have to be an artist to create this drawing. Just sketch it out so you have a good idea of what you are about to do.
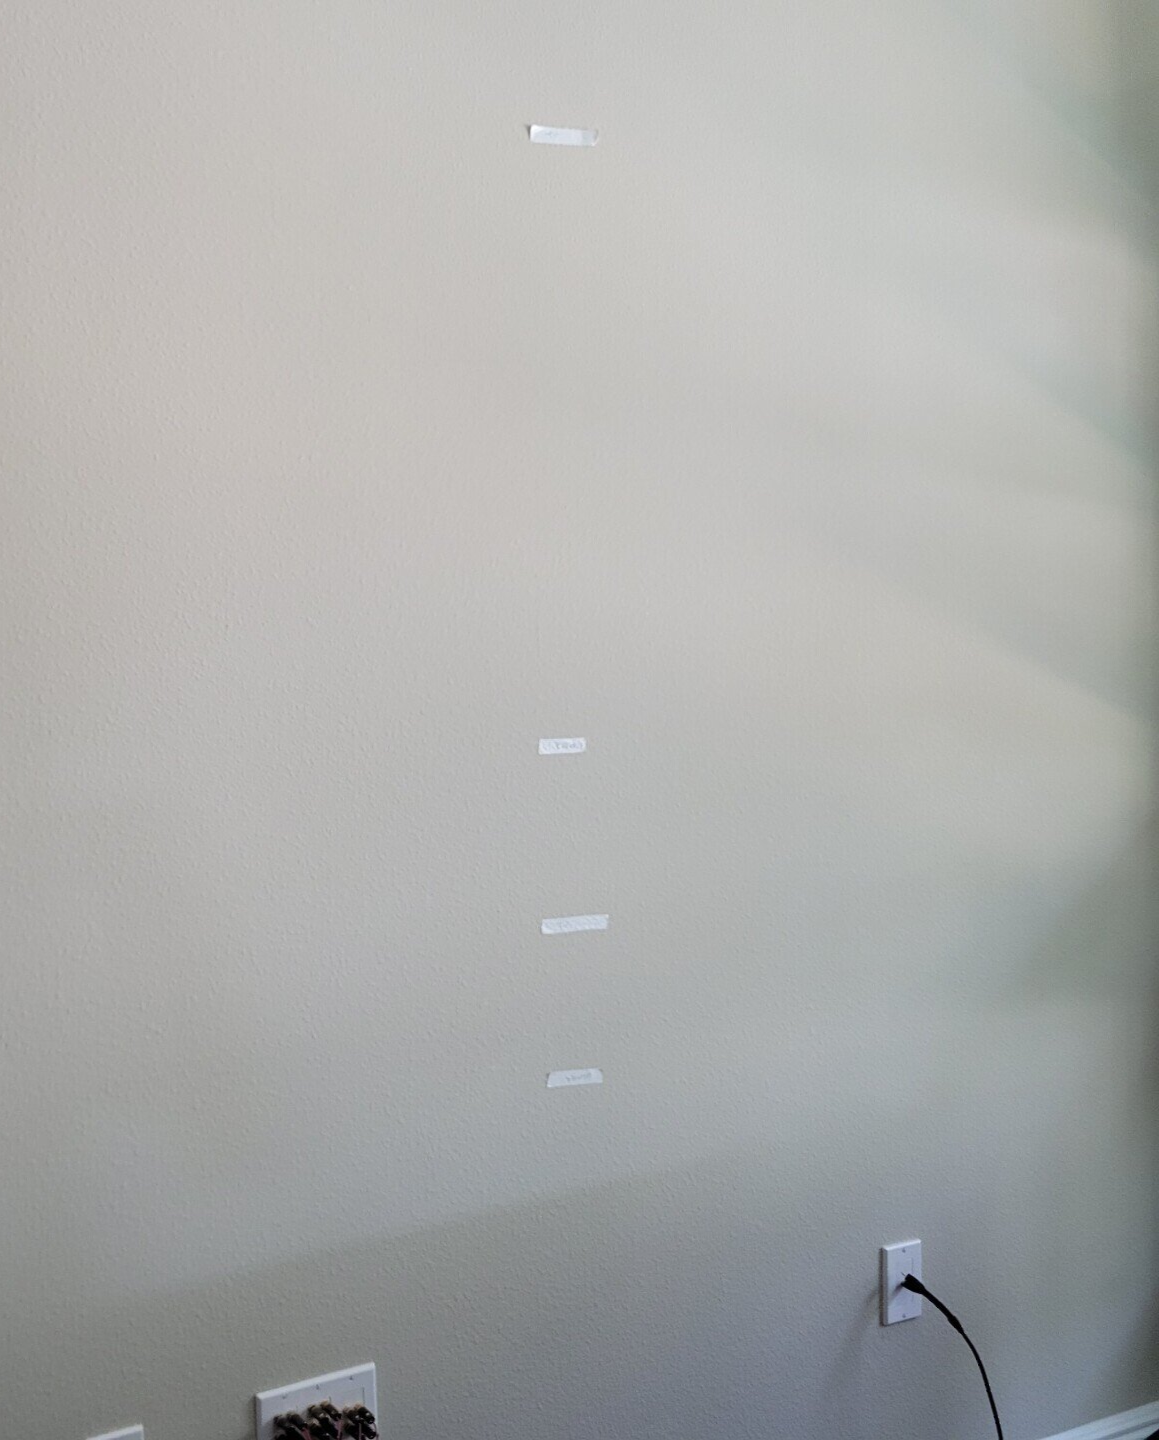
Step 4: Transfer Dimensions To Your Wall
The best thing you can use is a low adhesive tape, painters tape or masking tape works great. But, if you don't have low adhesive tape, apply the tape to your paint leg or another piece of fabric as long as it is clean.
By applying the tape to the fabric, you remove some of the adhesive from the tape. This will help prevent paint damage.
Another pro tip, write your dimensions on the tape to help with installation. The tape is easier to visualize and a small pencil mark is hard to see and can damage your paint.

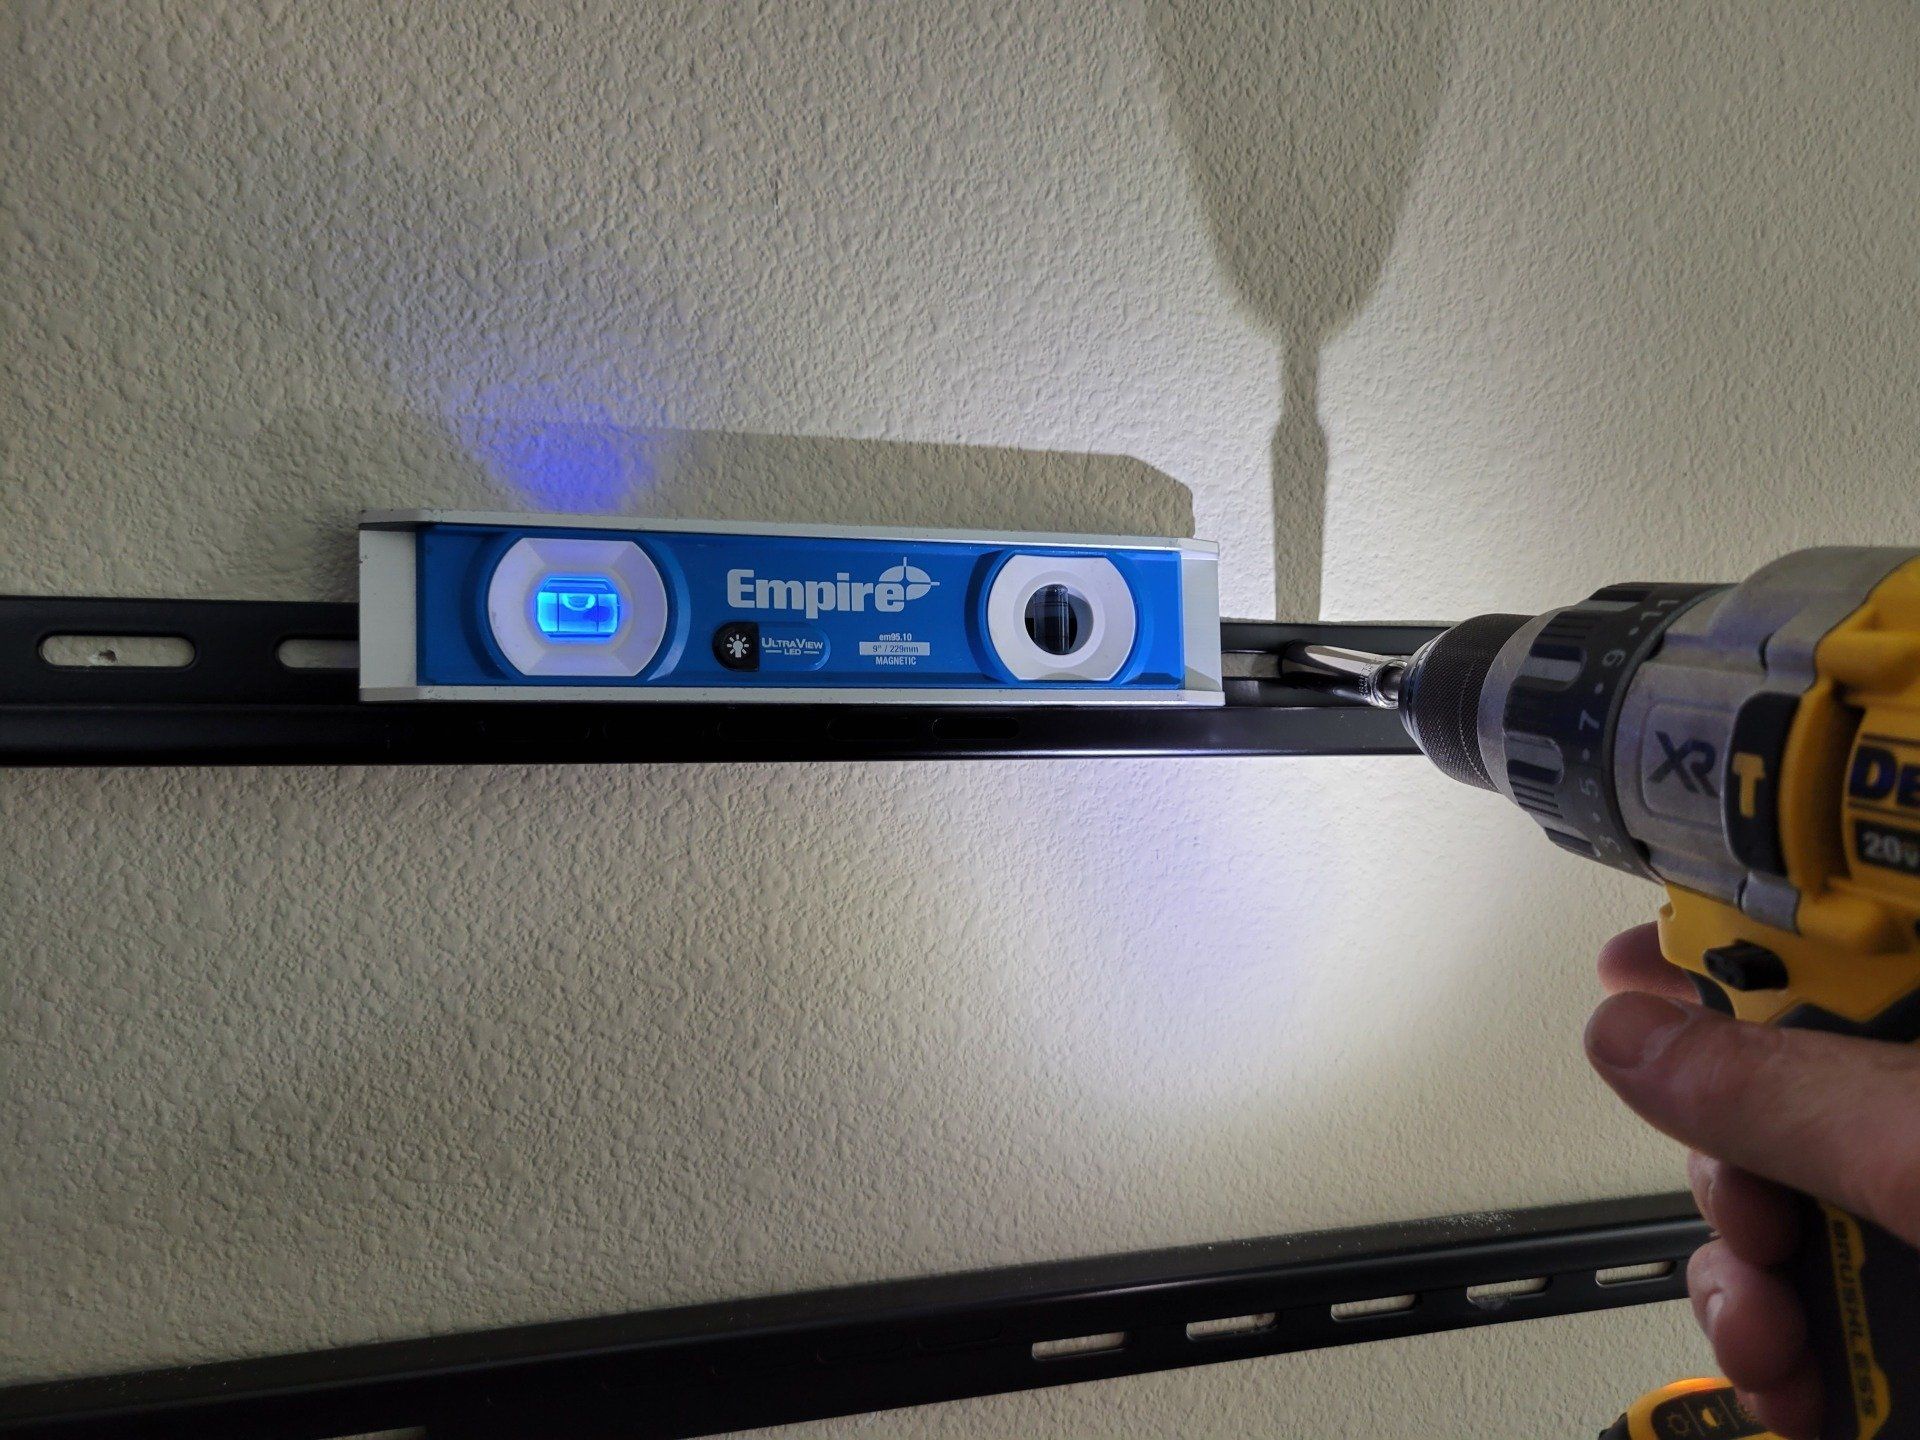
Step 5: Find Your Studs And Install The Bracket/Mount
Using a stud finder, magnet, or knocking on the wall to locate your wood studs. If you have metal, cement, or no studs, You will need to follow another set of procedures to safely mount your TV. Call us and we can help.
Using a small screw driver, poke a small hole to verify the stud is there. If you think you missed, use the same hole and angle your punch left or right to find your stud and verify you are centered.
*Be careful, if you miss the stud, you may drill into electrical wiring. Only drill into a stud.
Level the mount, and drill pilot holes, at least 3/16 ths of an inch smaller than the diameter of the threads of the lag screw. If you drill the holes too big, your bracket can be unstable and may pull away from your wall after you mount the tv. In some cases, we've seen TVs fall days or even weeks after an improper installation.
If you cannot locate your wood studs, call a professional. Do not use the plastic anchors provided in your drywall, they are intended for cement installations.

Step 6: Run Your Wires
Keep your wires invisible and run them through the walls. If you don't already have an AC outlet behind your TV call an electrician. You can run your own HDMI and COAX cables safely, but you need an electrician to run AC power.
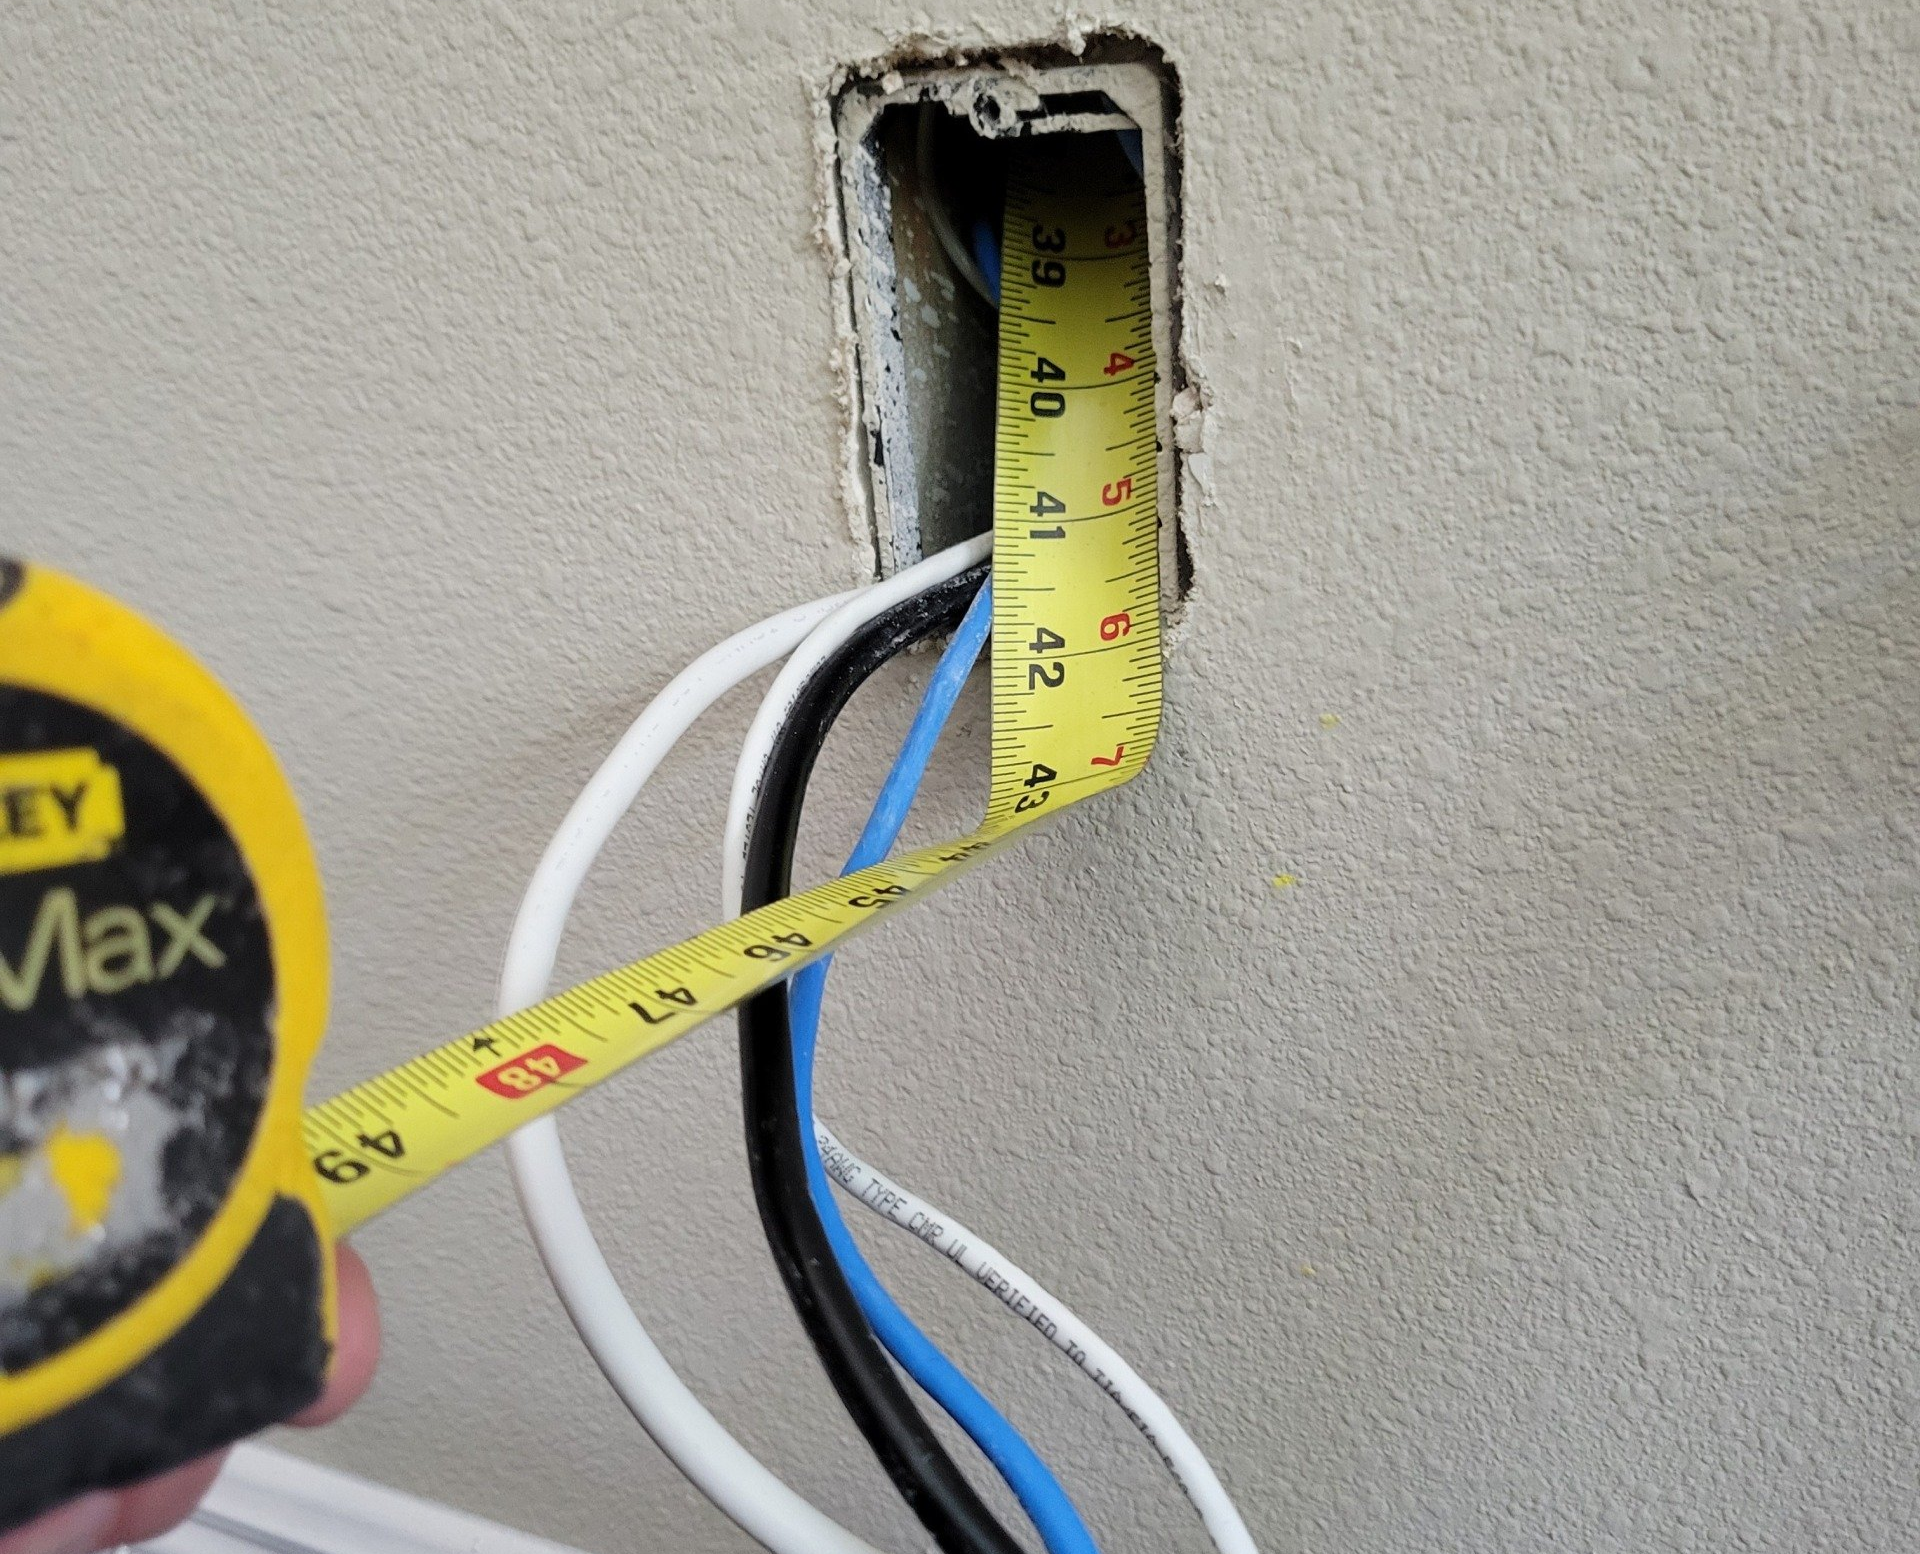
If there is an available COAX plate below, you can remove he plate and run a tape measurer up the hole to make sure the path is clear before making additional holes.
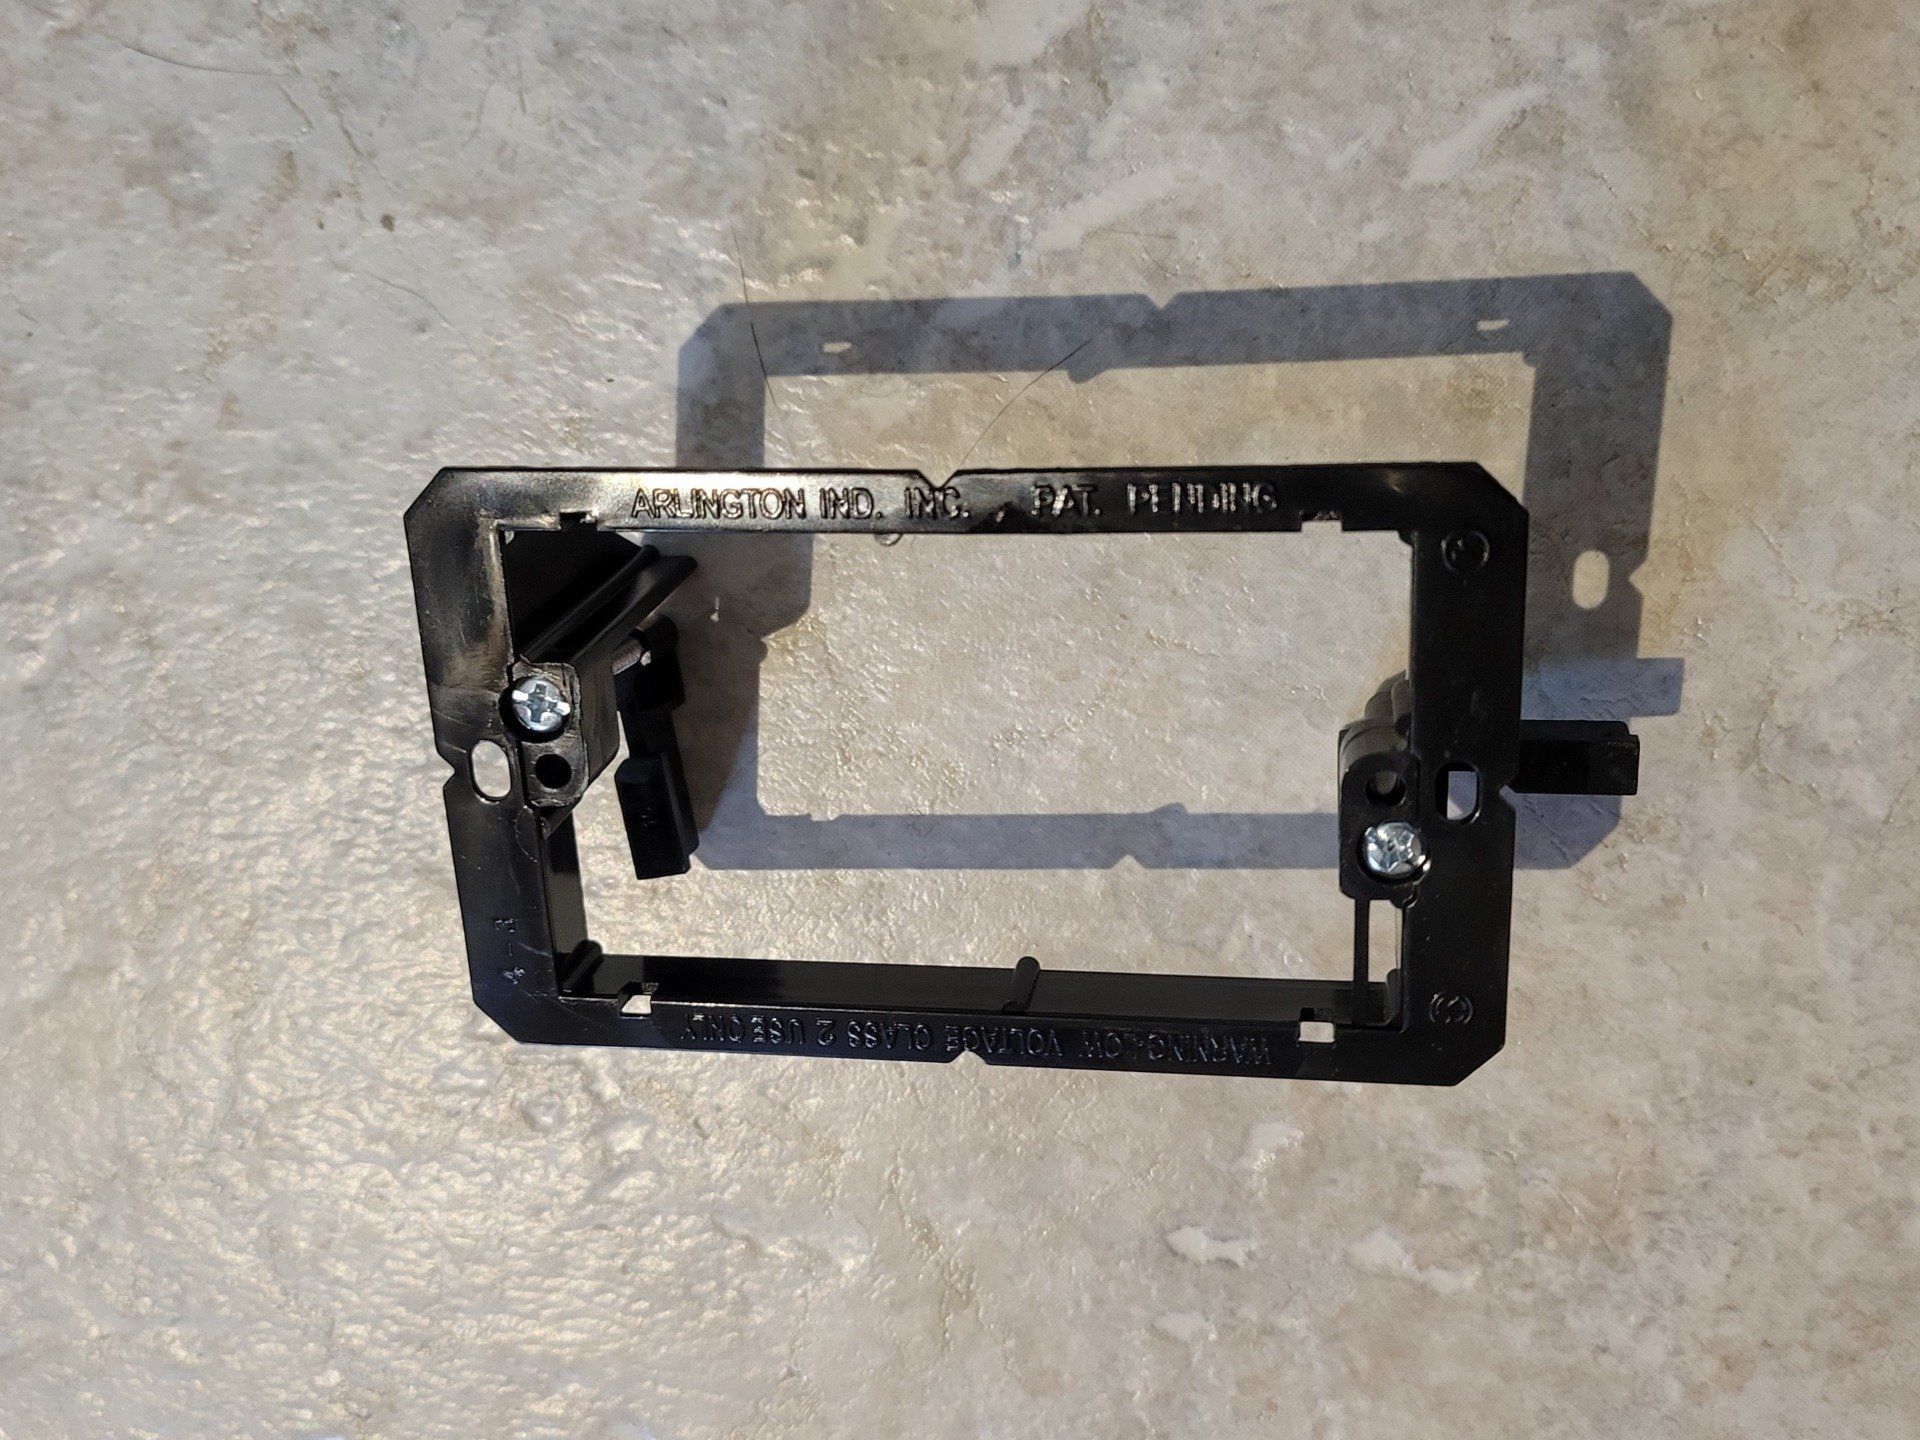
Make a new hole, for the wires to go in and out. This hole must be the same size as a low voltage ring. Low voltage ring sizes vary.
Make sure the holes and wiring will not be visible when the TV is installed. Also, keep the hole away from the mount uprights that are located on the back of the TV. If wires come out at the same locate, the TV might pinch the wires or the TV wont fit flush against the wall, see picture with mount.
Tape your wires to electricians fiberglass rods and pull the wires through the walls. The rods make pulling wire a lot easier. NOTE: some HDMI wires are directional. Marked source, this the end is for your cable box or AV receiver. Marked display, this end i for your TV.
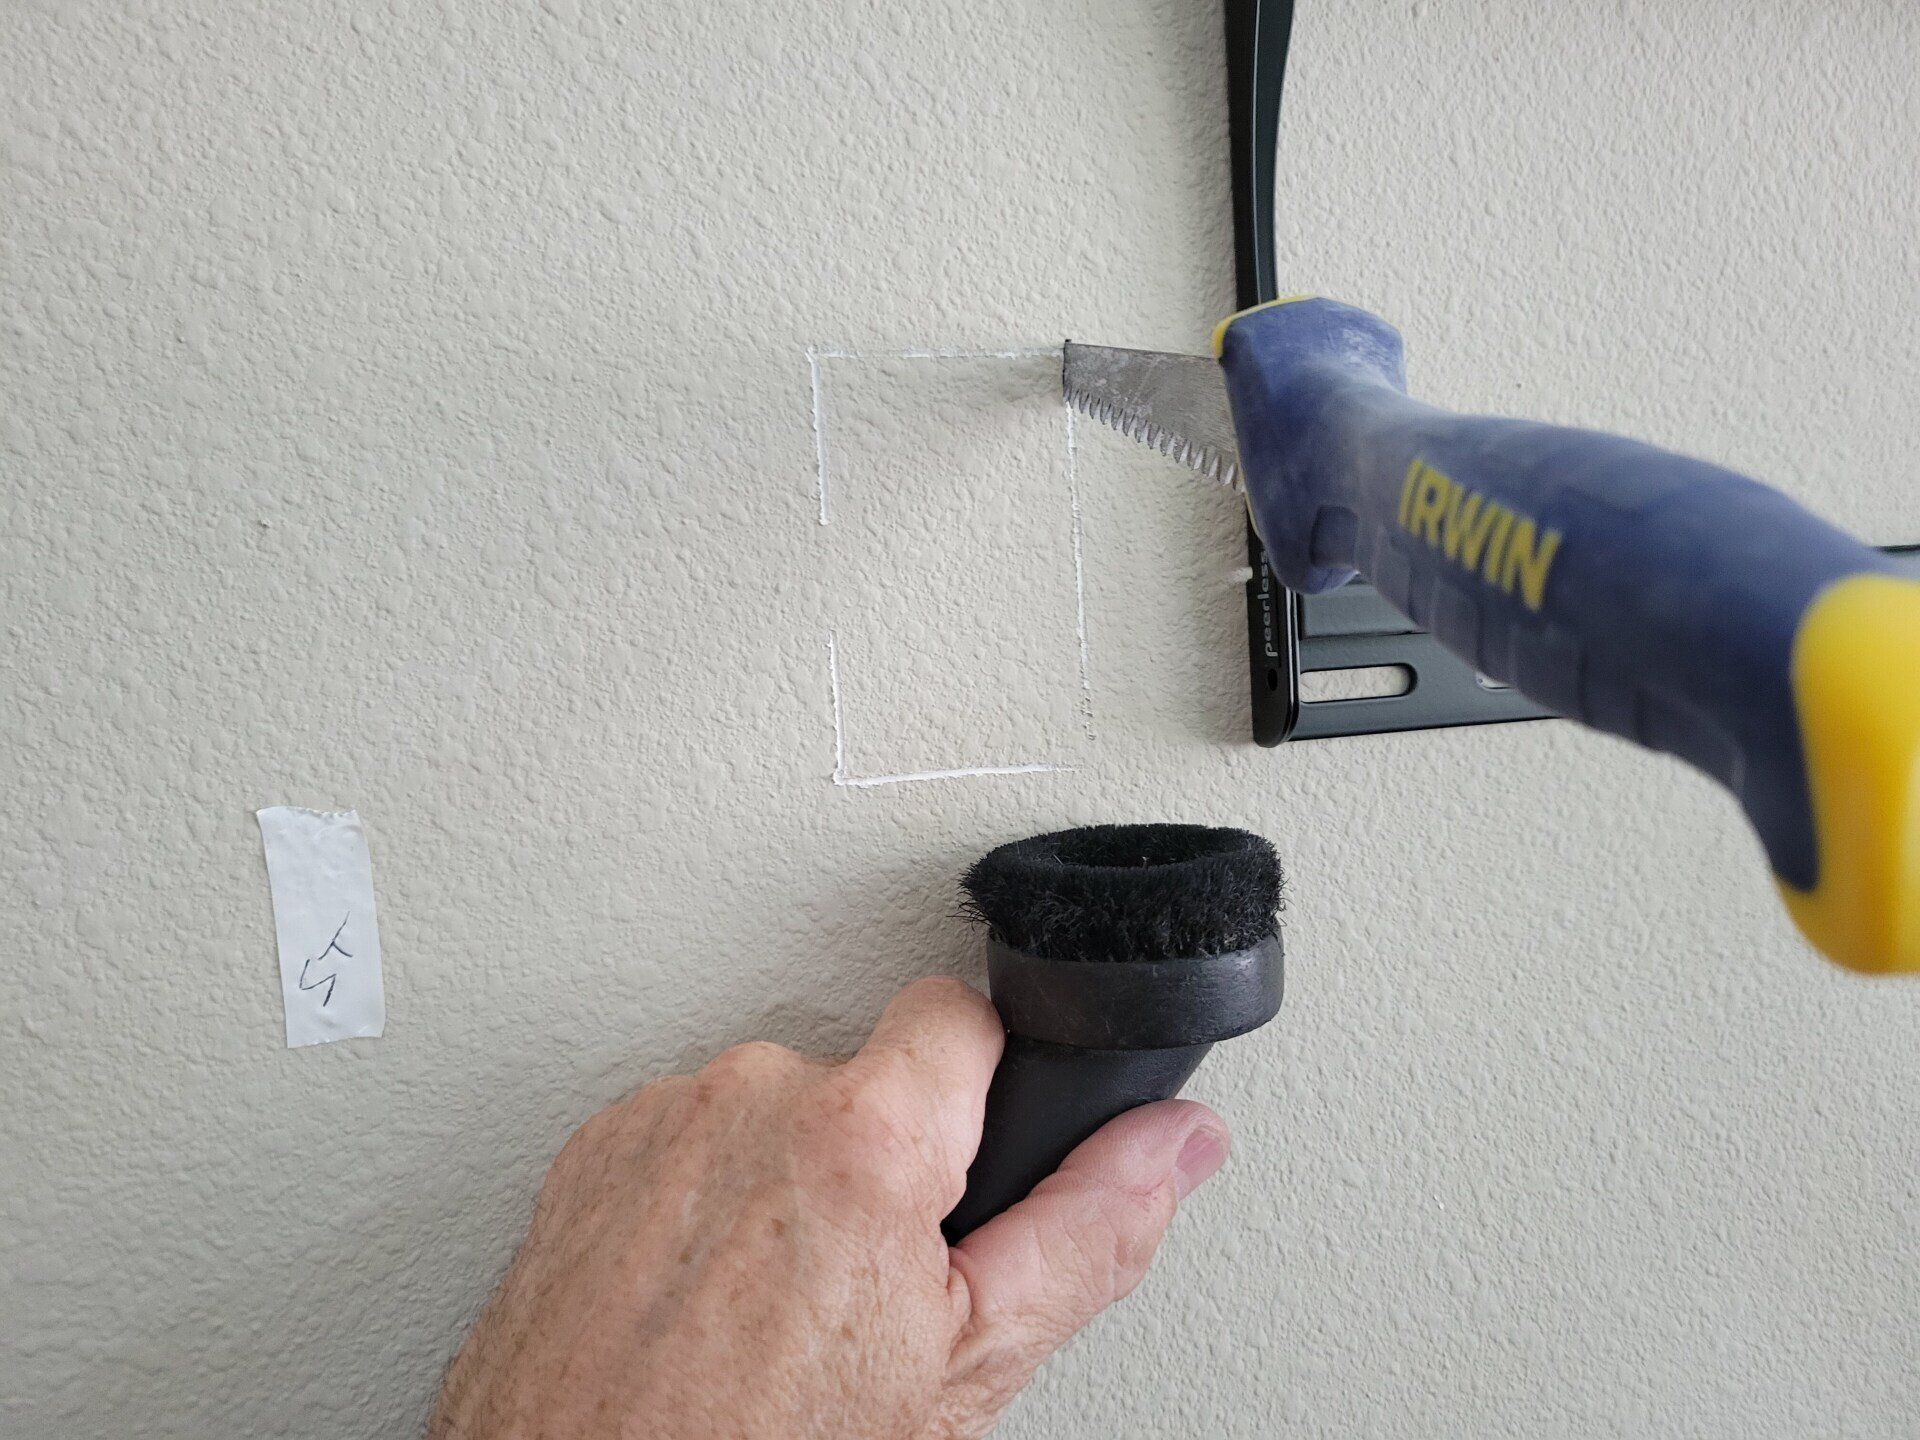
Pro Tip: Turn your air conditioning and ceiling fan off. Use a shop vac and vacuum while cutting and drilling. Hold the vacuum under the tool as shown in the picture. This will significantly reduce dust and make post install clean up a lot easier. And of course, don't forget to turn your air and fan back on.
Step 7: Install Your Wall Plates
You don't want to leave gaping holes in your wall. It is unsightly, unprofessional, and can be unsafe.
Install the low voltage rings inside of the holes you cut earlier.
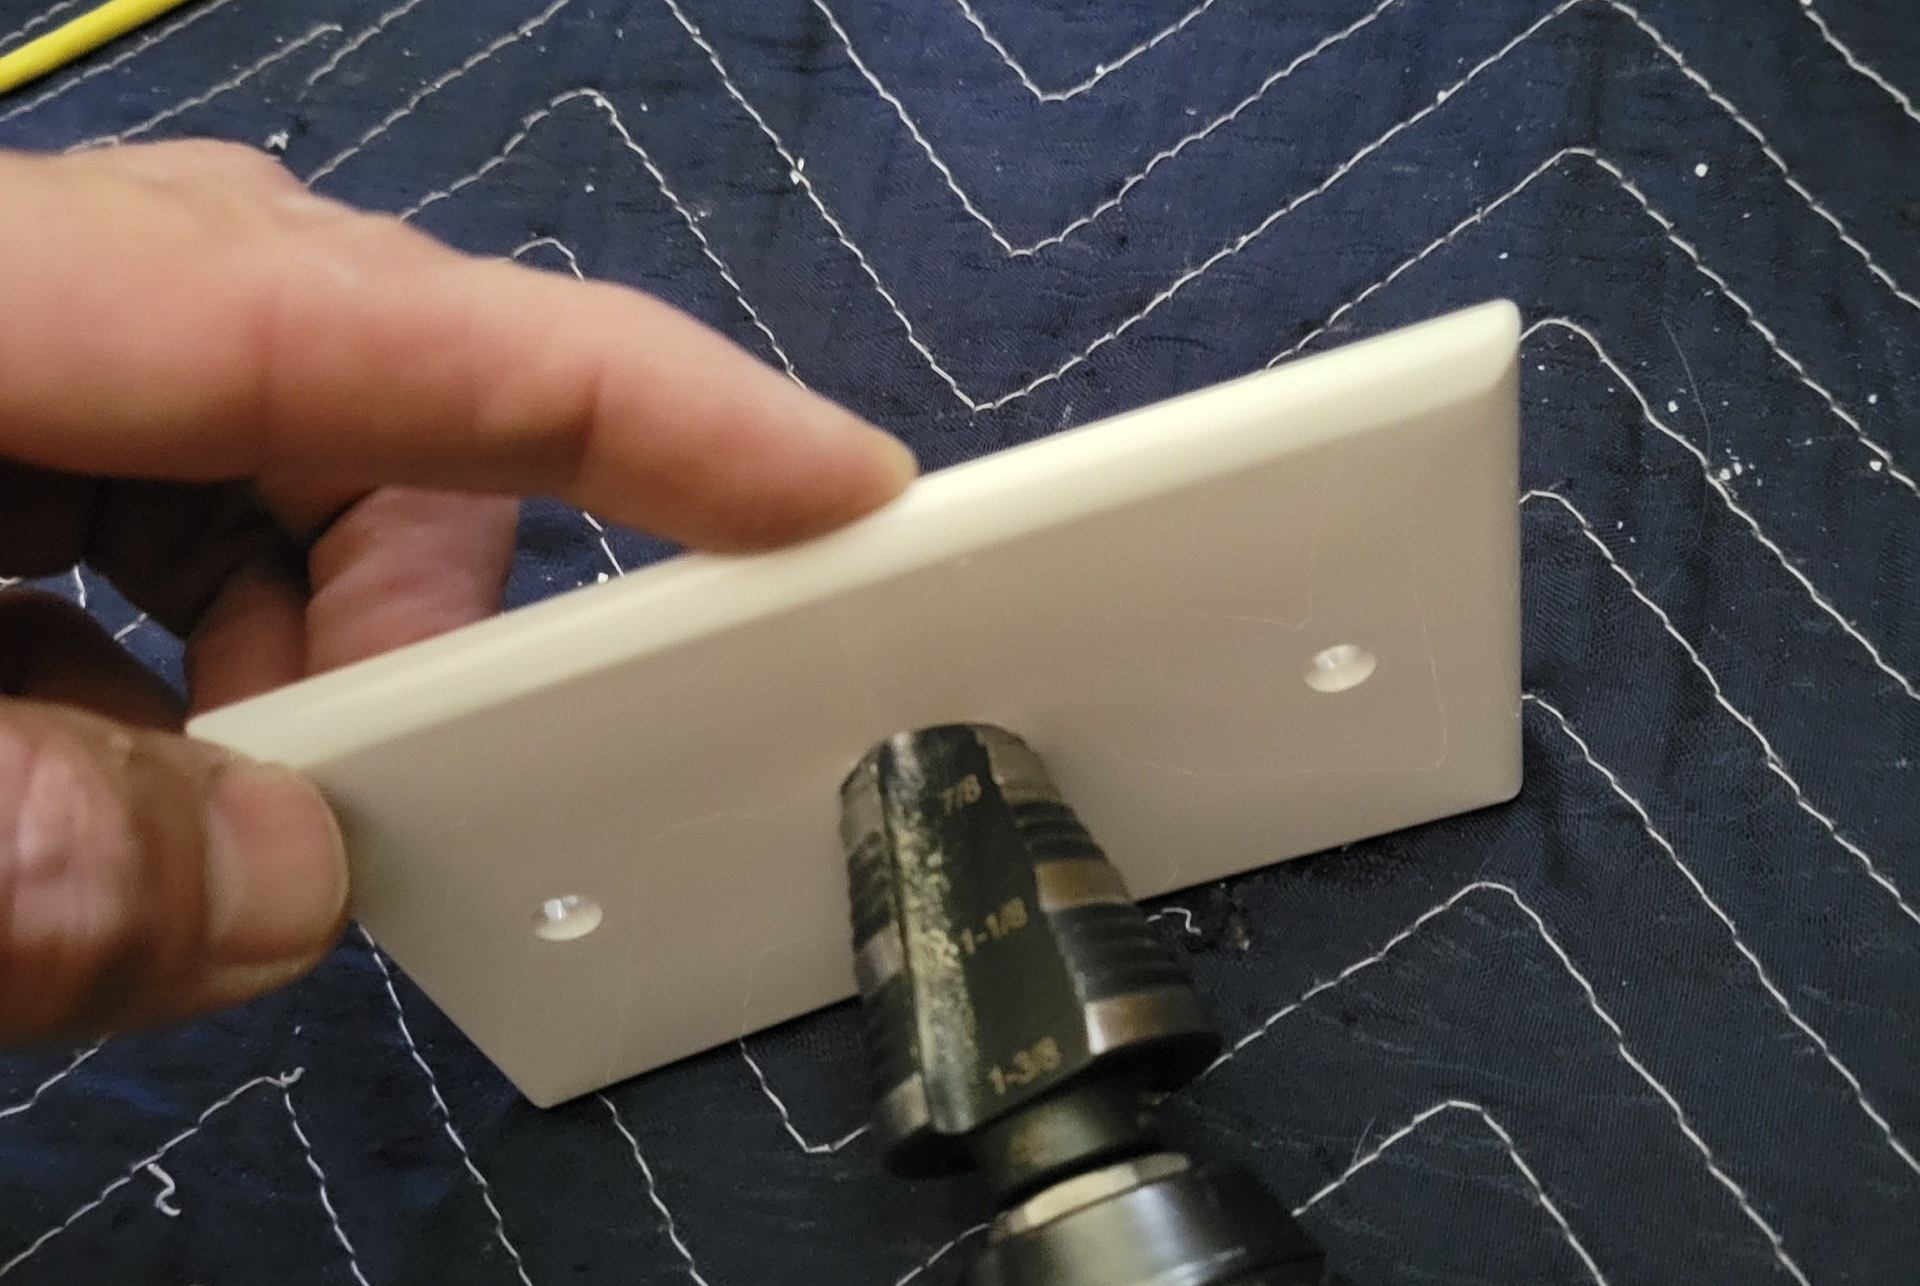
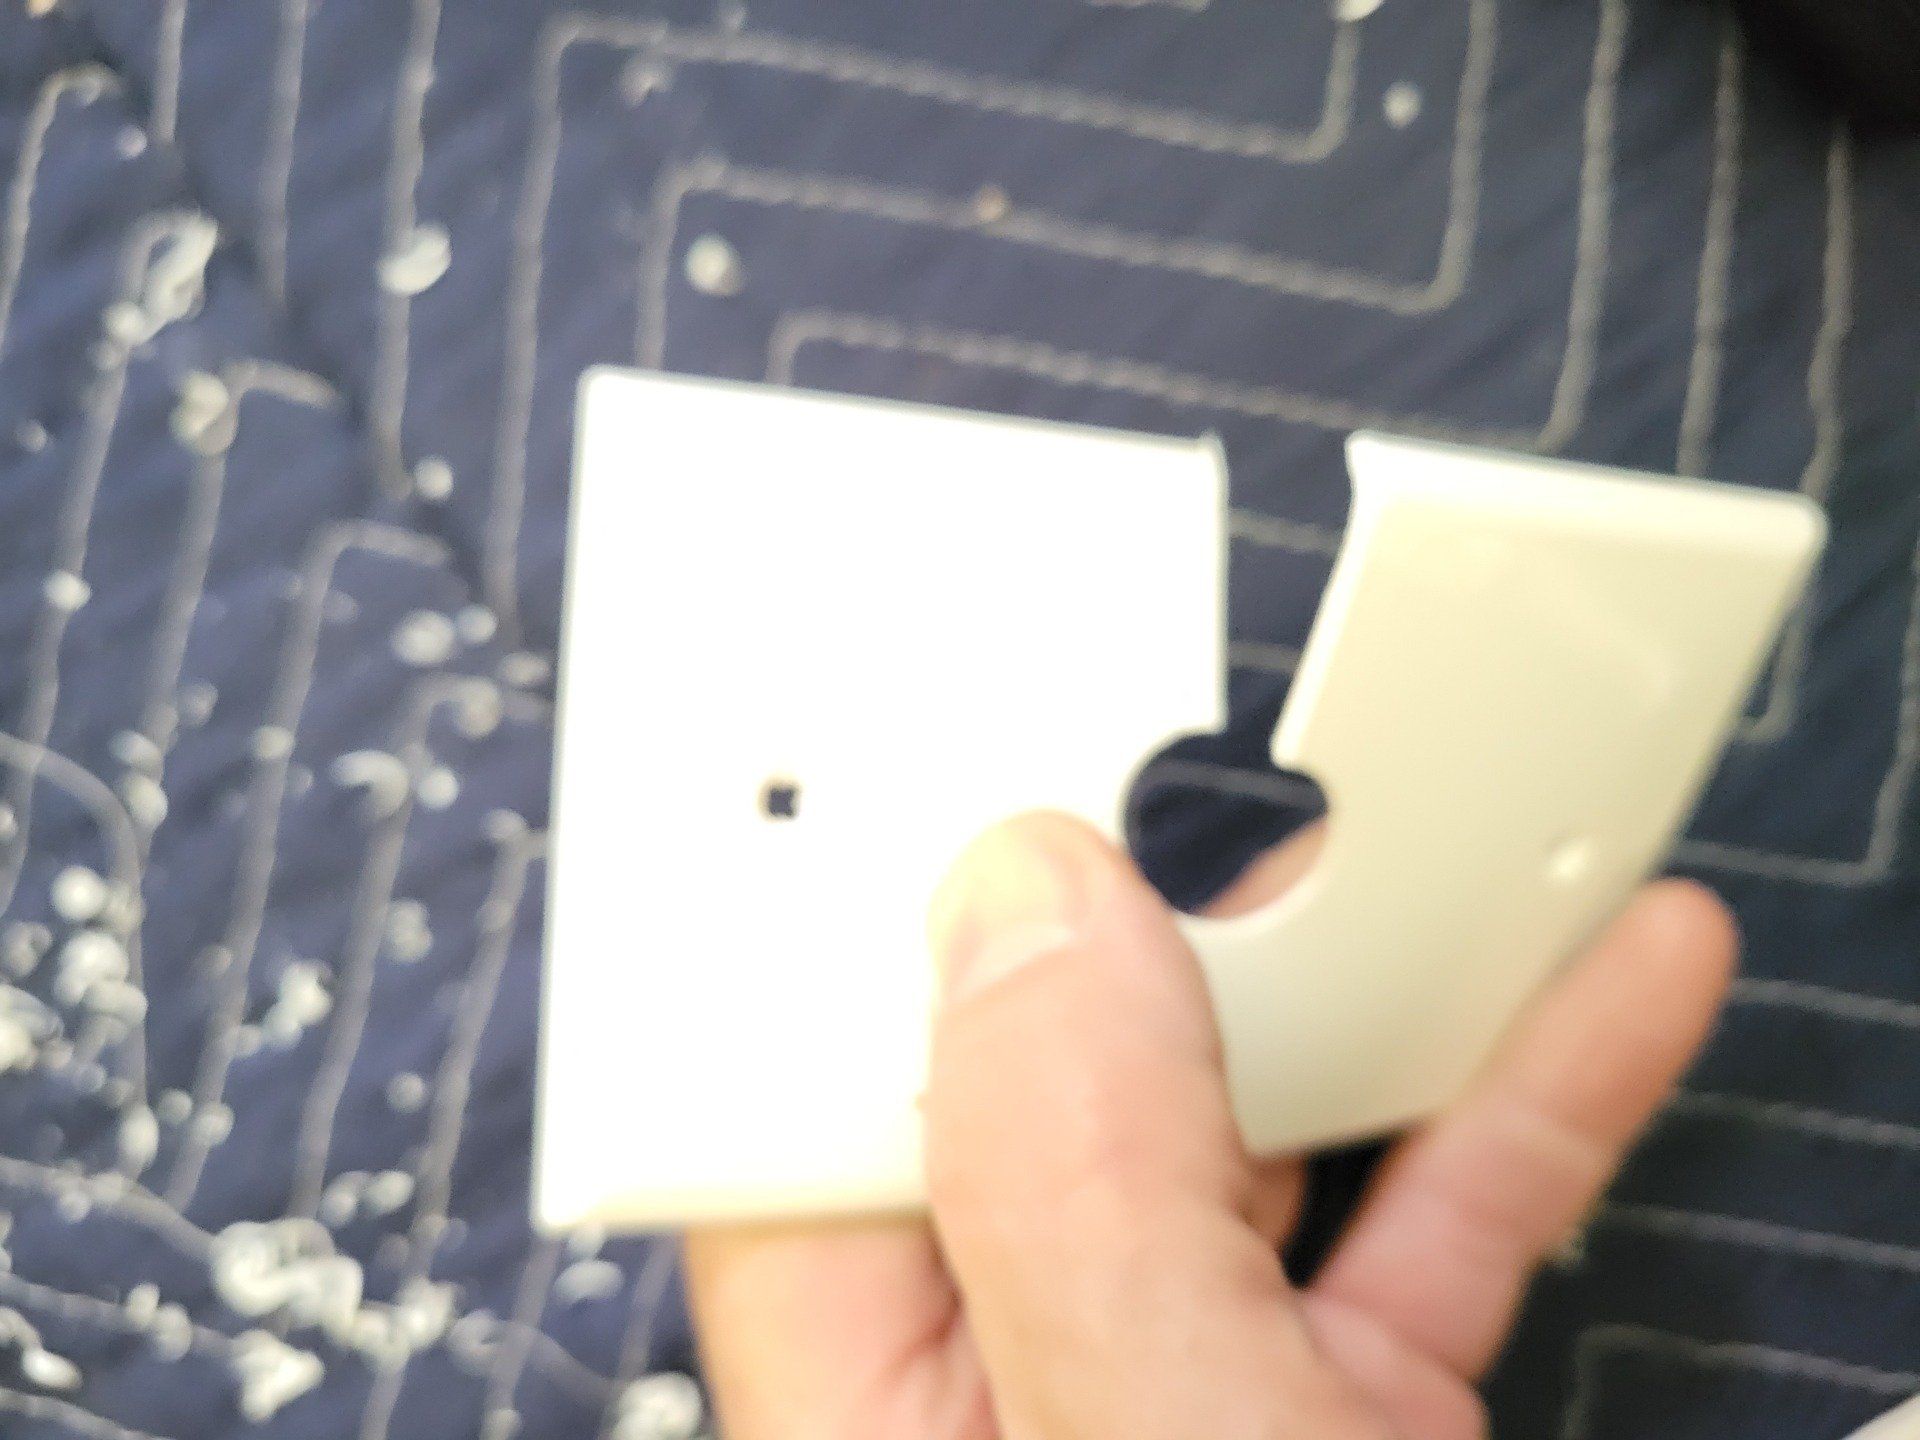
PRO TIP: Use a step bit to make a hole in your plastic wall plate the same size a the wires that will be coming out. Use a tin snip to cut the plate. This allows you to drill a smaller hole, but still slip the HDMI Cables through the plate for a more aesthetic install.
Make sure you install the wall plate screws with the slots straight up and down for a professional appearance.


Step 8: Hang Your TV
This is a two person job. Get a helper or two, lift your TV close to your location, carefully plug in all the cables, and hang the TV on the mount. Verify that the TV uprights are secure on the wall plate and not pinching any wires.
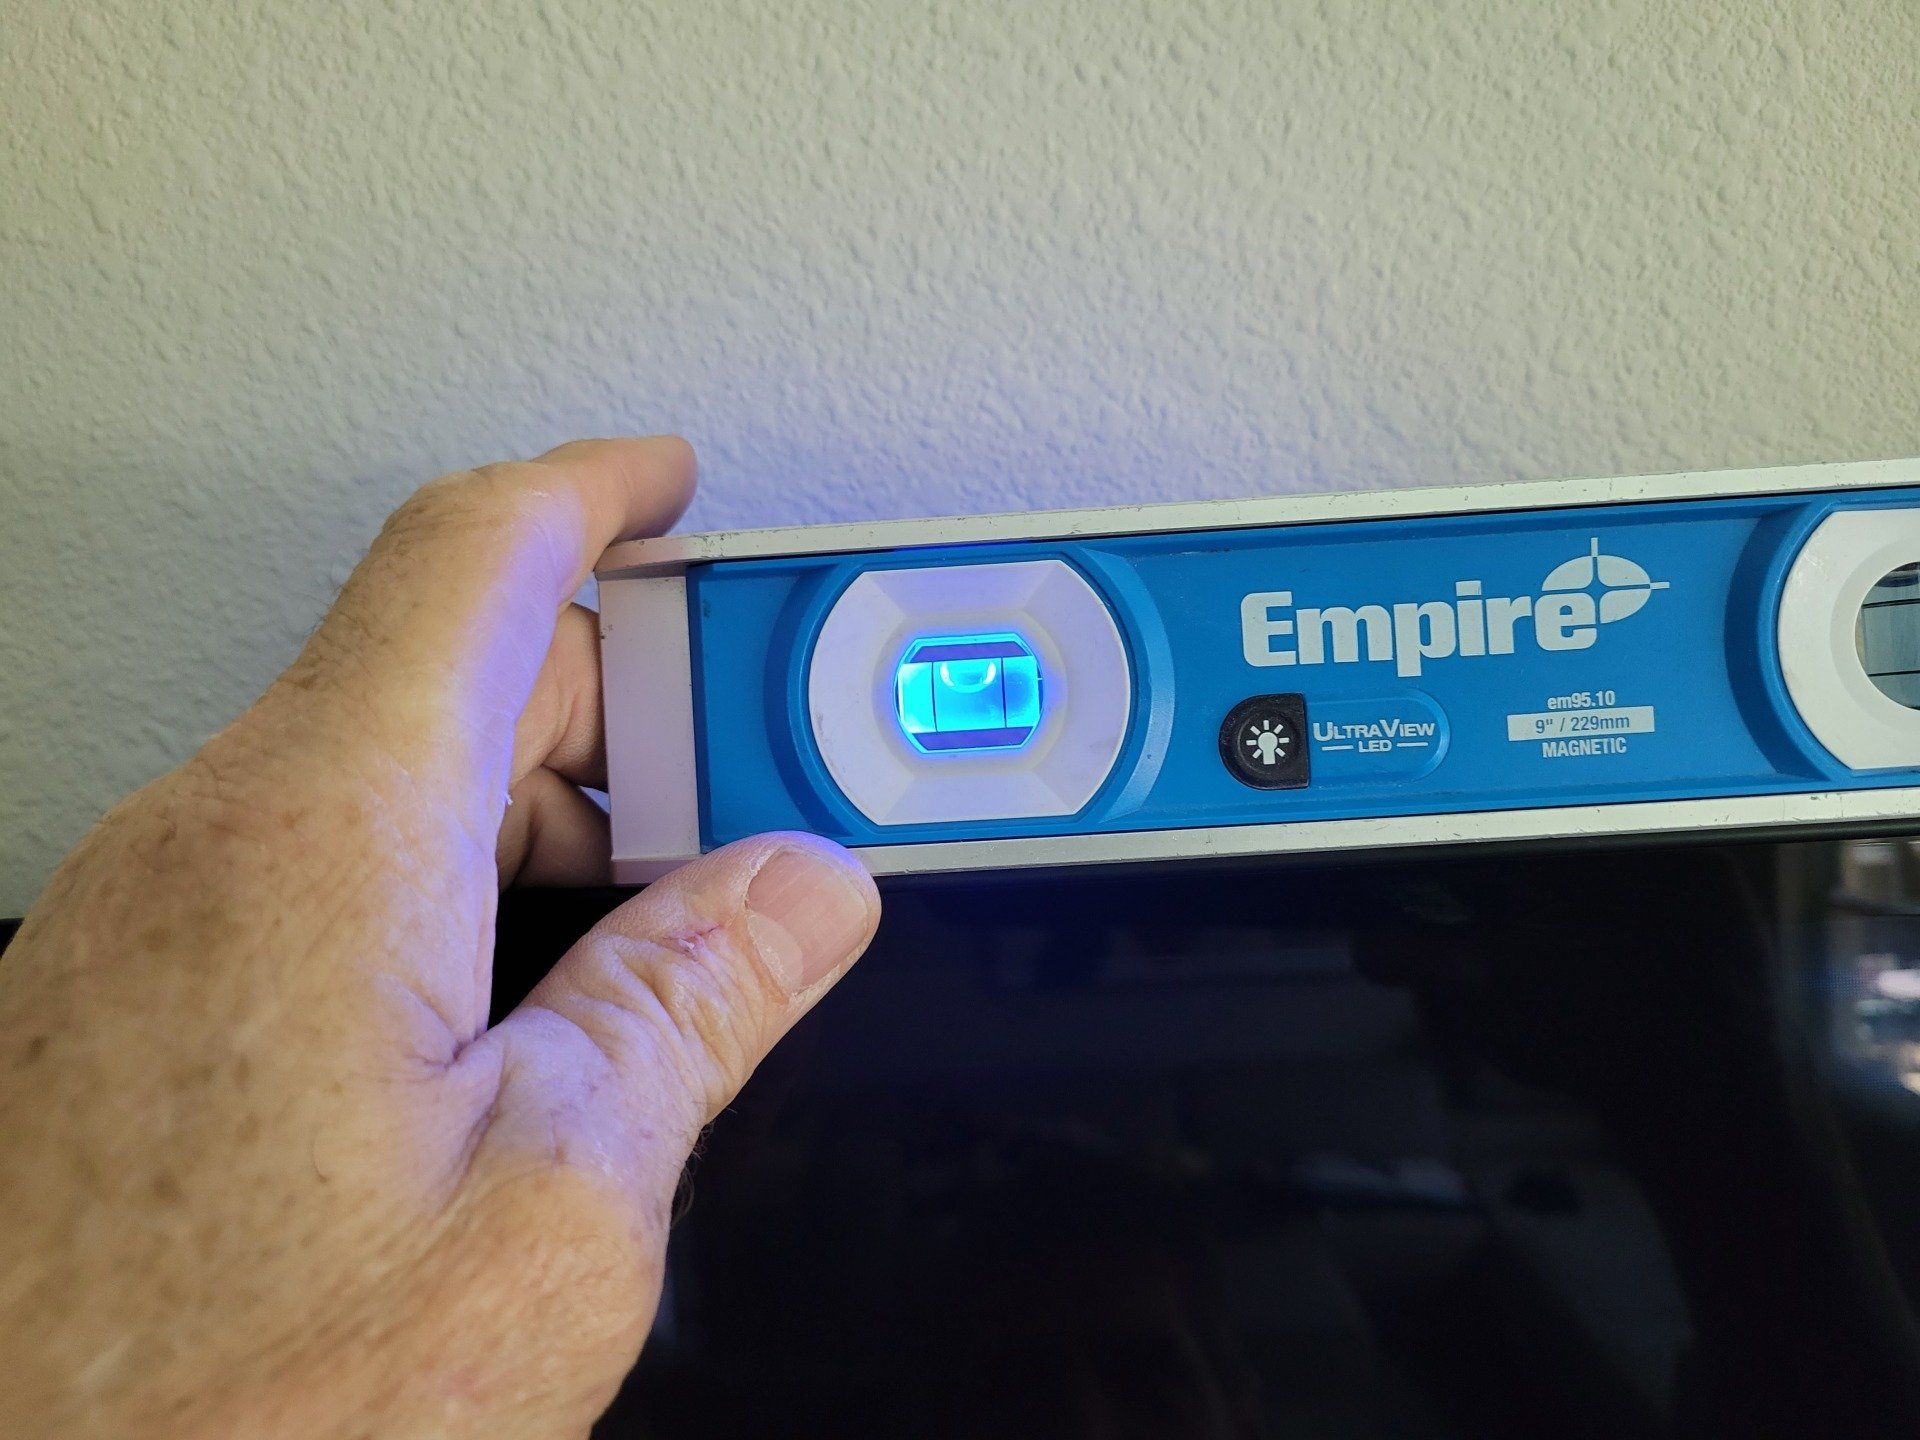
Secure the TV to the mount using the security screws. Make sure your TV is level using your level. Test all your sources to verify everything is plugged in correctly.
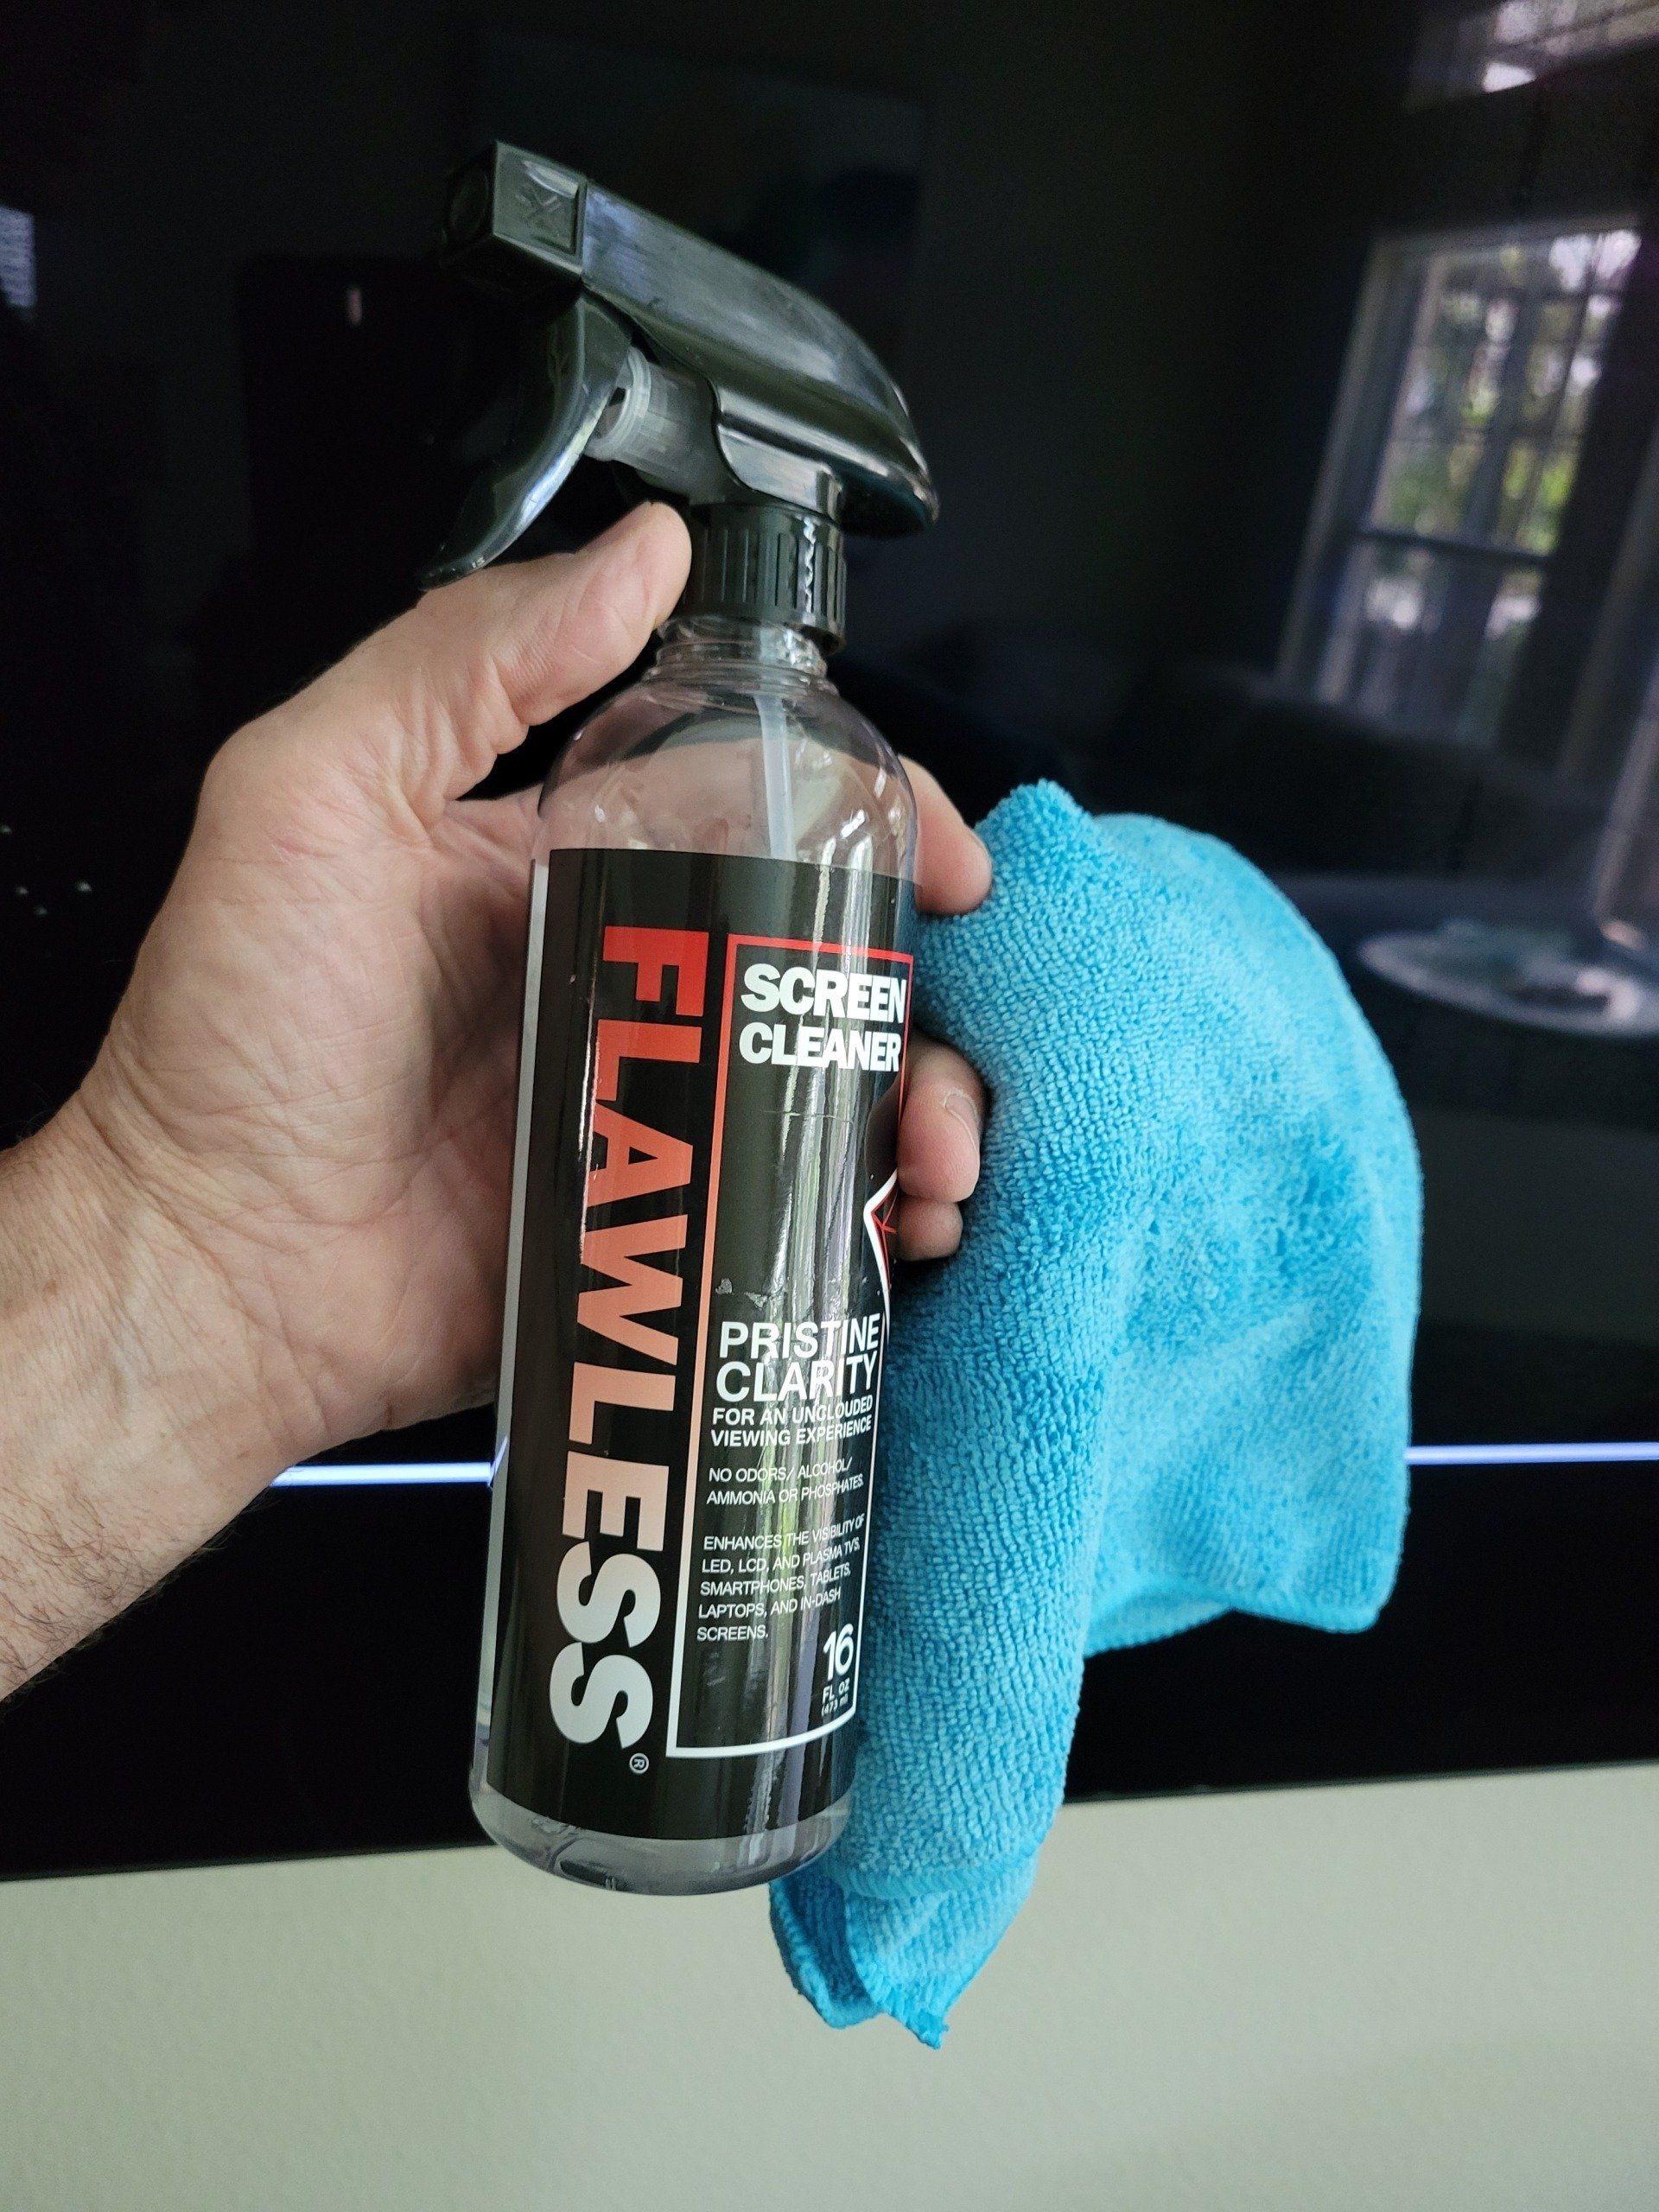
Clean your screen with your screen cleaner. We suggest Flawless. It is the best we've found. Always use a microfiber cloth to avoid scratching your TV.
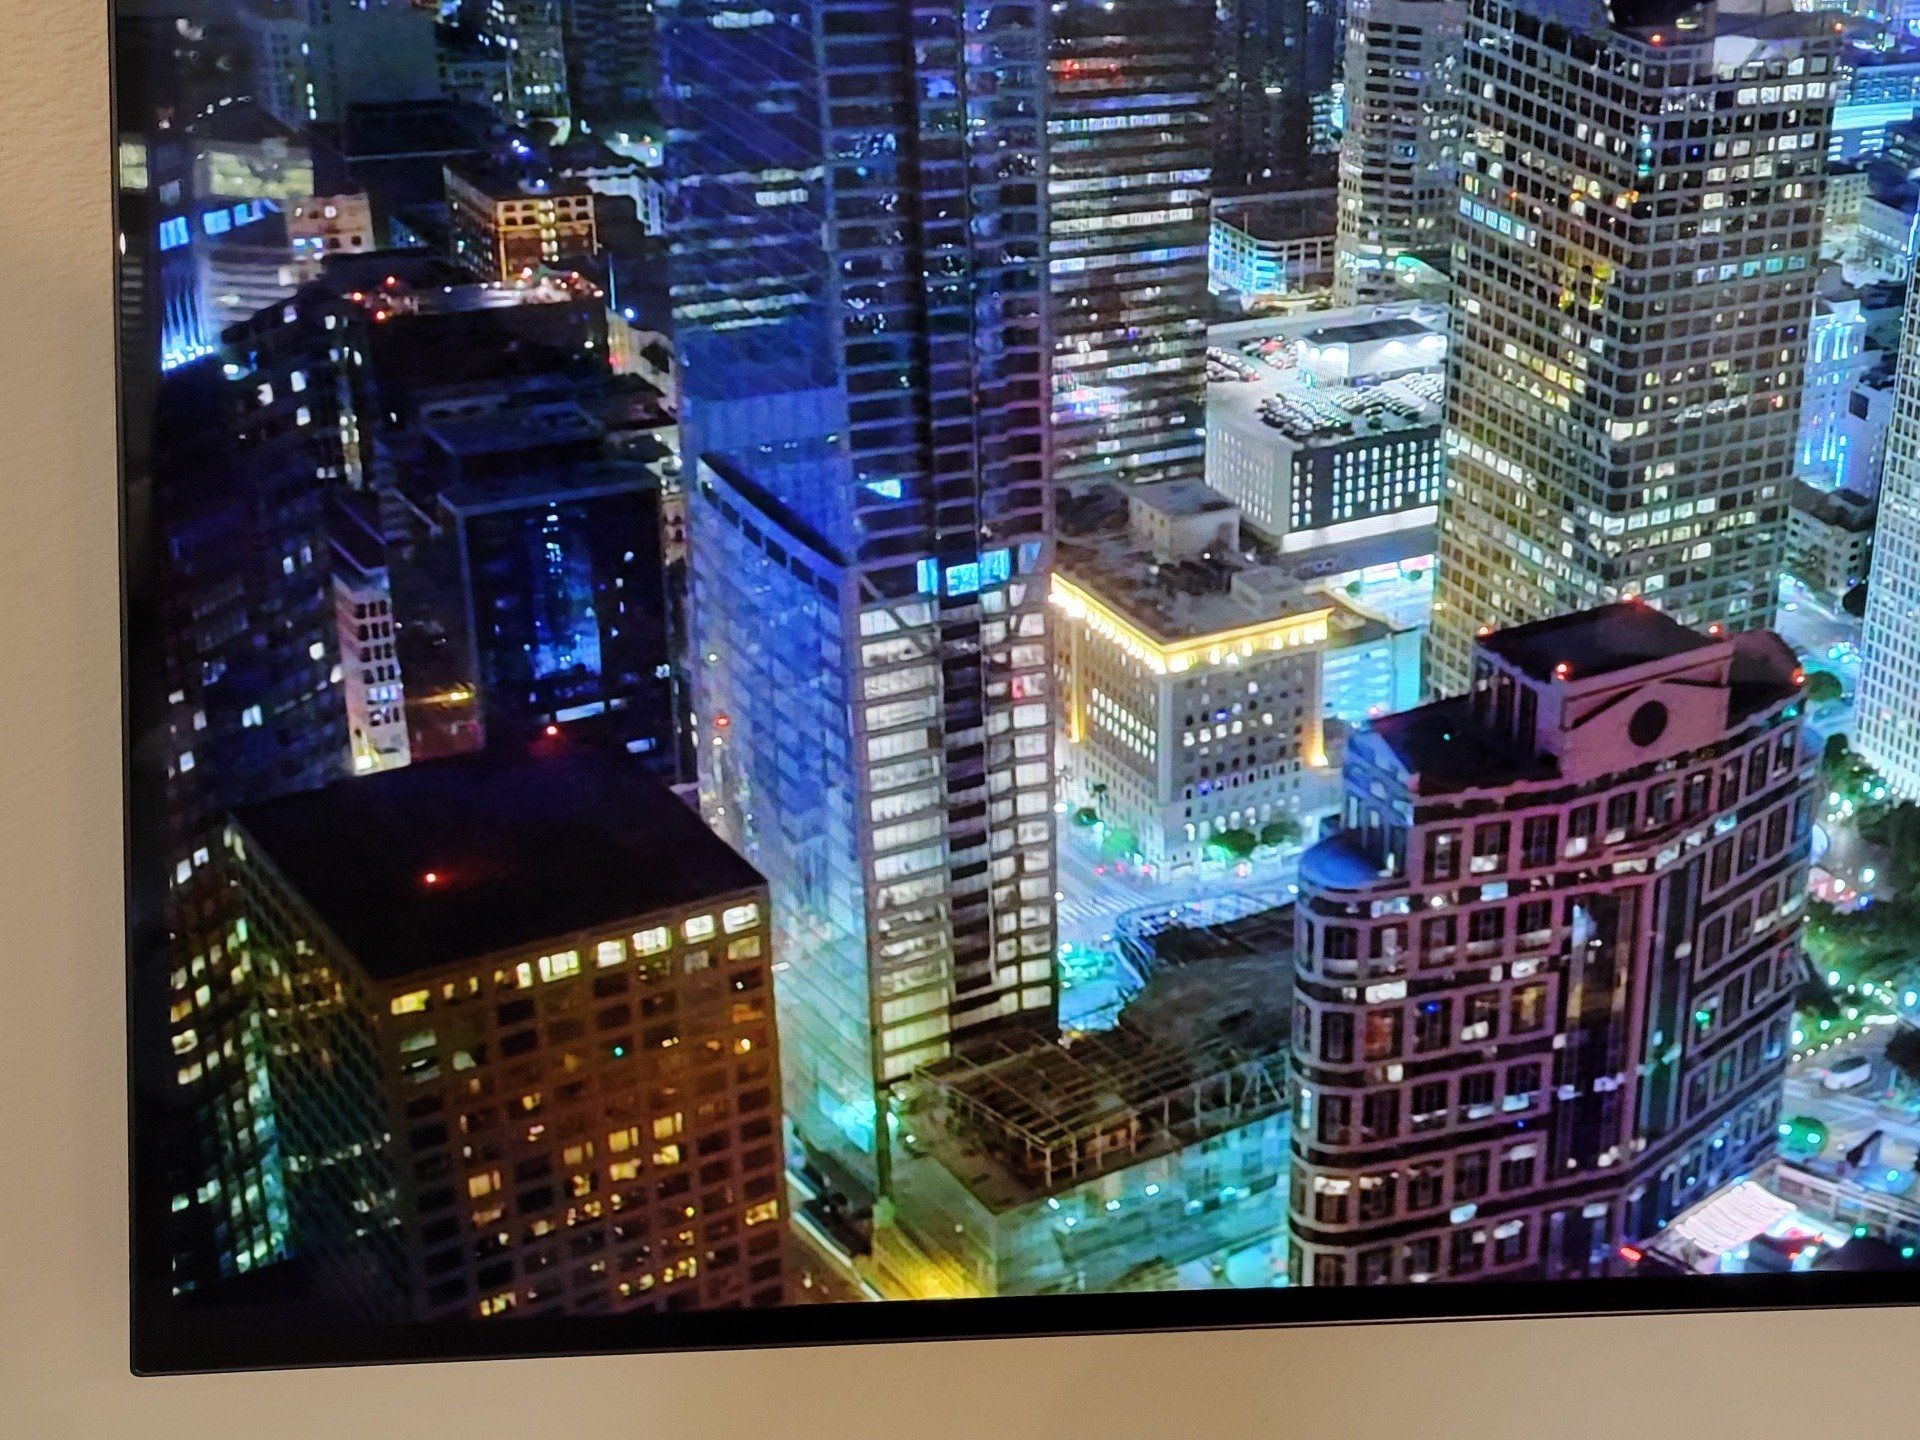
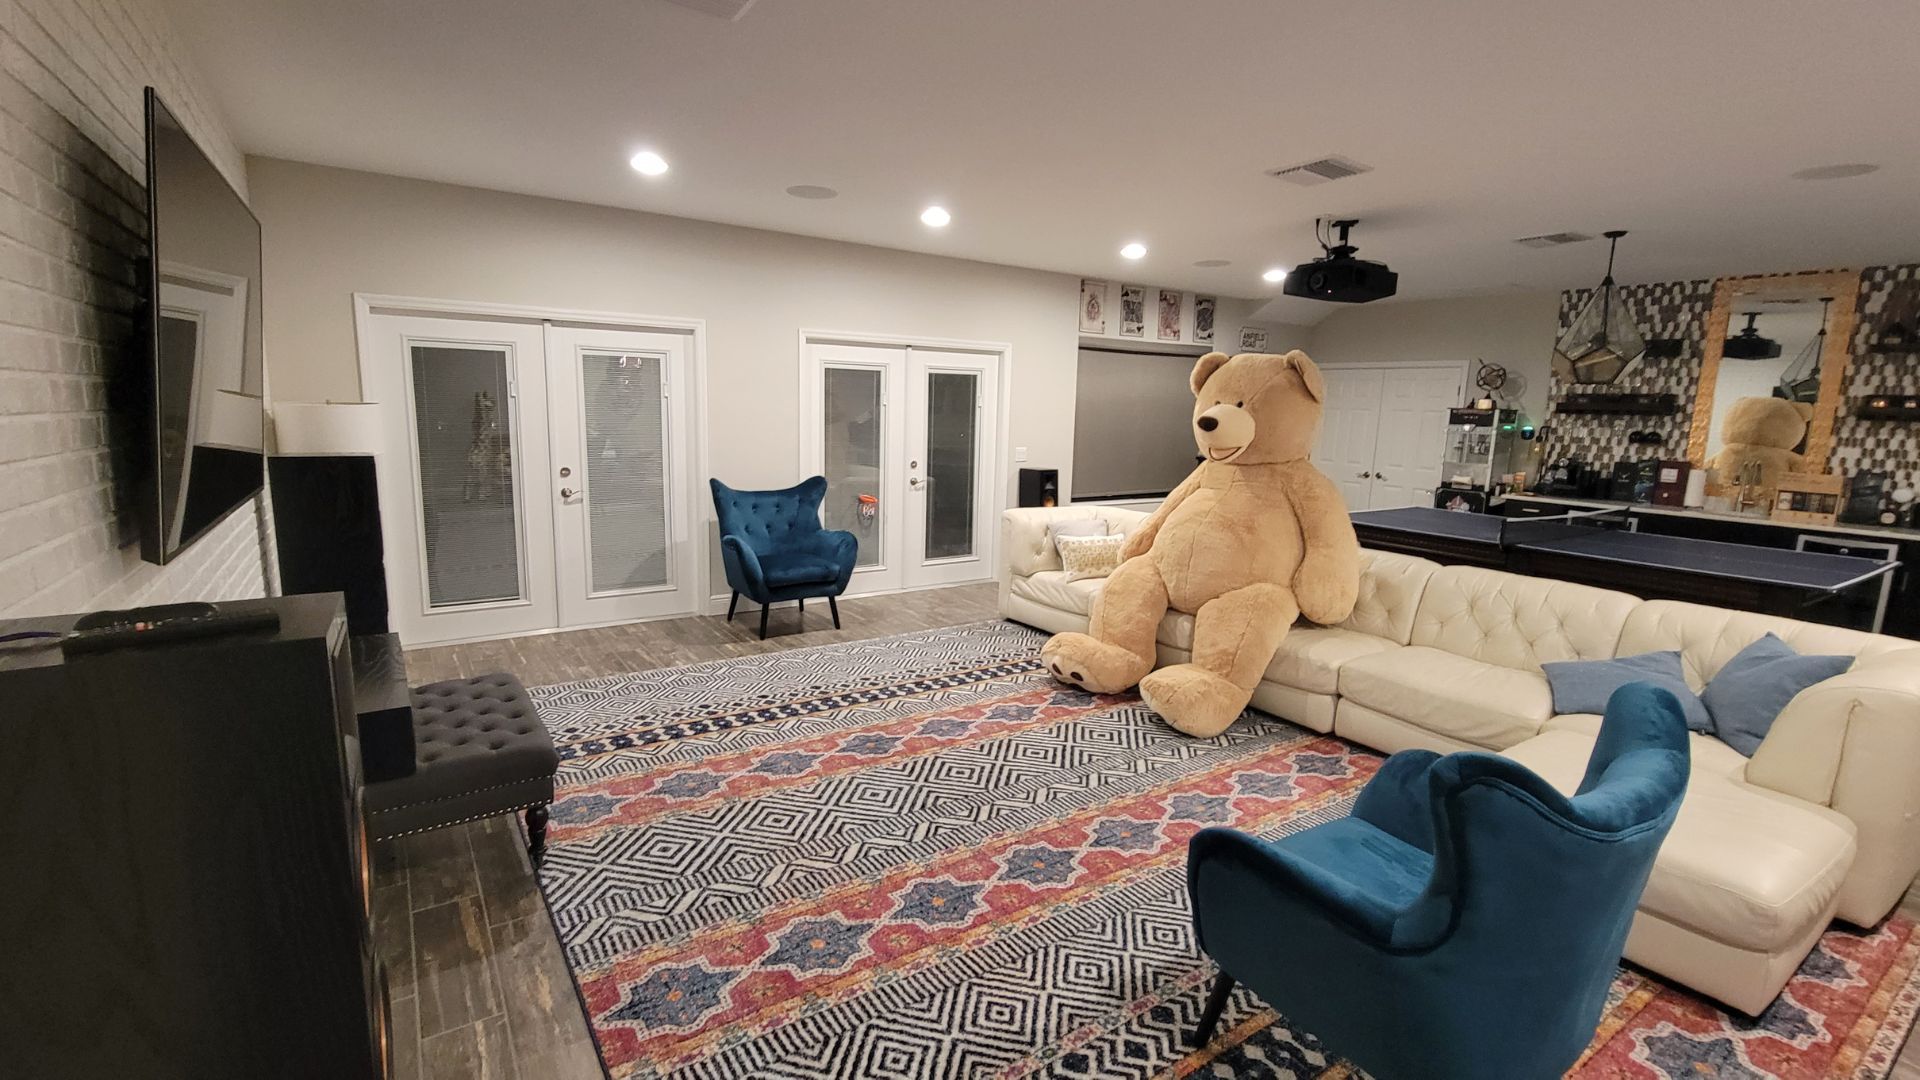
Step 9: Enjoy Your TV
This step should be easy!
If you need help installing a TV, we would love to help!
Call 727-804-3996 or go to our contact page.